

 5 minutes
Create
Use Xello's Advisement tools to bring everything you need directly into one workspace. You can view your student's complete academic picture, leverage smart conversation prompts, and keep personal quick notes. These tools streamline session documentation and help ensure every student receives a
You can select who can view the session. Keep it exclusively to yourself, or allow other educators, the student, and the student's parent/guardian to view the session as well. If you allow other educators visibility, only those at your school who have a Xello account and can see the student's profile can read it. This means educators with Limited access can only view the sessions on students assigned to them.
As you and other educators add sessions to a student’s profile over the years, it might be helpful to narrow the list of sessions by using the filters. You can narrow it by who created the note, or by category. Your school or
Start a guidance session
To start an
-
In the search bar located at the top of any page in your educator account, enter the student's name or ID.
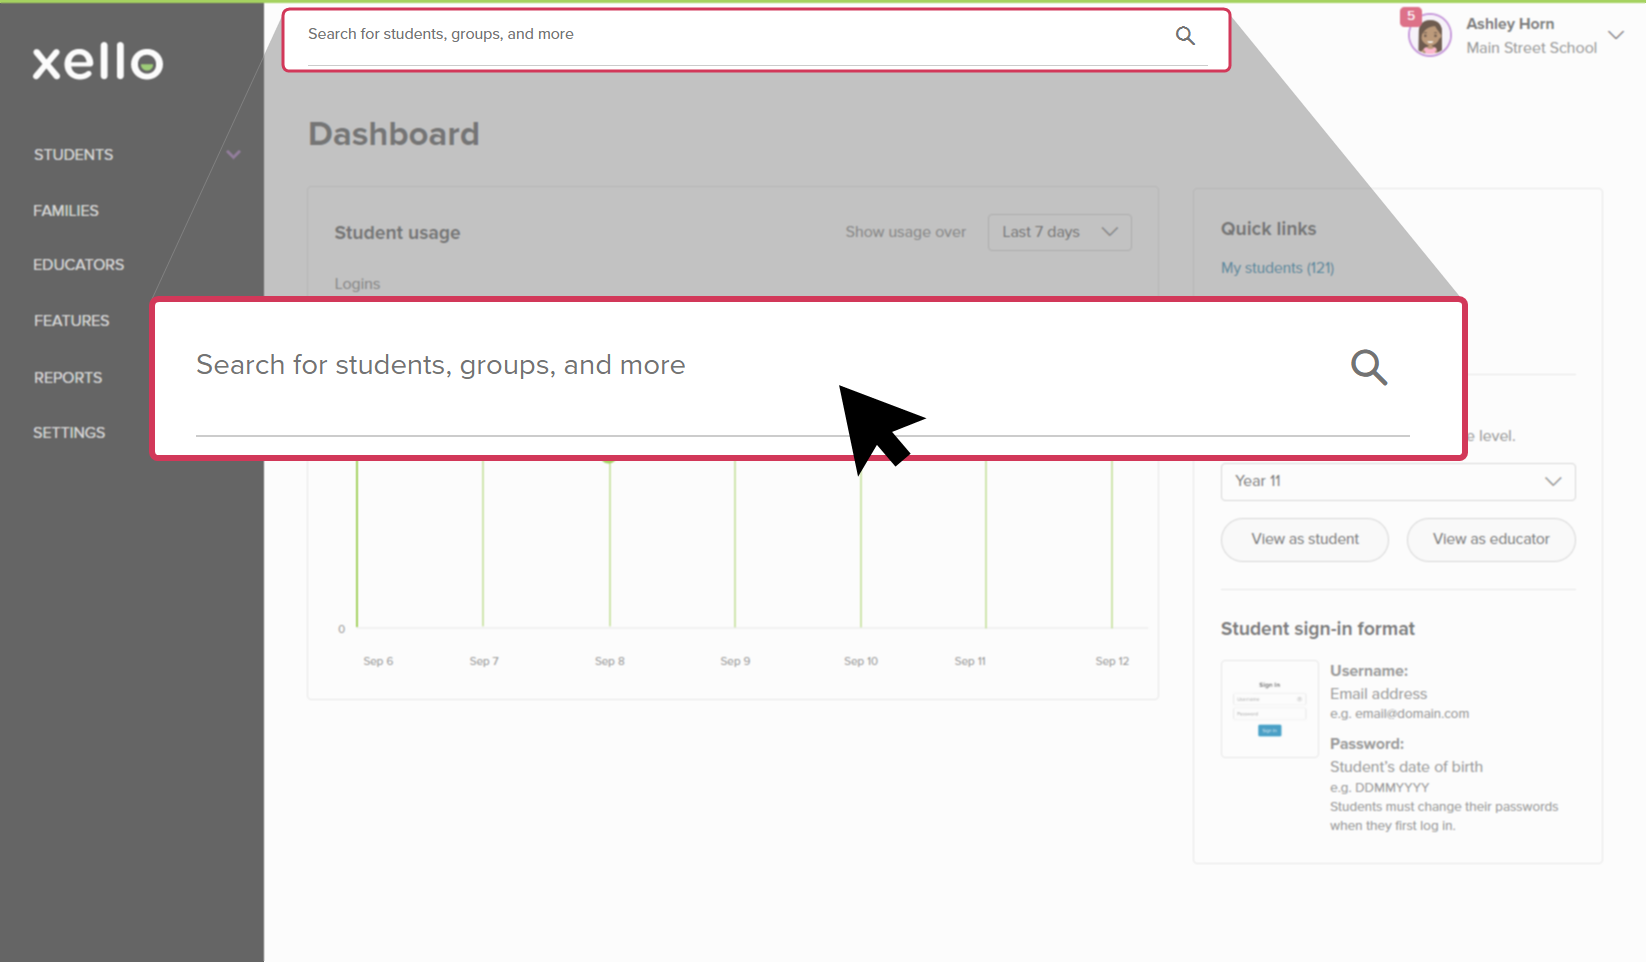 Click to enlarge
 Tip: Alternatively, from the left menu, click Students and select Student list to browse the full list of students.
- Click on the student's name. The About student tab of their profile opens.
- Click the
- Click Start a session to open the session panel.
- Set the session details:
- Session date: Add the meeting date.
- Category: Choose the primary focus of the meeting from the dropdown (options include academic success, activities and experiences, and personal advisement, among others)
- Notes visible to: Choose who can view the saved note, including only yourself, the student, parents/guardians of the student, and other educators. By default, it will only be visible to you.
- Fill in the meeting notes, add any files, or take advantage of the extra tools outlined below.
- Once all the information is added, click Save.
 Back to top
Make the most of your advisement sessions
The session panel includes tools designed to speed up preparation, guide confident discussions, and maintain clear records over time.
Review past sessions
Before jumping in to your meeting with your student, you may want to review past sessions you or other educators have had with the student. Full visibility into past notes maintains continuity, reduces miscommunication, and keeps support consistent.
Click the Past sessions tab to view all visible recorded sessions. You can filter by category, who created the session, and sort by newest or oldest.
Add notes and actionable items
Use the main note area and ability to add attachments during or immediately after a student meeting to record what was discussed and agree on next steps. This provides clear accountability for you and, should you choose to share your notes, with the student, parents/guardians, and other educators. Use this opportunity to upload any files, documents, or approvals to keep an accurate record of what was discussed.

