Xello's powerful Reports tool helps you easily and quickly run accurate reports on a wide range of features and activities - from student logins, to how many students have completed their assessments, to which suggested career is the most popular.
Filter
Xello has dynamic filters, so from any list or report, you can narrow your results through the
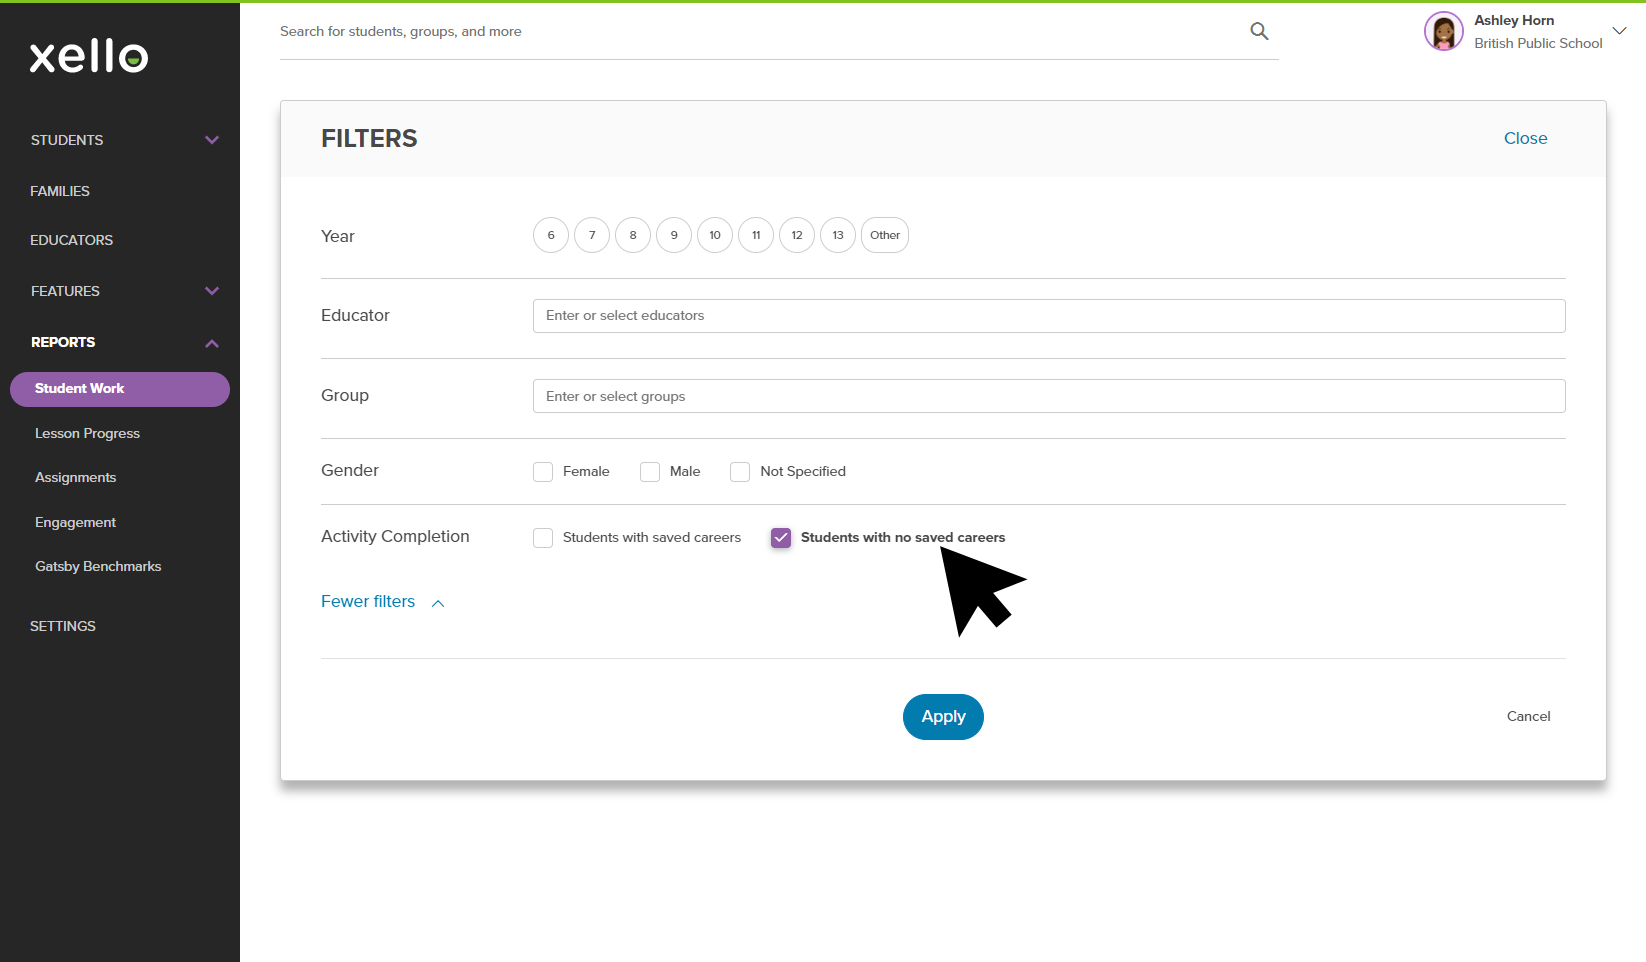
Filter button in the top right corner. Filters combine different criteria to find exactly what you're looking for. The filters available are
A report can be run to include an entire school population, or a small group with only a handful of students.
"By student" reports
When you choose a "by Student" report (for example, Suggested careers by student, or Saved schools by student), by default the report is filtered by students who have completed the necessary work. To remove this filter or to view the students who have not yet completed the work, click Filters, and next to Activity completion, select which data you'd like to view.
Sort your lists
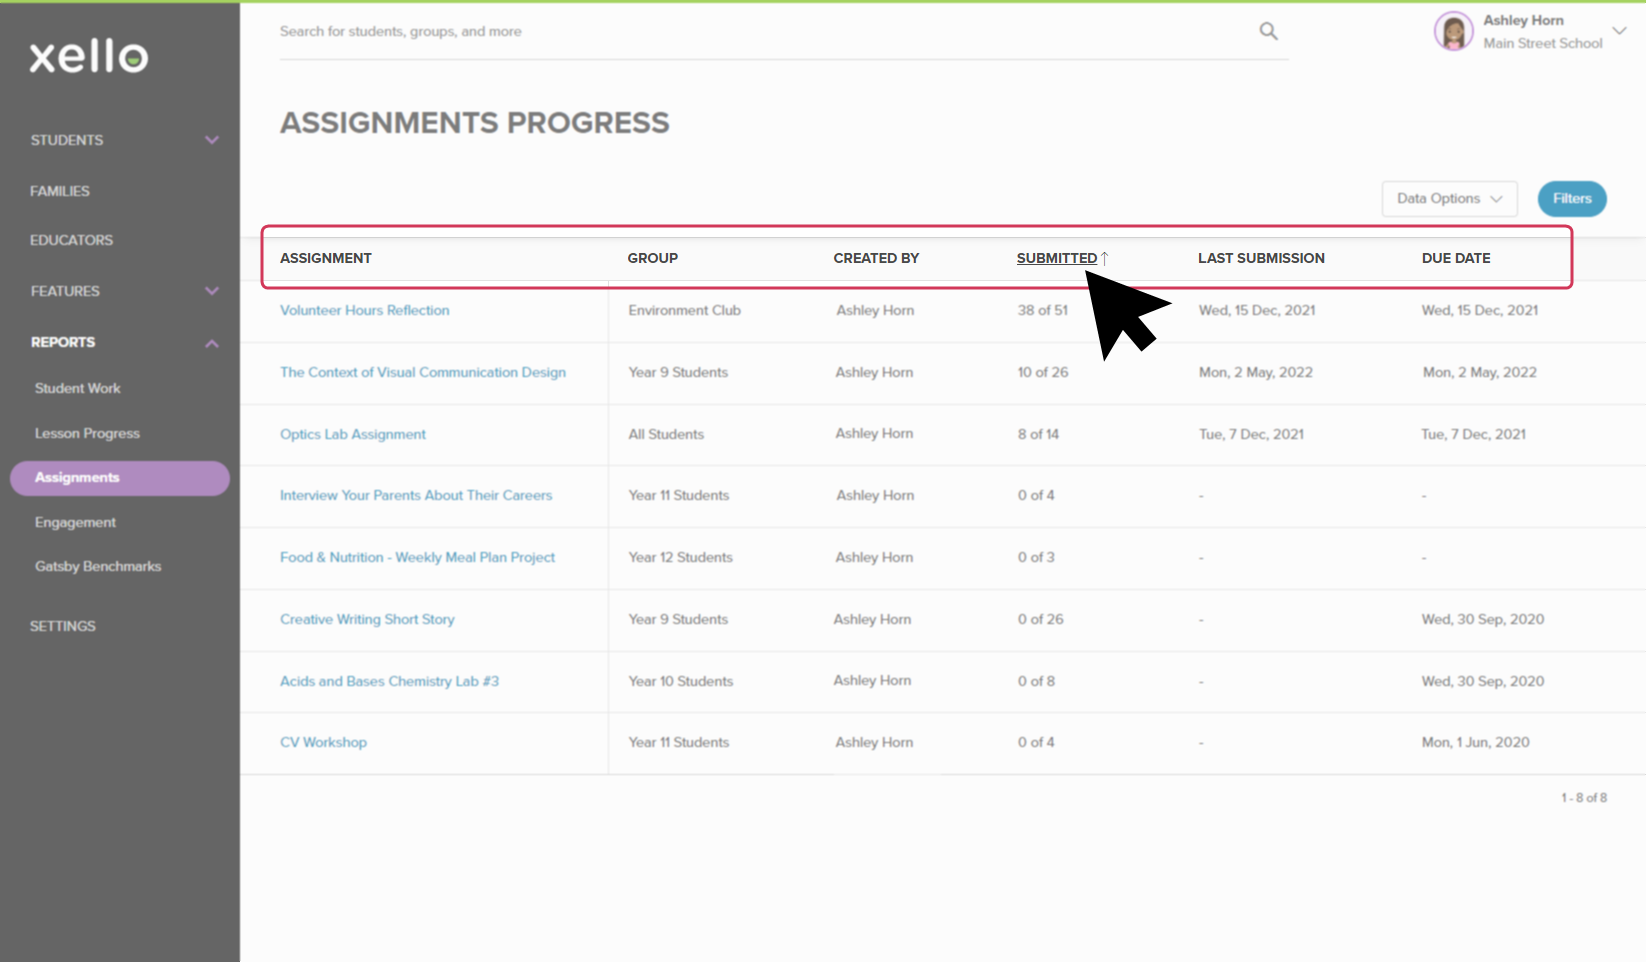
Easily view the data in the order most important to you. From the top of any table, click a column heading to sort the table by that column.
Create groups from reports
Improve engagement and interaction with your students by grouping them based on their interests, saved careers, Lesson completion, or anything else you've discovered nestled in the data. Create and edit an assignment or Add a Dashboard resource specific to that group.
For example:
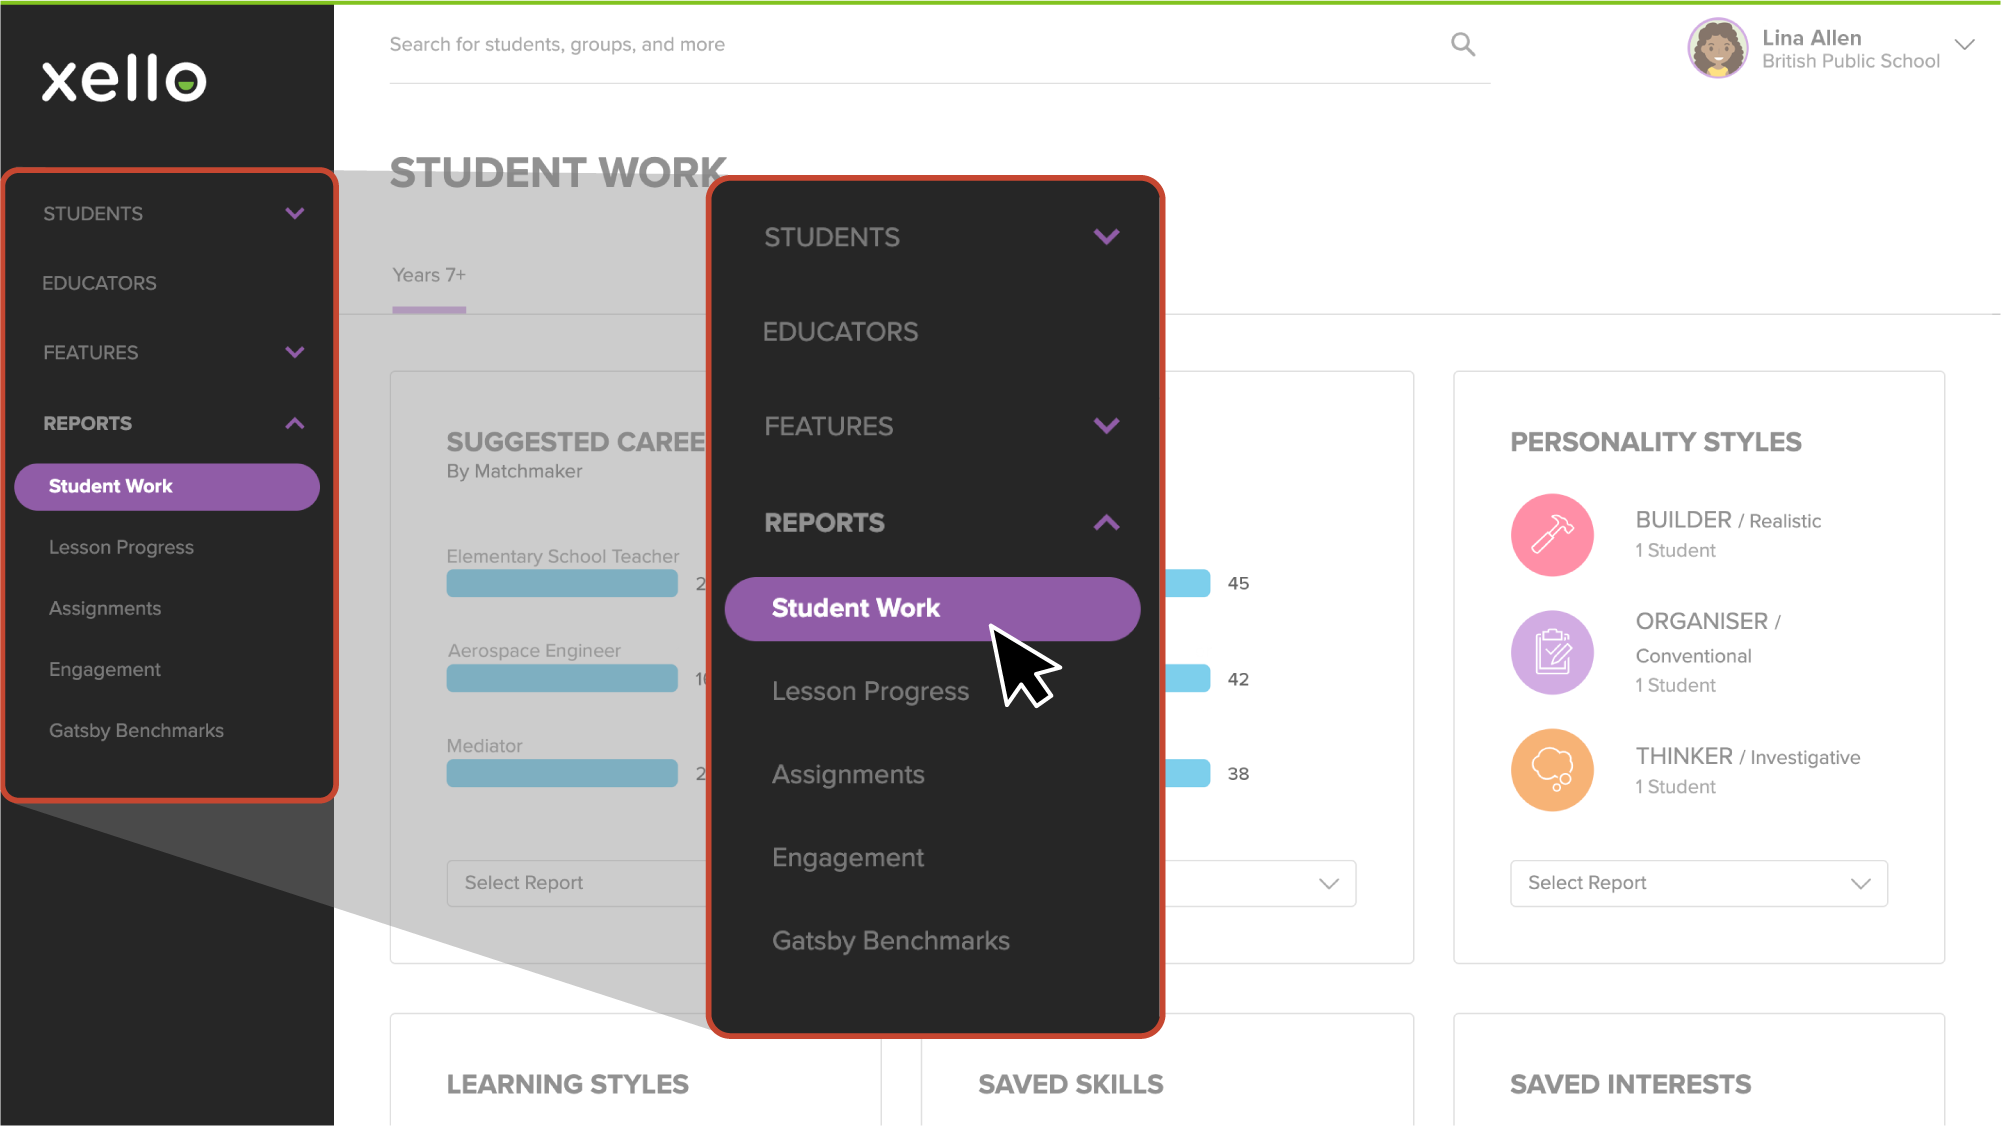
- From your educator account, click Reports and select Student work.
- Find Saved careers and click Select report.
- Click Saved careers.
- From the list, select a career to see all the students who saved it.
- From the top of the list, click Add to group and select Create new group.
- Give the group a name, and click Create.
Data options
A quick hint about a feature that works similarly to the Reports tool under Features but is spread throughout your educator account: the Data options tool. Use this tool to export almost any list in Xello to a spreadsheet that's exported to your computer for you to view and manage.
To export a list to a spreadsheet or .csv file:
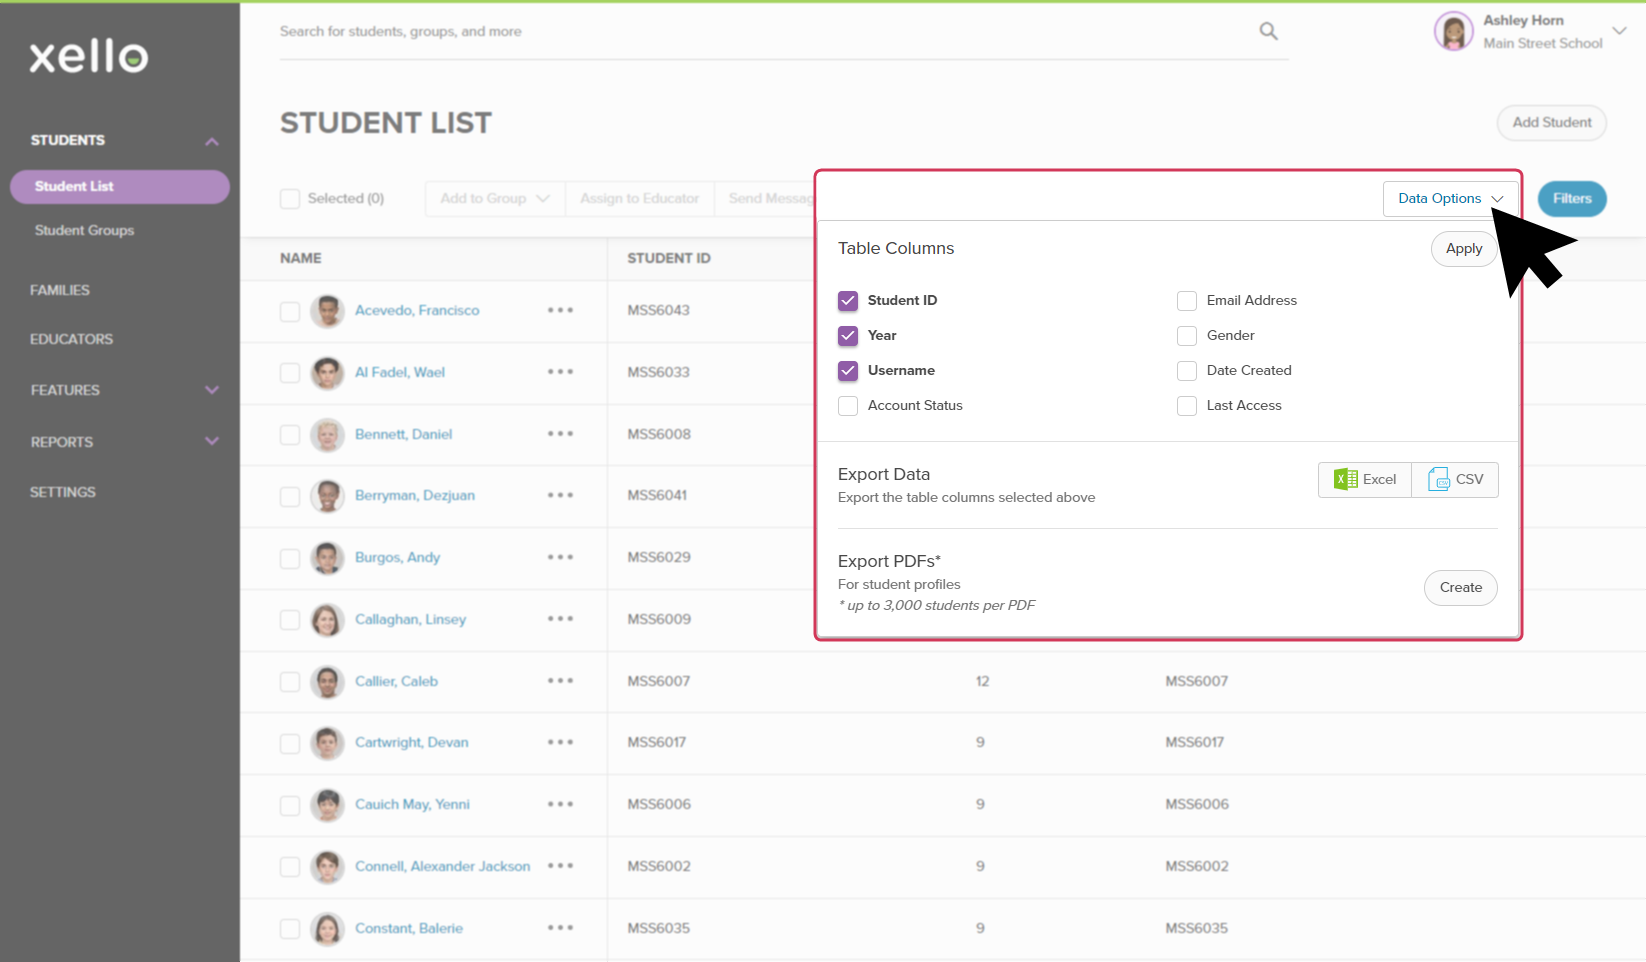
- In your educator account, from the top of nearly every list, click Data options to open a dropdown.
- From the dropdown, click the checkbox of each table column you would like to include.
- From the bottom of the dropdown, under the Export data section, click the Excel button to export it to an Excel spreadsheet, or click the CSV button to export it to a .csv file.


