You can create groups of students. Groups are used to easily filter lists and reports, create assignments for select students, send a message to groups of students, and more. Students cannot see the groups in which they've been placed.
To add a student to one of your already existing Student Groups:
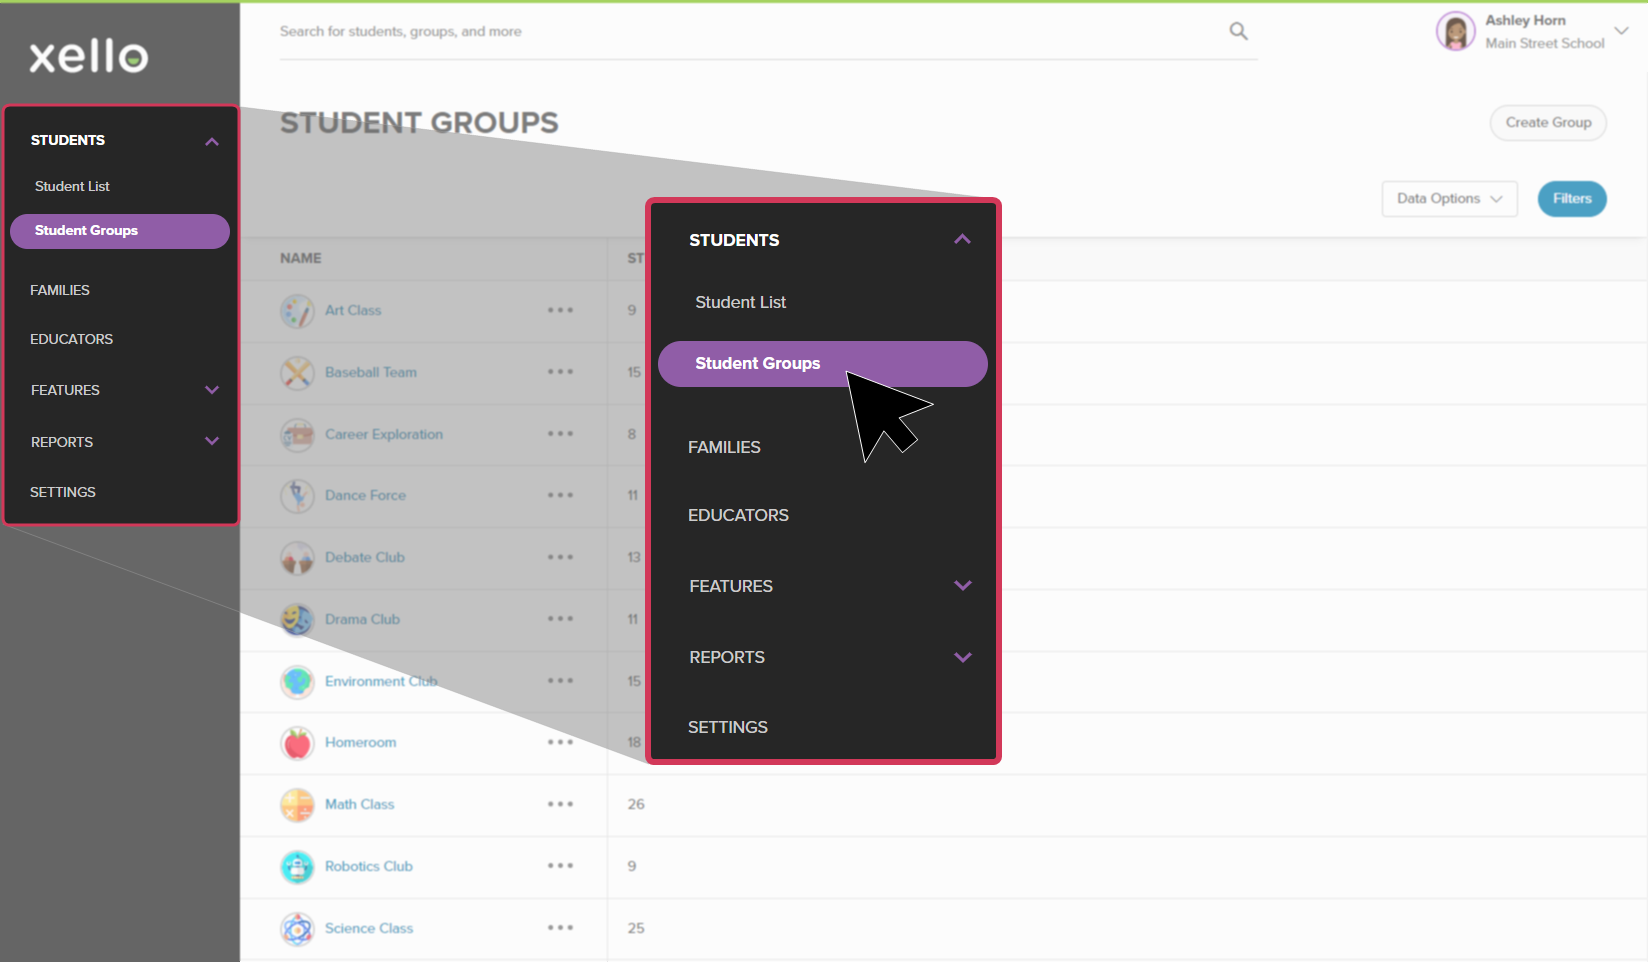
- From your educator account, click Students and select Student groups.
- Click the group to which you want to add a student.
- Click the plus sign to the right of the total number of students. From the search bar, search for the student by name or ID.
- The dynamic search field will populate students as you type. Click on the appropriate student to add them to the group.
Add multiple students to a group
If you have a lot of students to add to one of your groups, you can easily add them from the student list:
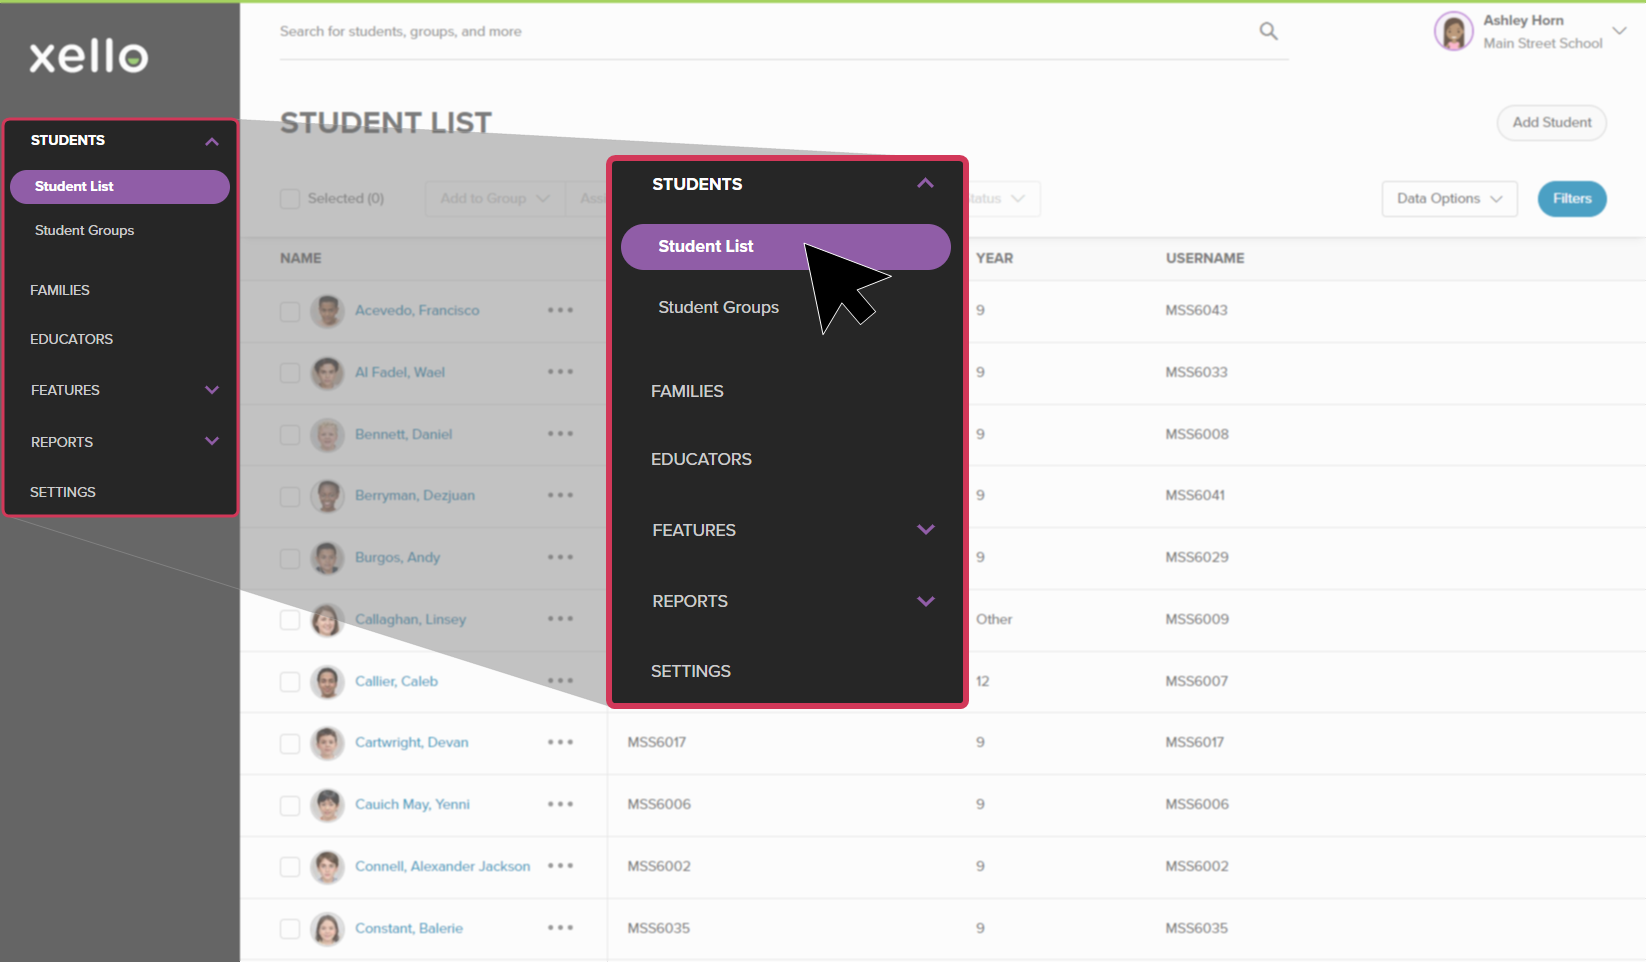
- From your educator account, click Students and select Student list to open the list of all students at your school.
- Use the checkboxes to the left of the student names to select the students you want to add.
- From the list of options near the top of the page, click Add to group, and select Add to existing group.
- Select the group(s) to which you wish to add the students and click Add.

