With Xello SSO, students can log into their Microsoft Azure account and then access Xello without a separate login.
To set up SSO through Azure:
- Follow the link to the Azure Management Portal: https://portal.azure.com/
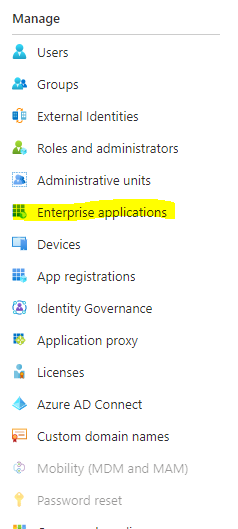
- Click Azure Active Directory, then select Enterprise applications.
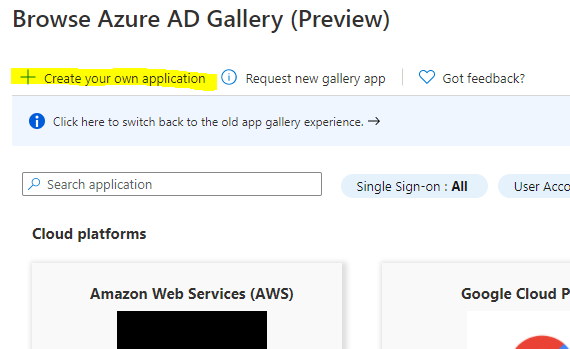
- From the top menu click New application.
- Click Create your own application.
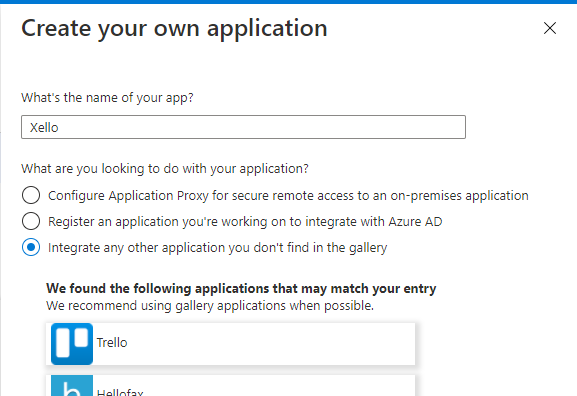
- Enter Xello as the name of your app and make sure the option Integrate any other application you don't find in the gallery is turned on. Click Create.
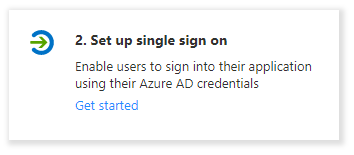
- Click 2. Set up single sign on.
- Click the box titled SAML.
- Click the pencil icon next to Basic SAML Configuration and enter the following values:
- Identifier (Entity ID): urn:XelloUKSamlServiceProvider - Tick the Default box
- Reply URL (Assertion Consumer Service URL): https://auth.xello.co.uk/saml - Tick the Default box
- Leave all other fields set to their default and click Save.
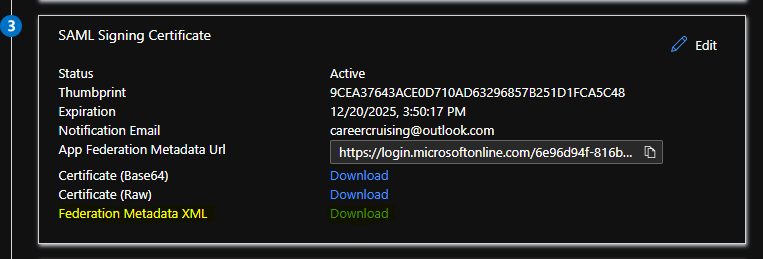
- Locate the box titled SAML Signing Certificate. Next to Federation Metadata XML, click Download.
- This will save an .xml file to your disk which will need to be emailed to your Onboarding Manager.
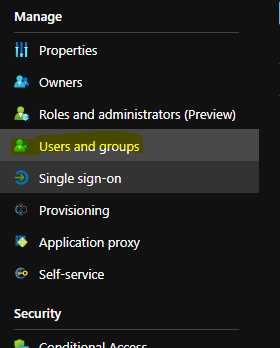
- In the left menu, under Users and groups, enable access to students and educators who should be able to use Xello.
- Right click on the Xello icon below, and save the image to an easily accessible location.

- In the left menu, click Properties and select Logo to locate the previously saved Xello icon.
- Click Save.
- Be sure to send the .xml file that you saved in step 9 to your Onboarding Manager. Your Onboarding Manager will then complete the single sign-on configuration within Xello and let you know when testing can begin.
