Surveys in Xello help educators track student progress towards their goals, and can help educators to provide
Build your survey with a variety of different types of questions, choose between making the questions required or optional, include a due date, and even add images and videos.
Admin can create a survey and assign it to groups at the
Create a survey
Administrators and educators can create a new survey. Assign the survey to a student group to easily track who received and completed the survey, and later run a report on the submissions.
To create a new survey:
-
From your educator account, click Features and select Surveys.
 Click to enlarge
-
Click Add survey.
 Click to enlarge
- Fill out the Survey details. This includes a title, a brief description of the survey, and the due date if applicable.
- Add Recipients. Select an existing group of students, or create a new group.
 FYI: Clicking Create a group in the survey will redirect you to Student groups in Xello where you can create a new group. Don't worry, all your work will be saved and you can return to the survey to add the group you've just created.
 - To start adding survey questions, click Add question or content.
 Click to enlarge
 Note: No need to worry about adding standard student data (name, ID, grade, and school). These are automatically included in the survey results for you.
 - Begin adding your questions. Check out Types of questions below for further information on the different kinds of questions you can add.
- Add a thank you and confirmation message for when the student has finished the survey.
- At any point while creating the survey, click Preview to see what it'll look like for your students.
 Click to enlarge
- Once you're done, click Publish. It will immediately be available on the student dashboard for them to complete.
 Tip: If you're not ready to publish and make it available for your students, click Save at the bottom left to keep your work and return to it later.
Types of questions
There are several different kinds of questions and content you can add.
| Question type | Action required of the student |
|---|---|
|
Multiple choice |
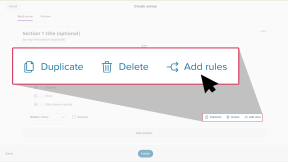
Students choose one from a selection of choices. You can Add rules to skip sections or guide students to different questions based on their answer. |
|
Rating |
Students give a rating. You can add ratings with a minimum of 2 and maximum of 20. |
|
Checkbox |
Students select up to multiple options. |
|
Dropdown |
Students click the dropdown to choose an option. You can add "Other (please specify)" as an option, which opens a textbox for them to type their answer. You can also Add rules to skip sections or guide students to different questions based on their answer. |
|
File upload |
Students are required to upload a file as their response. They can upload a file from their local drive, OneDrive, Google Drive, or Dropbox. |
|
Short answer |
Students type out an answer with a maximum of 250 characters. |
|
Long answer |
Students type out an answer with a maximum of 10,000 characters. |
|
Single-choice grid |
Students choose one answer for each statement from a grid of rows and columns. |
|
Content |
A place for you to add text, links, or images to share instructions or resources. |
Add rules
When adding a multiple choice or dropdown question, you can Add rules to the question. This allows you to further
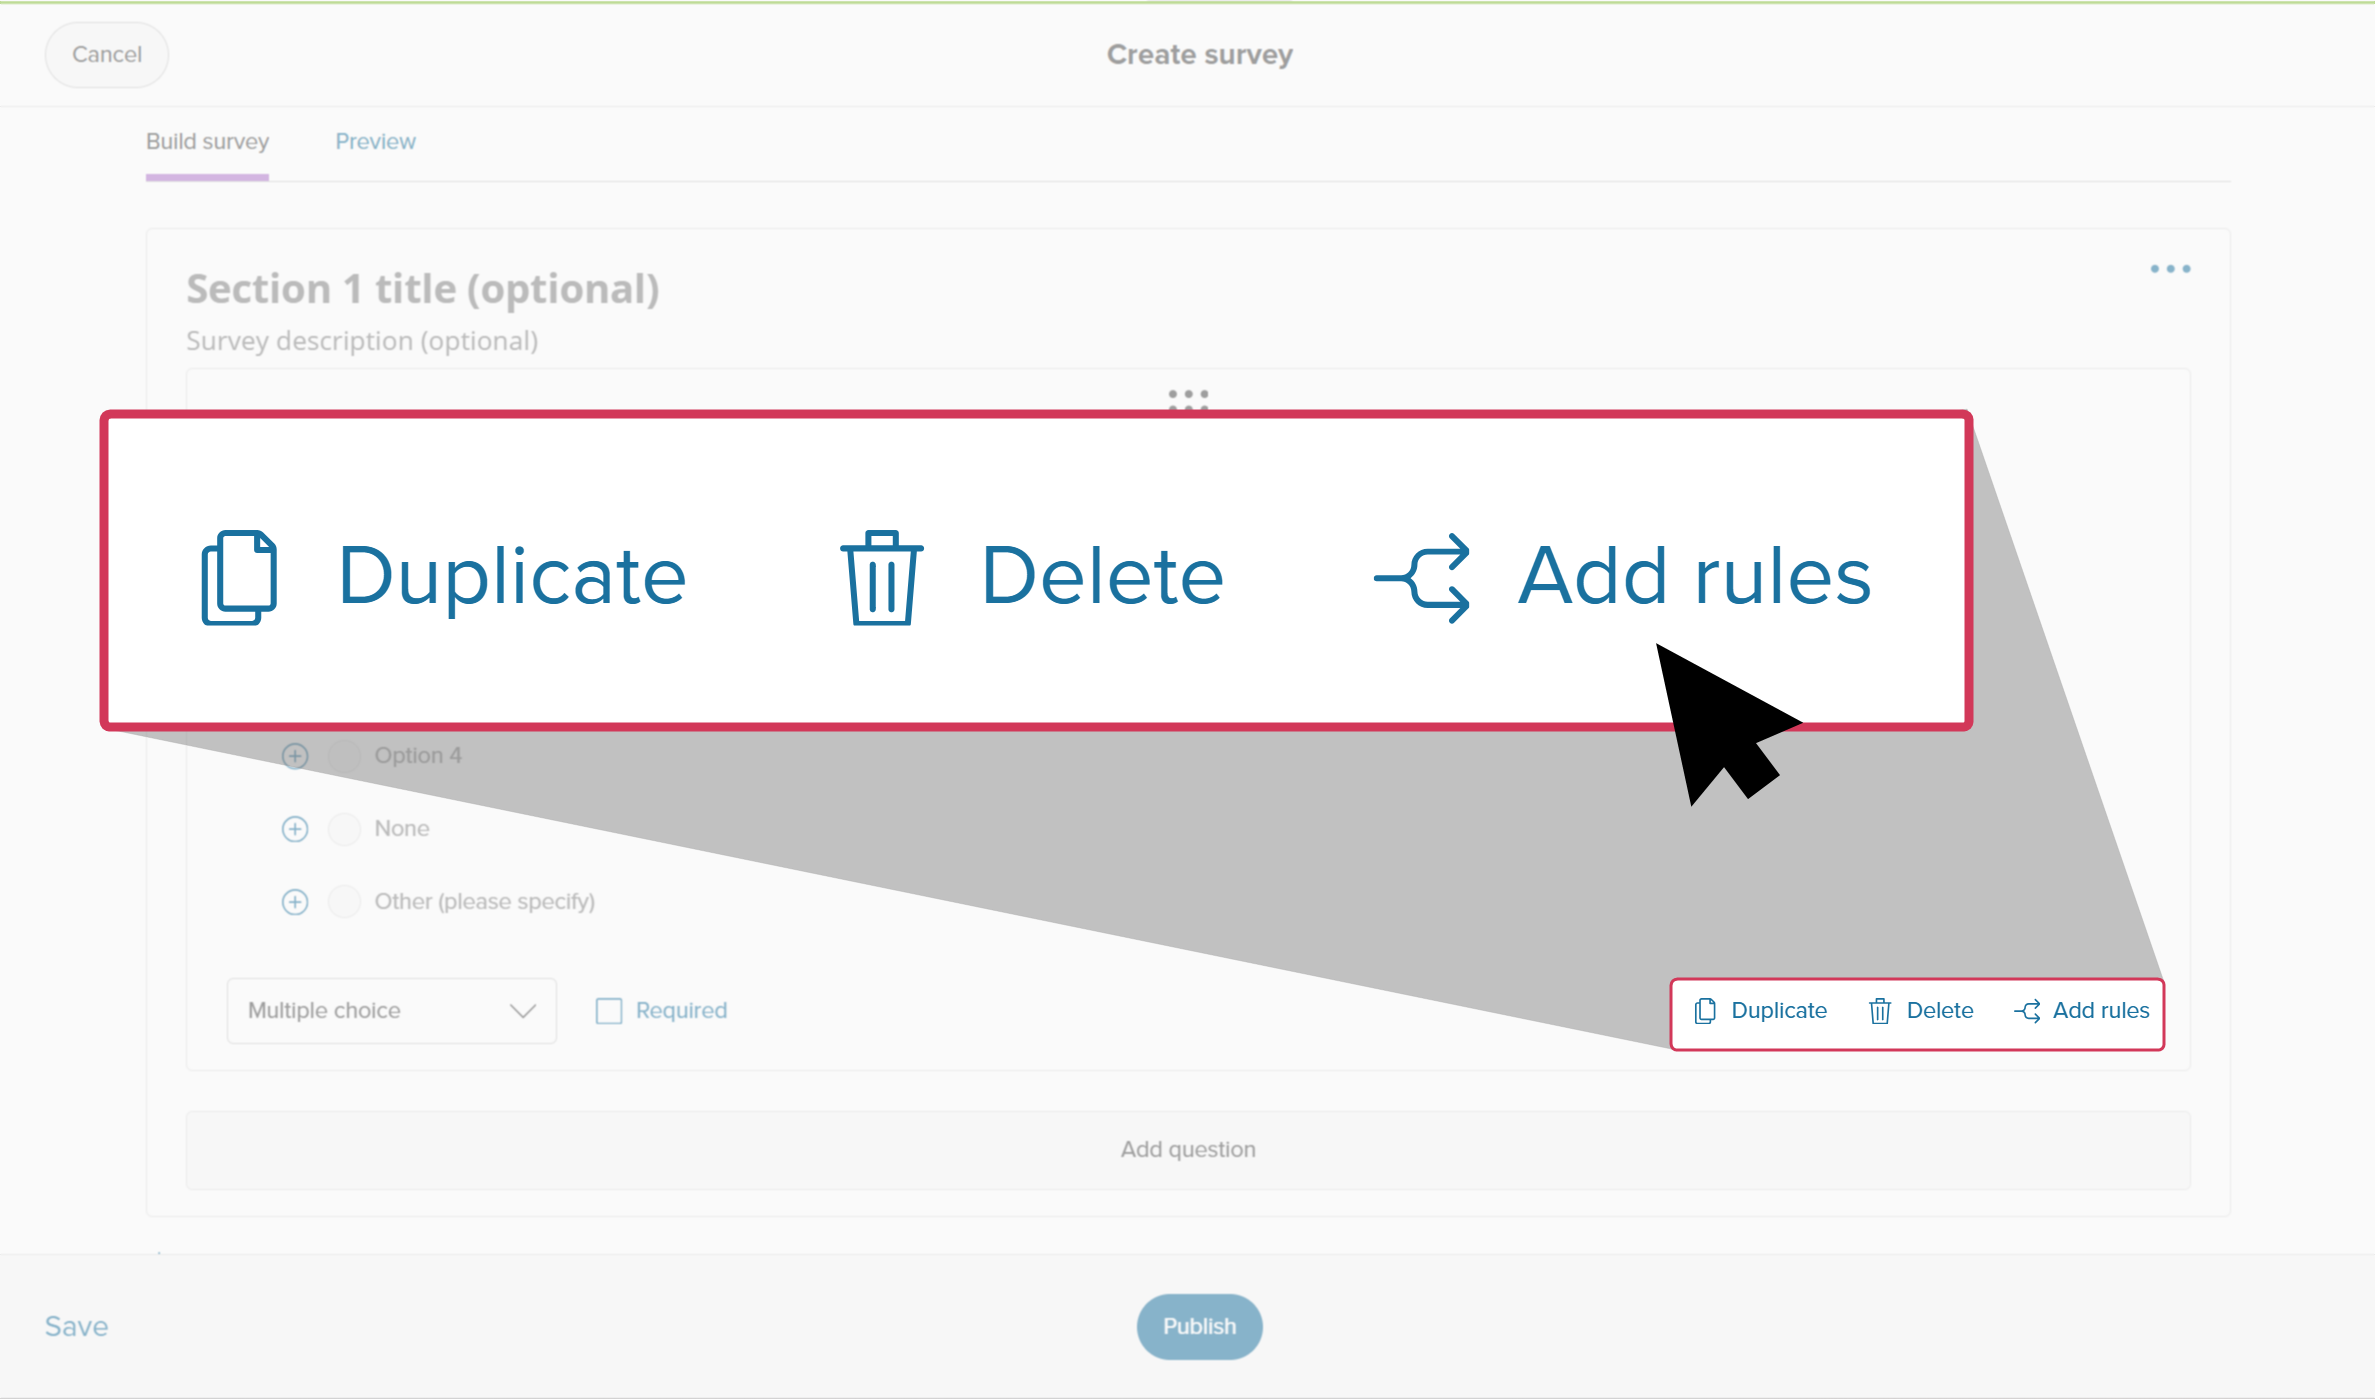
Adding rules will mean students can skip irrelevant questions and be guided to topics specific to their interests or needs.
For example, if you were to ask a student "Are you planning to go to
- Rule A: If the student answers Yes, the rule sends them to section 2 which includes questions about
- Rule B: If the student answers No, the rule skips section 2 entirely and sends them to section 3 which includes questions about apprenticeships or entering the workforce.
Copy a survey
If there's an existing survey with similar questions to a new survey you'd like to create, you can copy the existing survey to save yourself some time.
To copy a survey:
-
From your educator account, click Features and select Surveys.
 Click to enlarge
-
Find the survey you want to copy and click the three dot menu next to it. Select Copy.
 Click to enlarge
- A copied version of the survey will open. The title will be appended with (copy). Otherwise, the survey details and questions will be the same.
- Make any edits. When ready, click Publish. It will immediately be available on the student dashboard for them to complete.
Tip: If you're not ready to publish and make it available for your students, click Save at the bottom left to keep your work and return to it later.
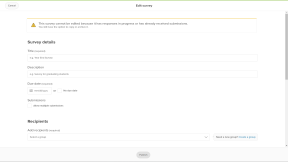
Edit a survey
If no students have begun completing a survey, you can go in and edit it. However, once a student has submitted answers or have saved a draft of their answers, the survey can no longer be edited. A banner at the top of the survey will indicate that it cannot be edited.

To edit a survey that has not been started by students:
-
From your educator account, click Features and select Surveys.
Click to enlarge
- Click on the survey you want to edit.
- Make your changes and click Publish. It will immediately be available on the student dashboard for them to complete.
Tip: If you're not ready to publish and make it available for your students, click Save at the bottom left to keep your work and return to it later.
Close a survey
When you want to prevent students from submitting any further responses, you can close it. The responses will still show in reports and can be viewed on student profiles.
Once responses have been submitted by students, closing a survey is ideal so you can track and compare to previous survey data. If you don't wish to see responses or include them in reports, it might be better for you to Archive the survey.
Surveys can be opened again following the same steps below.
To close a survey:
-
From your educator account, click Features and select Surveys.
Click to enlarge
-
Find the survey you want to close and click the three dot menu next to it. Select Close.
 Click to enlarge
 - The status of the survey will change to Closed.
Archive a survey
If you no longer want to receive submissions from your students and also do not want submitted responses to show in reports or on student profiles, you can archive the survey.
After archiving a survey, it will no longer appear on student dashboards or in any reports you run.
Surveys can be unarchived. If you unarchive a survey, it will return to the same status as when it was archived (open, closed, or not active), and will immediately show on student dashboards, and in reports.
To archive a survey:
- From your educator account, click Features and select Surveys.
Click to enlarge
-
Find the survey you want to close and click the three dot menu next to it. Select Archive.
 Click to enlarge
- The survey will move to the Archive tab. Click the tab to find it again and unarchive if needed.
Delete a survey
You can fully delete a survey. This might be applicable if a survey was created accidentally, is outdated, or is no longer necessary. Once a survey is deleted, it will no longer show in the list of surveys, in the list of archived surveys, or in any reports. Deleting a survey cannot be undone.
Those with Admin access can delete any survey. Those will Limited or User level access can only delete the surveys they have personally created.
To delete a survey:
- From your educator account, click Features and select Surveys.
Click to enlarge
-
Find the survey you want to close and click the three dot menu next to it. Select Delete.
 Click to enlarge
- Confirm you want to delete the survey and click Delete.
- The survey will be completely deleted from both the List tab and the Archive tab, and all reports.