If students come across an opportunity on their own, outside of Xello, they can add it to Xello and send it for review. An educator will then review their submission to either approve it or decline it. If the opportunity is declined, educators add a note indicating the reason. Students then have the opportunity to make edits to their submission for review again.
Once a student-created opportunity is approved, it functions the same as any other opportunity: students access it, track their completed hours, and add files to it. Check out How students request and track opportunities to learn more.
Add an opportunity
If students come across an opportunity on their own, outside of Xello, they can add it to Xello and send it for review.
How students add an opportunity to Xello:
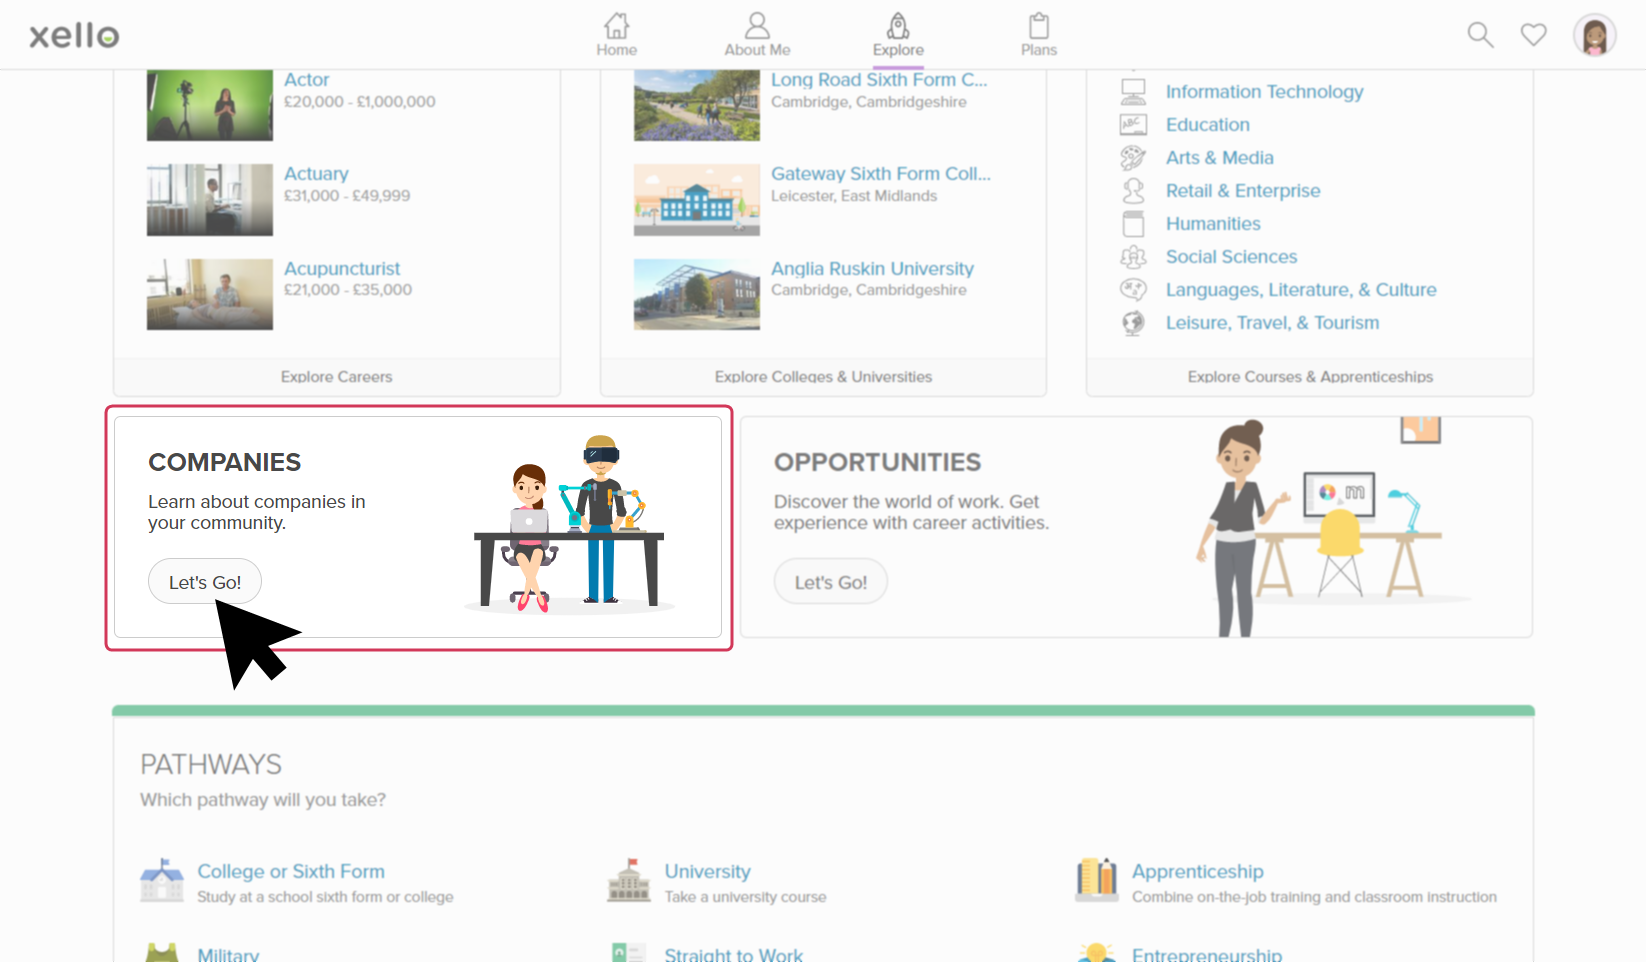
- From the Explore dropdown located at the top of any page, or on the Explore page, they click Opportunities.
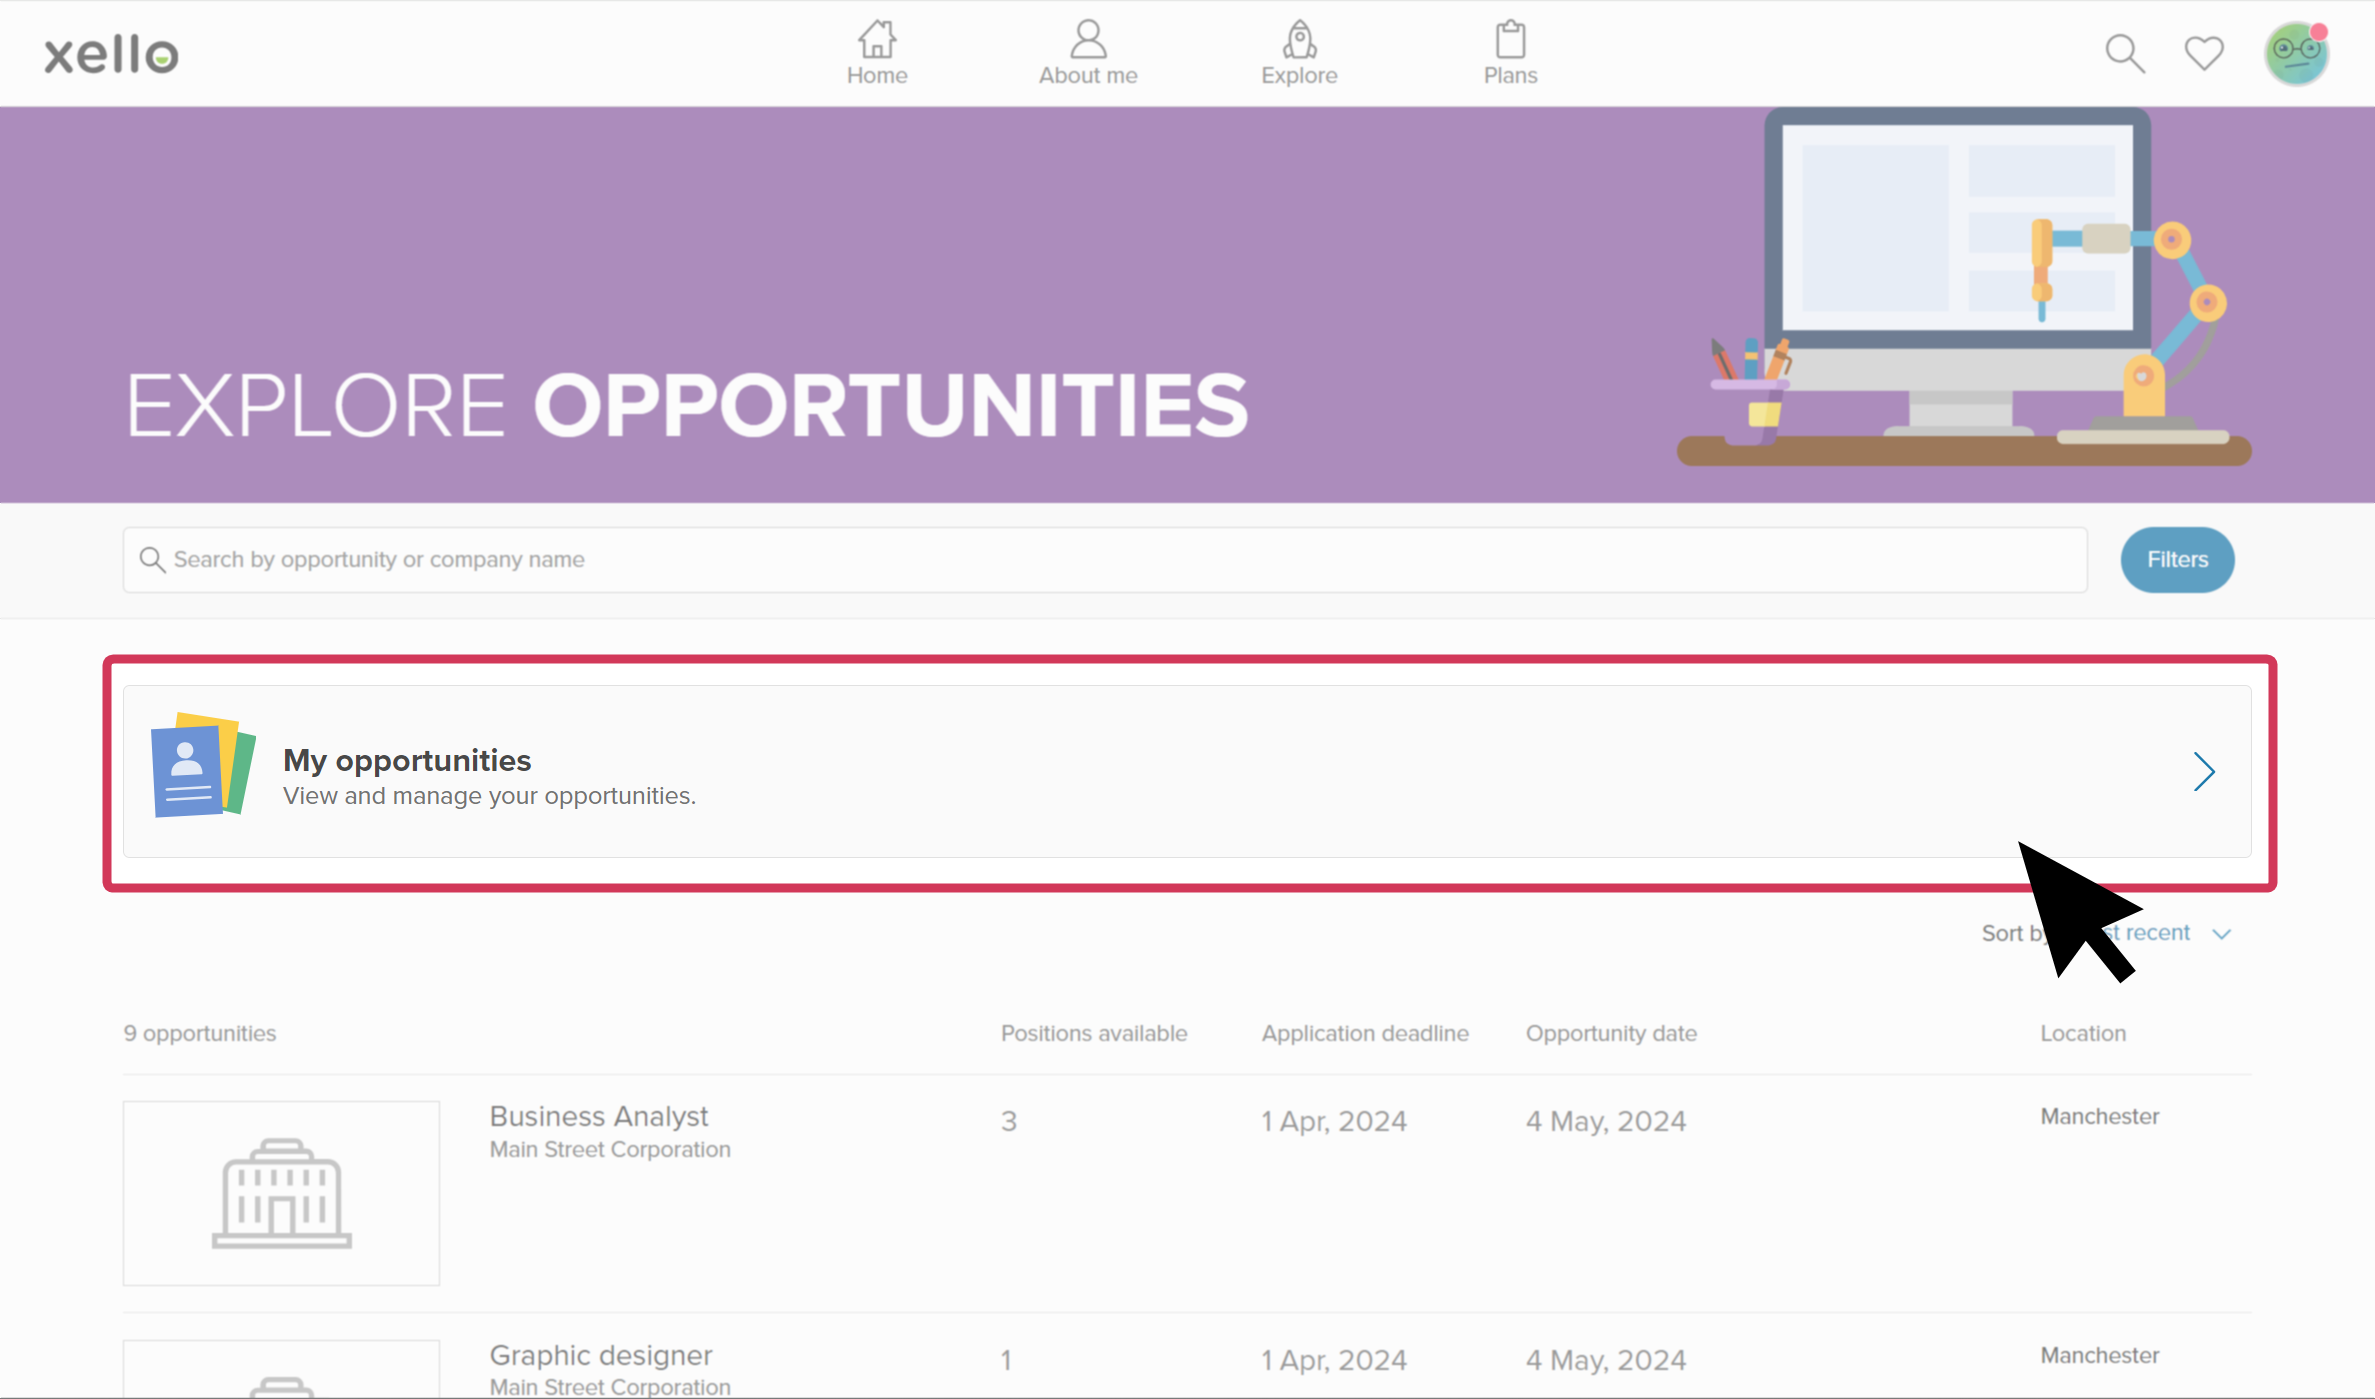
- From the Explore opportunities page, they click My opportunities.
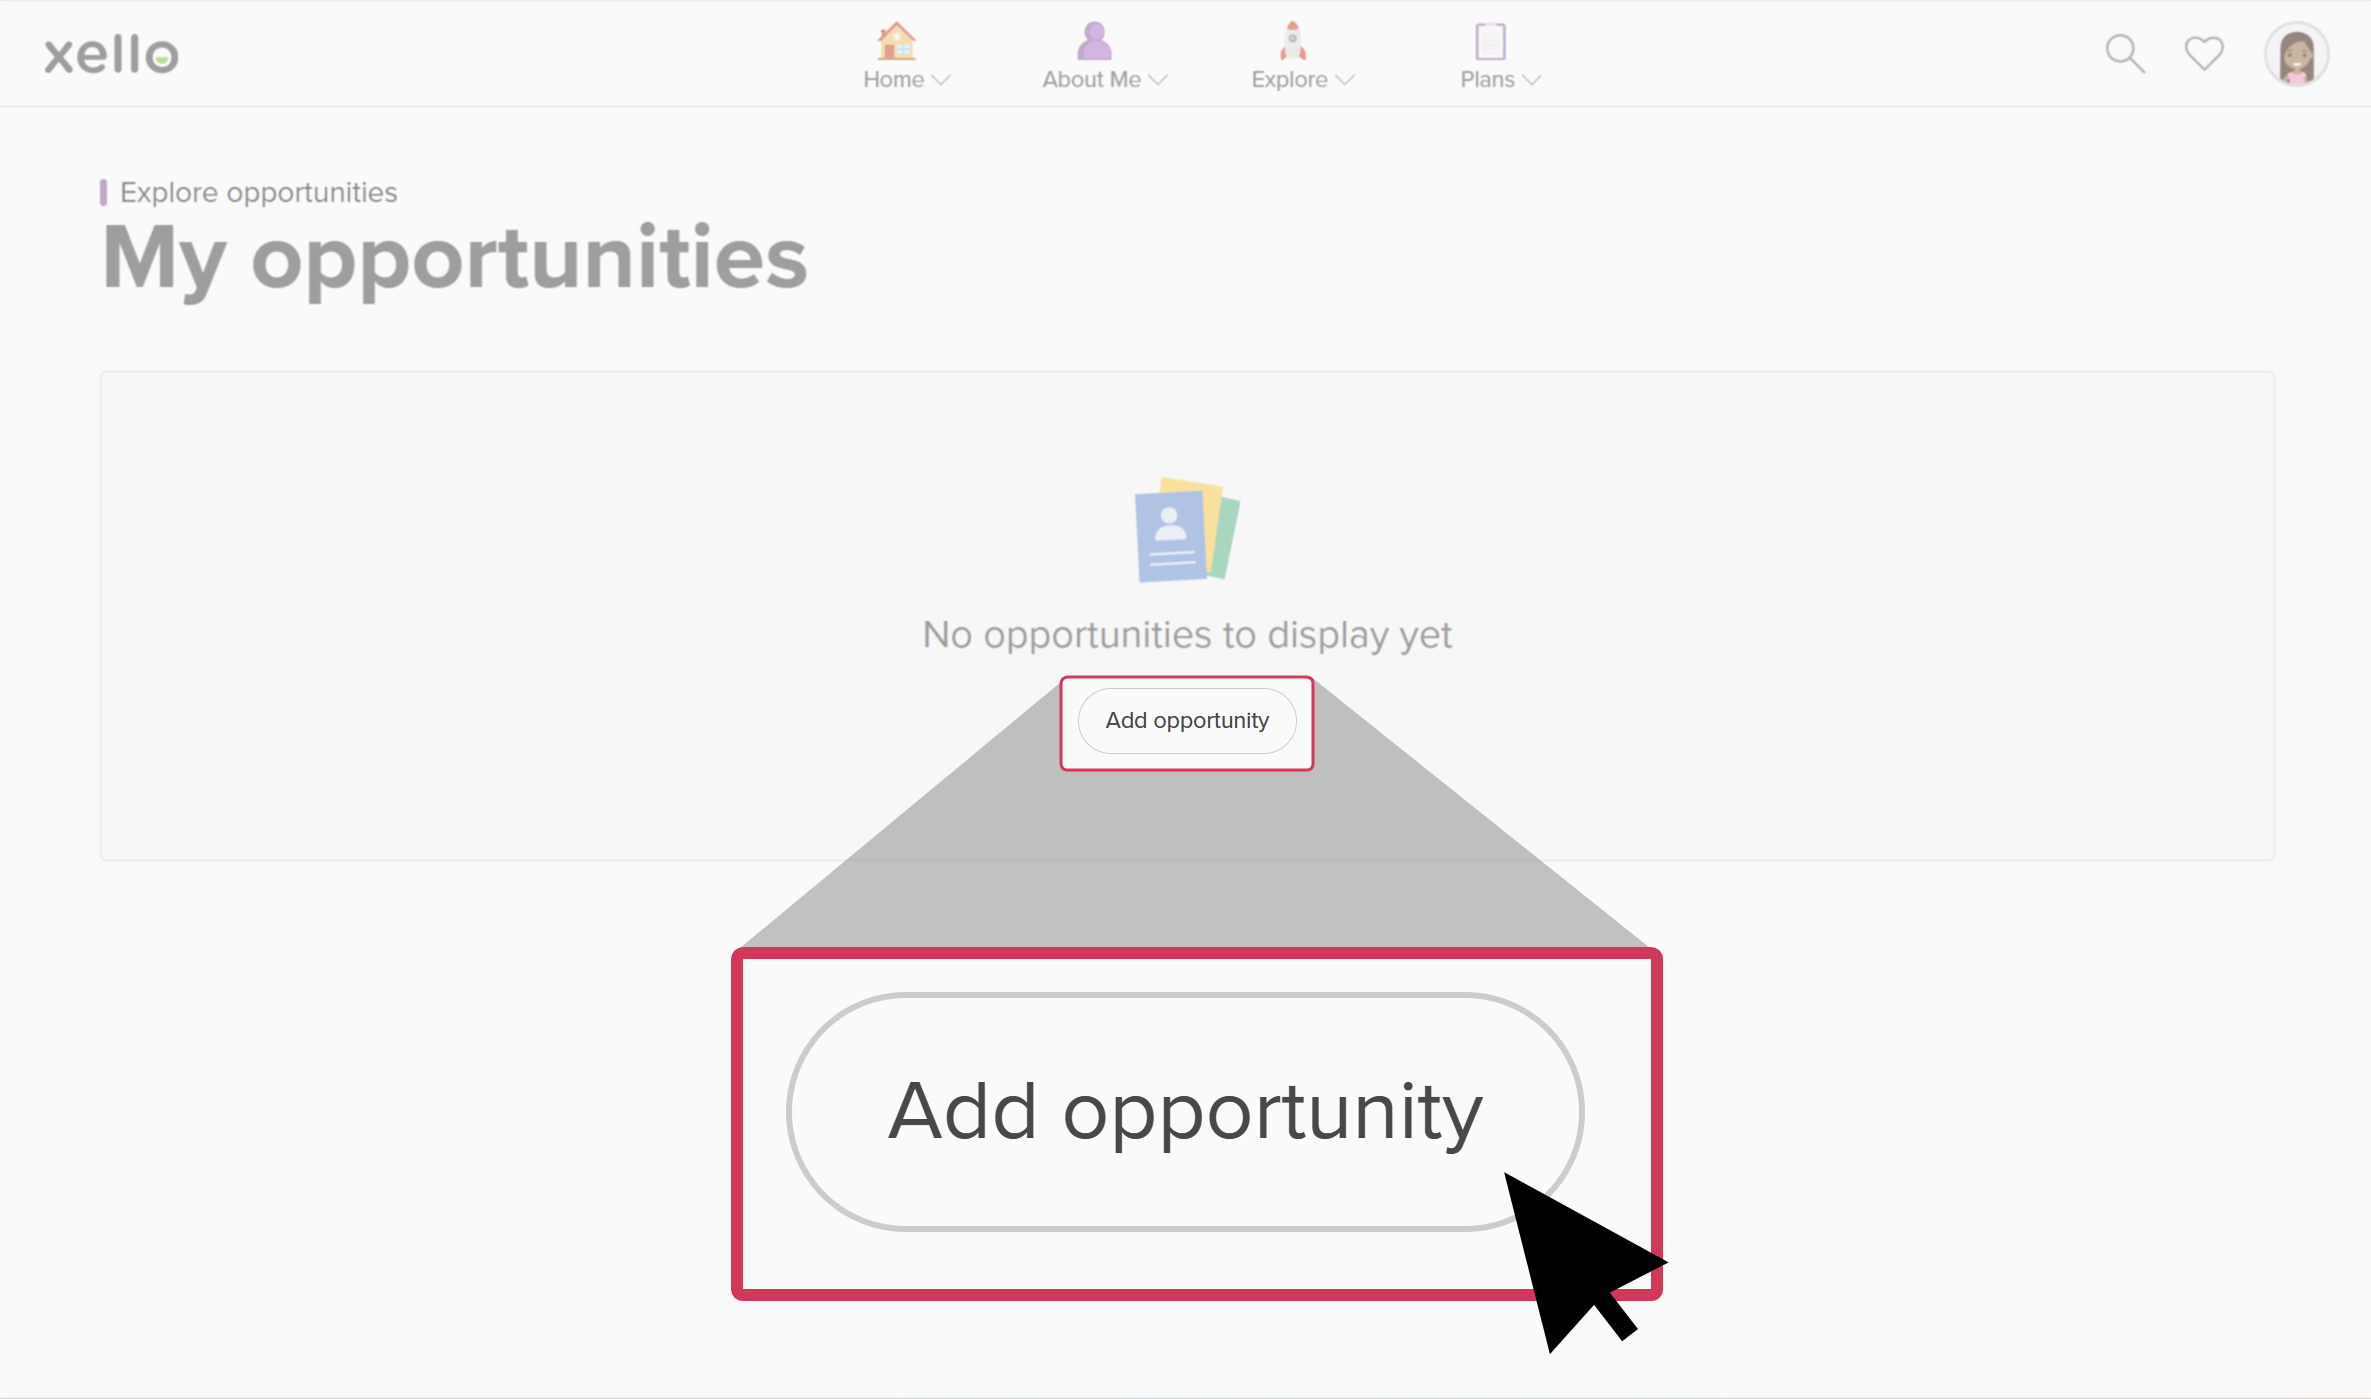
- They click Add opportunity.
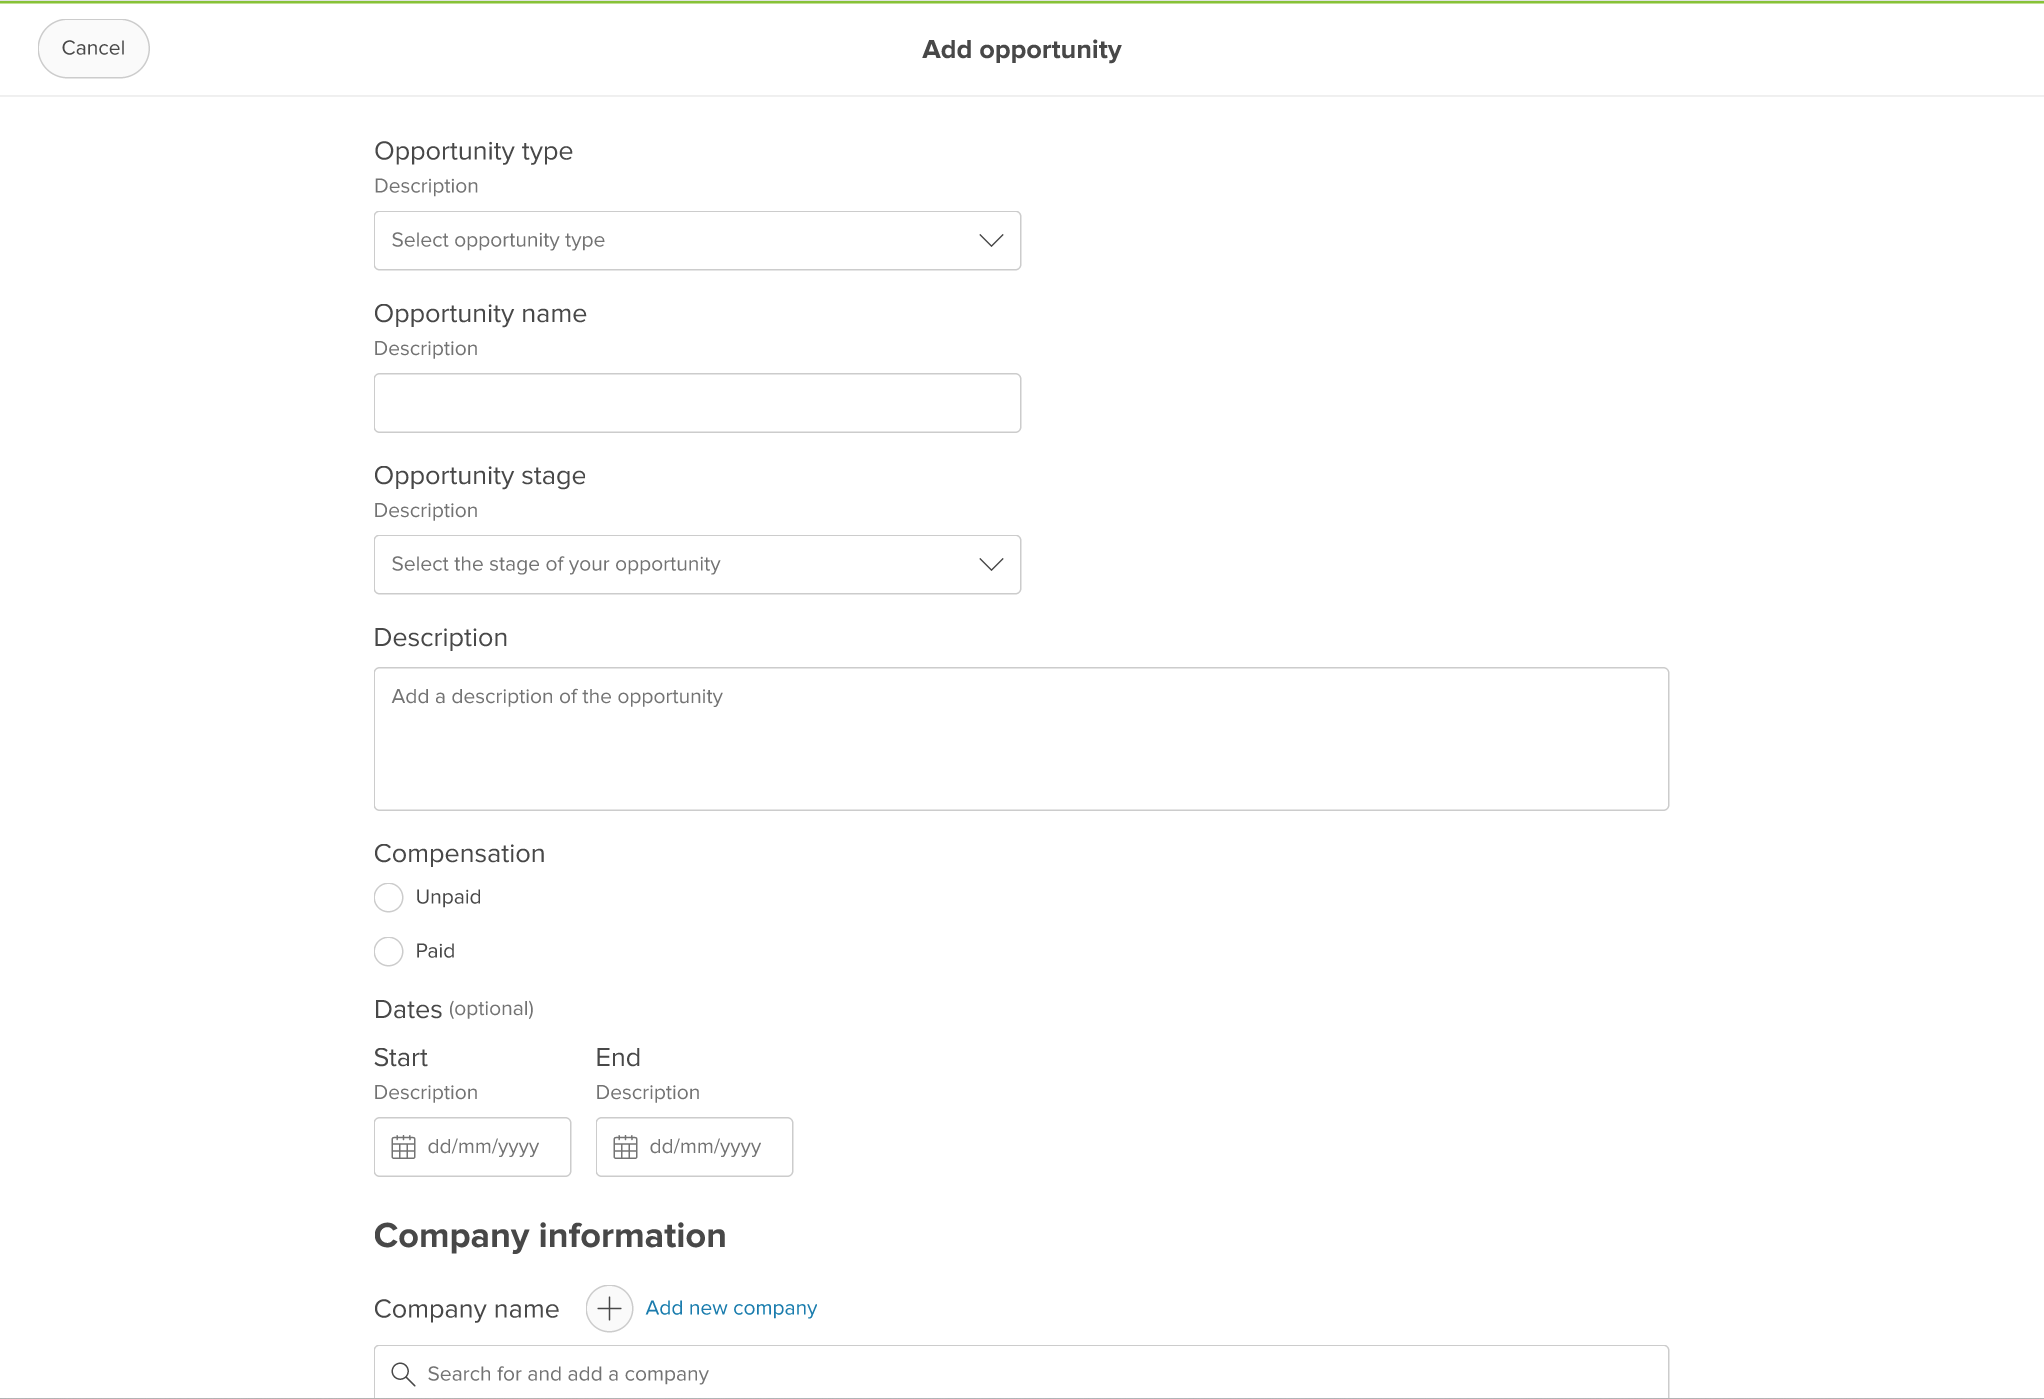
- They enter all the necessary information, including the opportunity type, name, a short description, and start dates.
- If the company has already been added to Xello, they'll be able to search for and add that company. If not, they click Add new company. They add the address and any contact details.
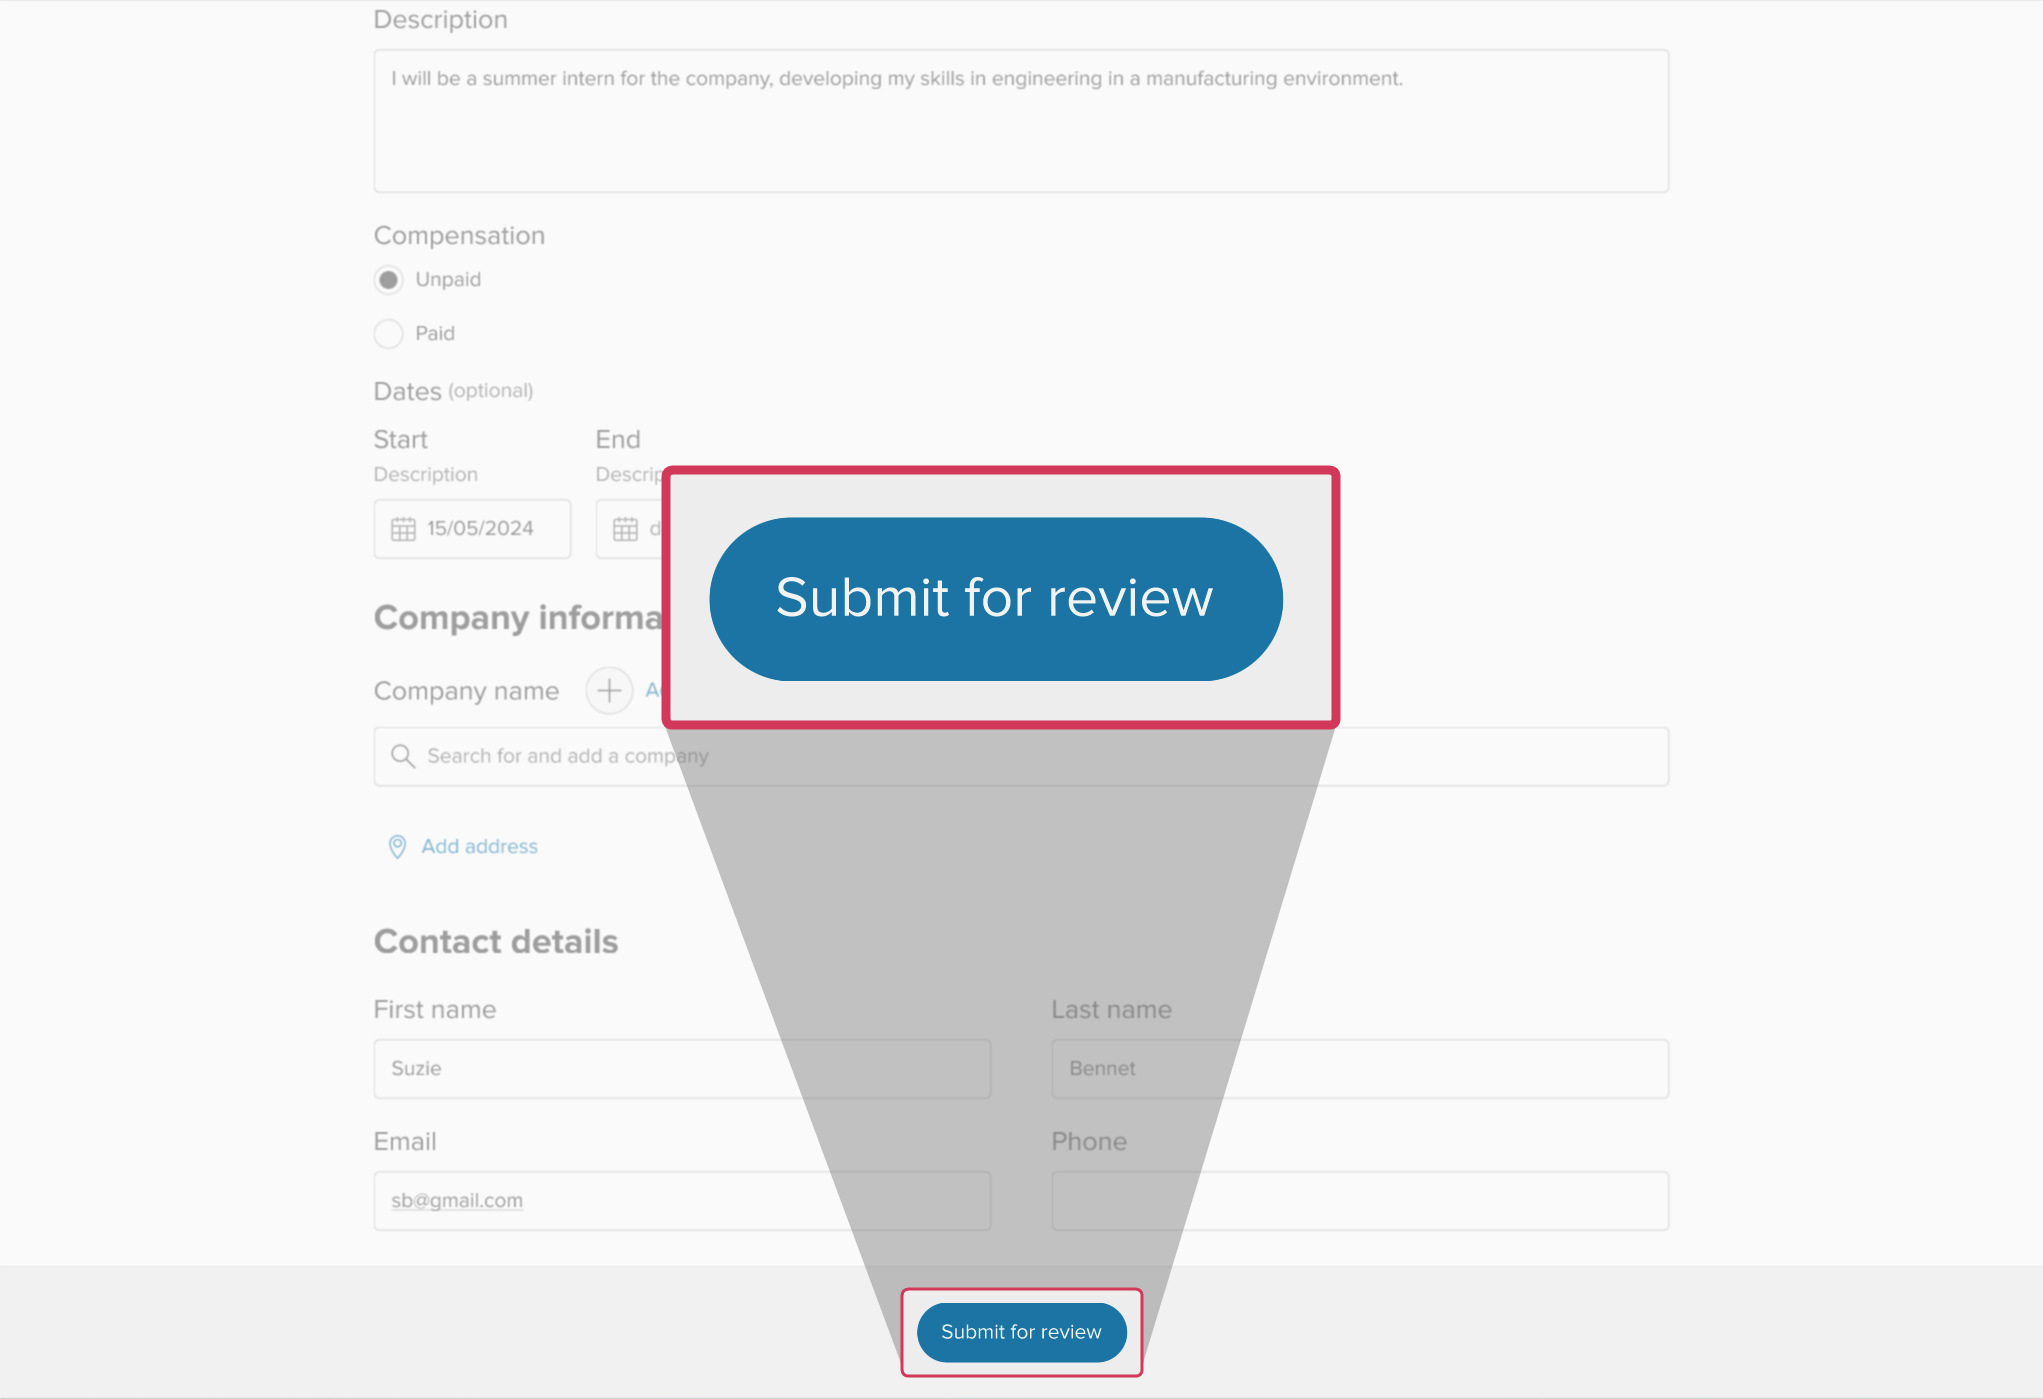
- Once they've filled out all the fields, they click Submit for review.
- A success bar will indicate that their opportunity has been sent for review.
Edit an added opportunity
A student-added opportunity can be approved or declined by an educator. When the opportunity is declined, the educator adds a note explaining why. The student then has the chance to edit the submission.
How students edit their added opportunity:
- From the Explore page, they click Opportunities.
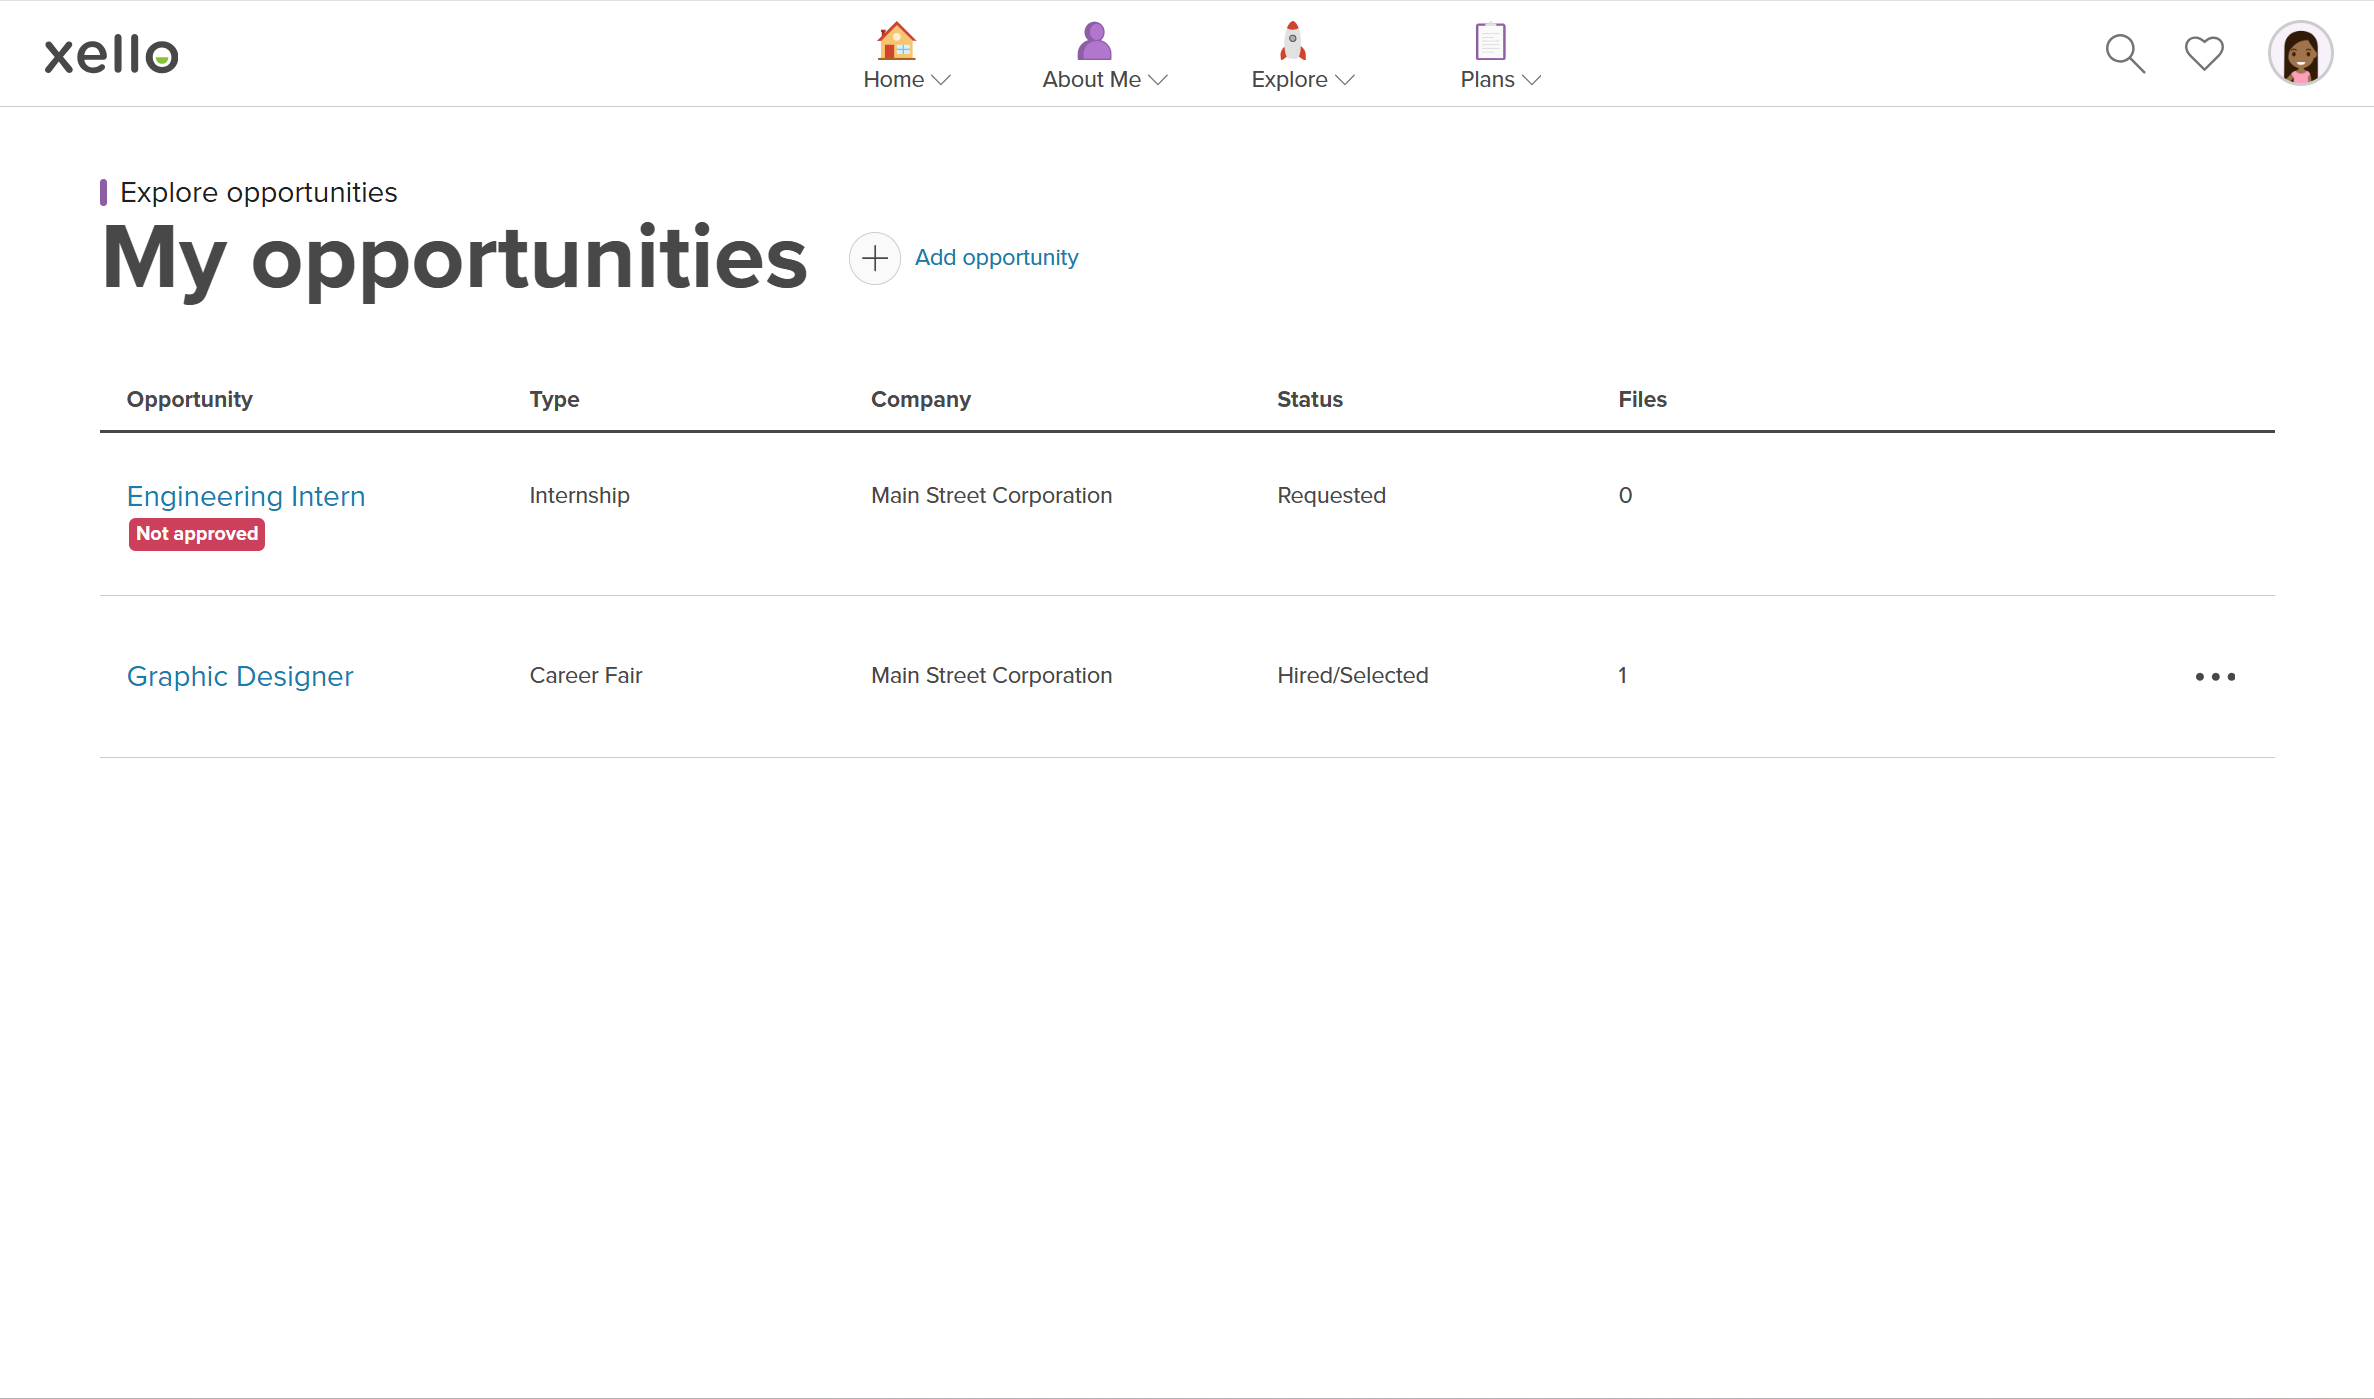
- From the Explore opportunities page, they click My opportunities.
- On the declined opportunity, there's a badge that says Not approved. They click on that opportunity to open the Edit opportunity form.
- At the top of the Edit opportunity form, the student can read the note from the educator detailing why the opportunity was declined.
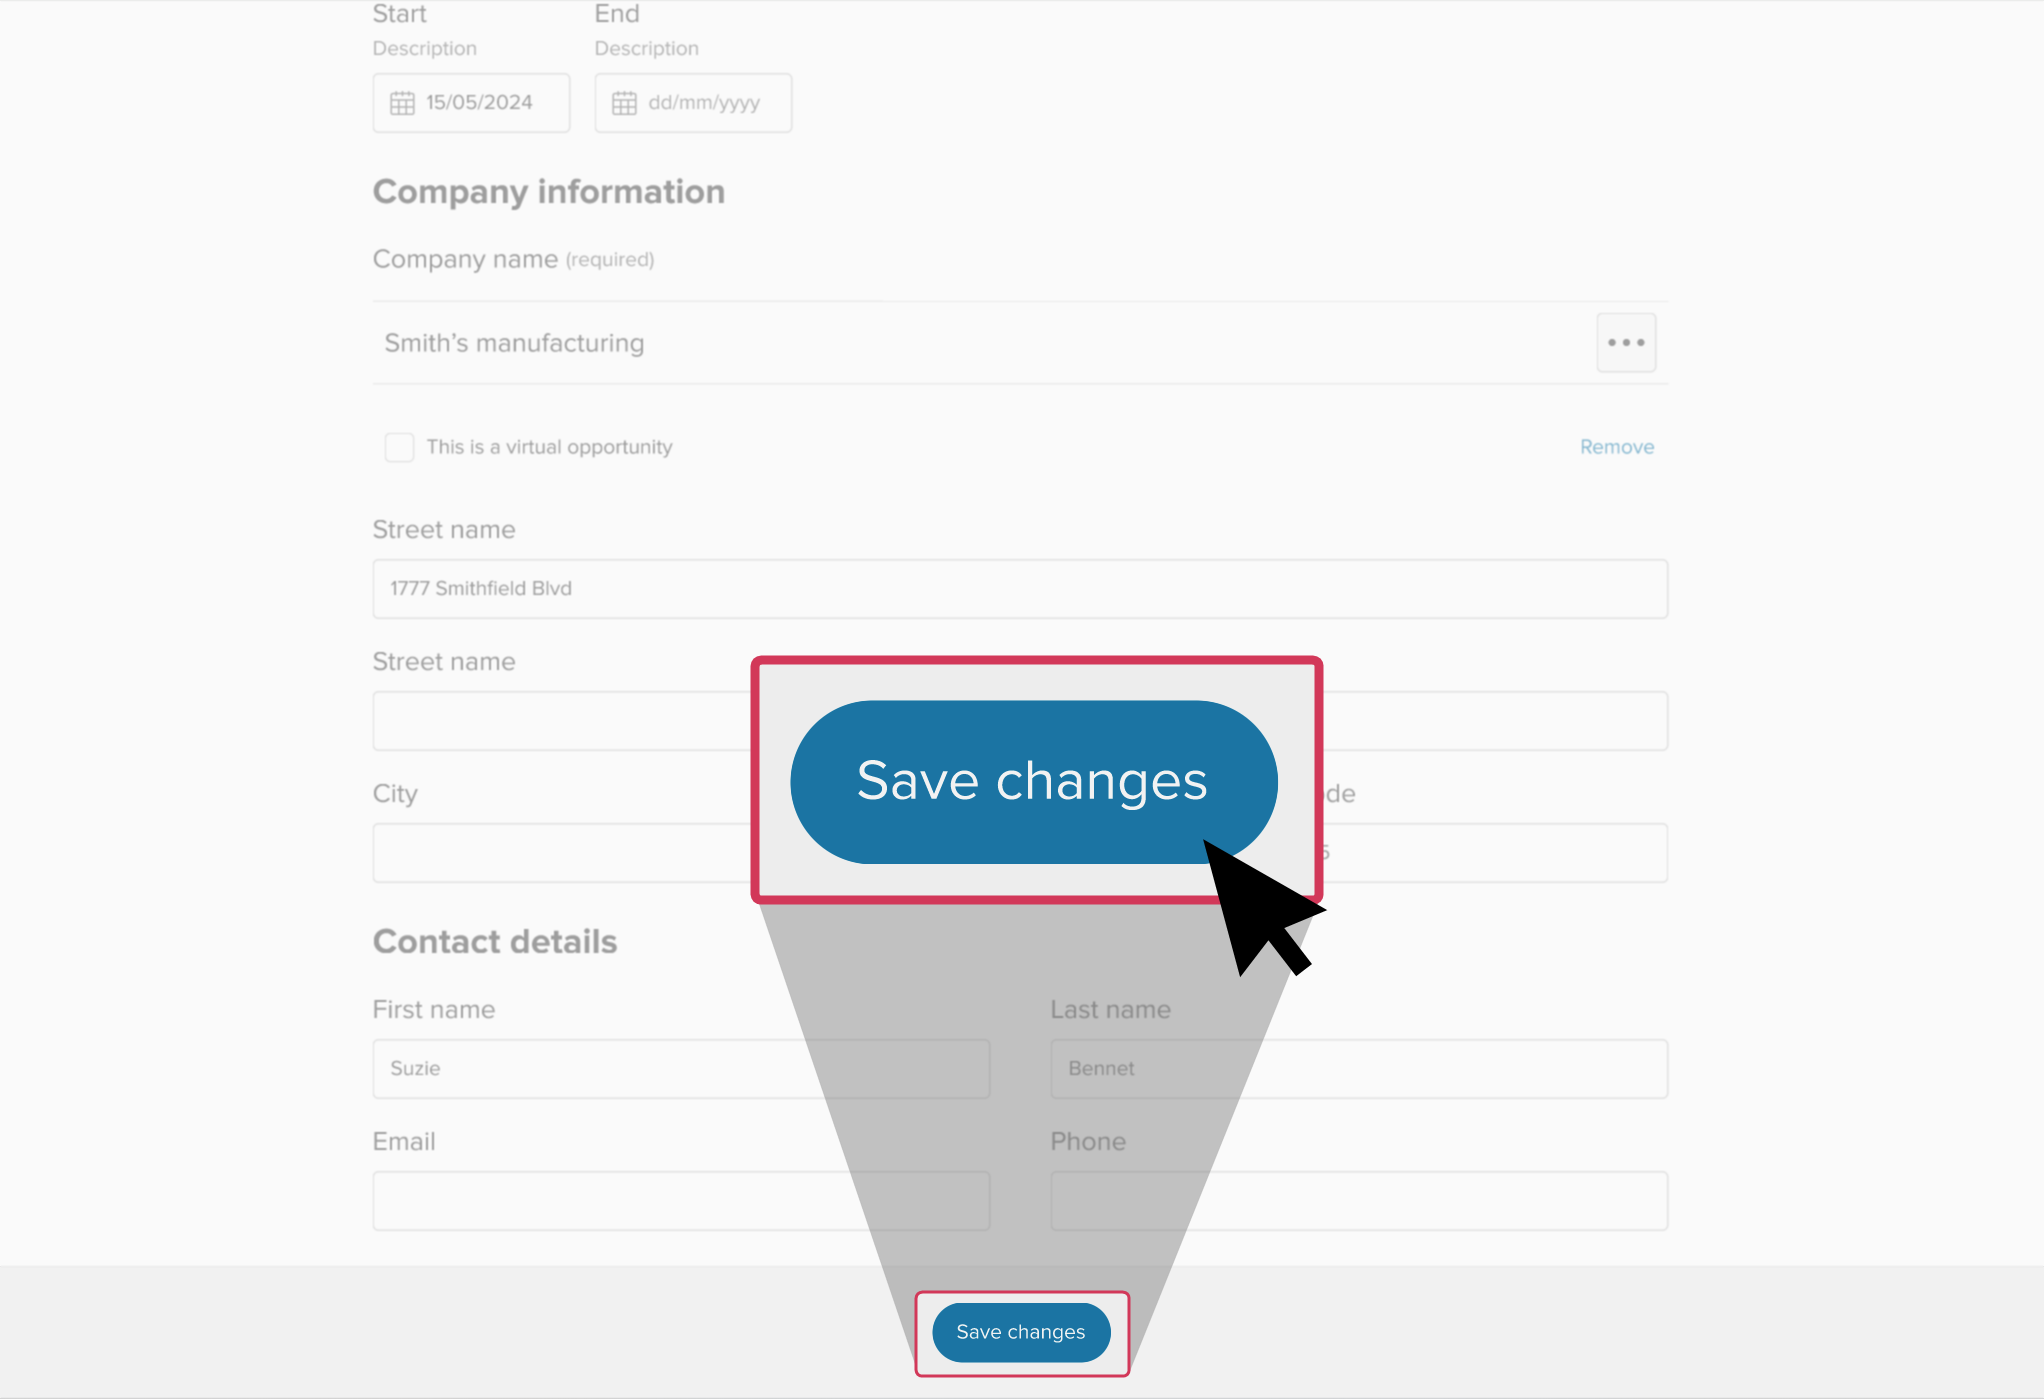
- The student then makes the necessary changes and clicks Save changes.
- A success bar will indicate that their opportunity has been updated for review.
Additional resources
-
Short Video
Short VideoHow students request and track Work-related learning opportunitiesWatch this video to learn how students use Xello to find, request, and track Work-related learning (WRL) opportunities. Learn where students find opportunities, how they filter searches, view details, and submit requests. They can also track their opportunities and log hours, while educators can verify hours and monitor requests.
-
PDF
PDFIntroduction to WRL in Xello -
PDF
PDFOpportunity Coordinator Guide -
PDF
PDFEducator's Guide to Opportunities
