Xello helps ensure students are on track to graduate with a sophisticated algorithm that checks to see that students’ course selections include all necessary requirements for graduation. As students add and remove courses from their plans, the progress bar updates showing in real time how they’re doing.
Xello also tracks specializations students work towards in conjunction with their diploma. These can go by many names - Specialist High Skills Majors in Ontario, endorsements in Texas, and A-G requirements in California to name just a few.
Graduation diplomas include all the requirements students need to fulfill in order to earn a diploma. Students can only have one graduation diploma assigned to them.
Specializations are additional designations students can receive. Students can be assigned to multiple specializations.
Add a new diploma or specialization
If your school or district has a new diploma or specialization available, it can be created in Xello so your students can track their progress and courses more specifically.
Create a new diploma or specialization
To create a new diploma or specialization:
- From your educator account, click Features and select Course Planner.
 Click to enlarge
- Click Diplomas.
 Click to enlarge
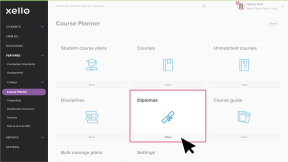
- From the top right corner, click Create diploma.
 Click to enlarge
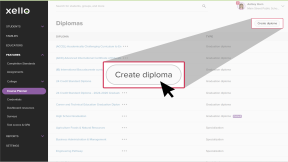
- Enter the Basic info about the diploma and click Save.
Add requirements and courses
Once you’ve added the diploma, it’s time to add requirements and courses:
- Select the Requirements tab and click Add requirement.
 Click to enlarge
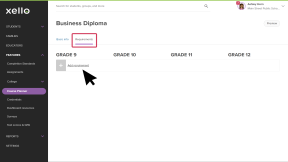
- Enter the name of the Subject area and choose whether students should complete the requirements in specific grades or in any grade.
 FYI: To learn more, check out Course requirements: any grade vs. recommended grades below.
- Click Save.
- Set the number of Credits. By default this is set to 1.
 Click to enlarge
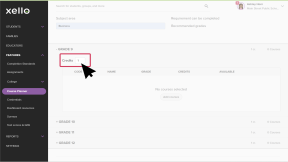
- Click Add courses. You can enter a course name or course code, or you can select a discipline and browse through related courses.
 Click to enlarge
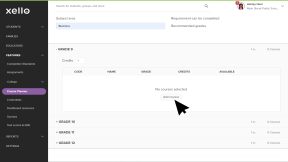
- Select the courses that can be used to fulfill the requirements, and click Done.
Course requirements: any grade vs. recommended grades
When creating or editing a diploma or specialization, you'll come across a point where you need to add the requirements necessary for the diploma or specialization.
There are two options associated with the Requirements: Any grade or Recommended grades.
Recommended grades
If you choose Recommended grades, you’ll be associating courses with specific grade levels. This is best for requirements where students take courses multiple years like English or Math.
Any grade
If you choose Any grade, you’ll be providing a list of courses that can be completed in any grade in the plan. This is best for requirements that must be taken at some point, but the grade may vary; Physical Education, Arts, and Foreign Language requirements may be examples of this.
Change the Default diploma
The Default diploma is assigned to all students who do not otherwise have a diploma assigned to them.
To change the Default diploma:
- From your educator account, click Features and select Course Planner.
Click to enlarge
- Click Diplomas.
Click to enlarge
- Click on the name of the diploma you want to set as the default diploma.
- Change the Default diploma toggle from No to Yes.
- Click Save.
Delete a diploma
If a diploma is no longer being used or was mistakenly created, you can delete it.
To delete a diploma:
- From your educator account, click Features and select Course Planner.
Click to enlarge
- Click Diplomas.
Click to enlarge
- Click on the name of the diploma you wish to delete.
- From the bottom right corner, click the Delete link.
 Click to enlarge
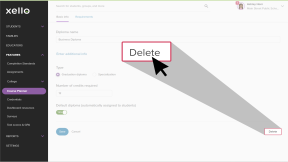
- Click OK if you're sure you want to delete the diploma.
- Diplomas cannot be deleted if there are students assigned to that diploma.
- You cannot delete the Default diploma.
Additional resources
-
 PDF
PDFCourse Planner annual tasks guide
PDF
PDFCourse Planner annual tasks guideDownload this guide for helpful reminders on what to review and update in Xello's Course Planner each year.
-
 Xello Academy
Course Planner for high school
Xello Academy
Xello AcademyCourse Planner for high schoolAre you a high school