Create and manage events so your students can easily find them from the Events page in Xello or while exploring school profiles. Invite college partners, or make the event public to maximize the number of attendees. Browse events other educators have created, and share the link with students to encourage attendance.
Create an event
Events can be created at both the school and district level. If an event is created at the district level, it will show as read-only for schools.
To create an event in Xello:
- Click Features and select Events.
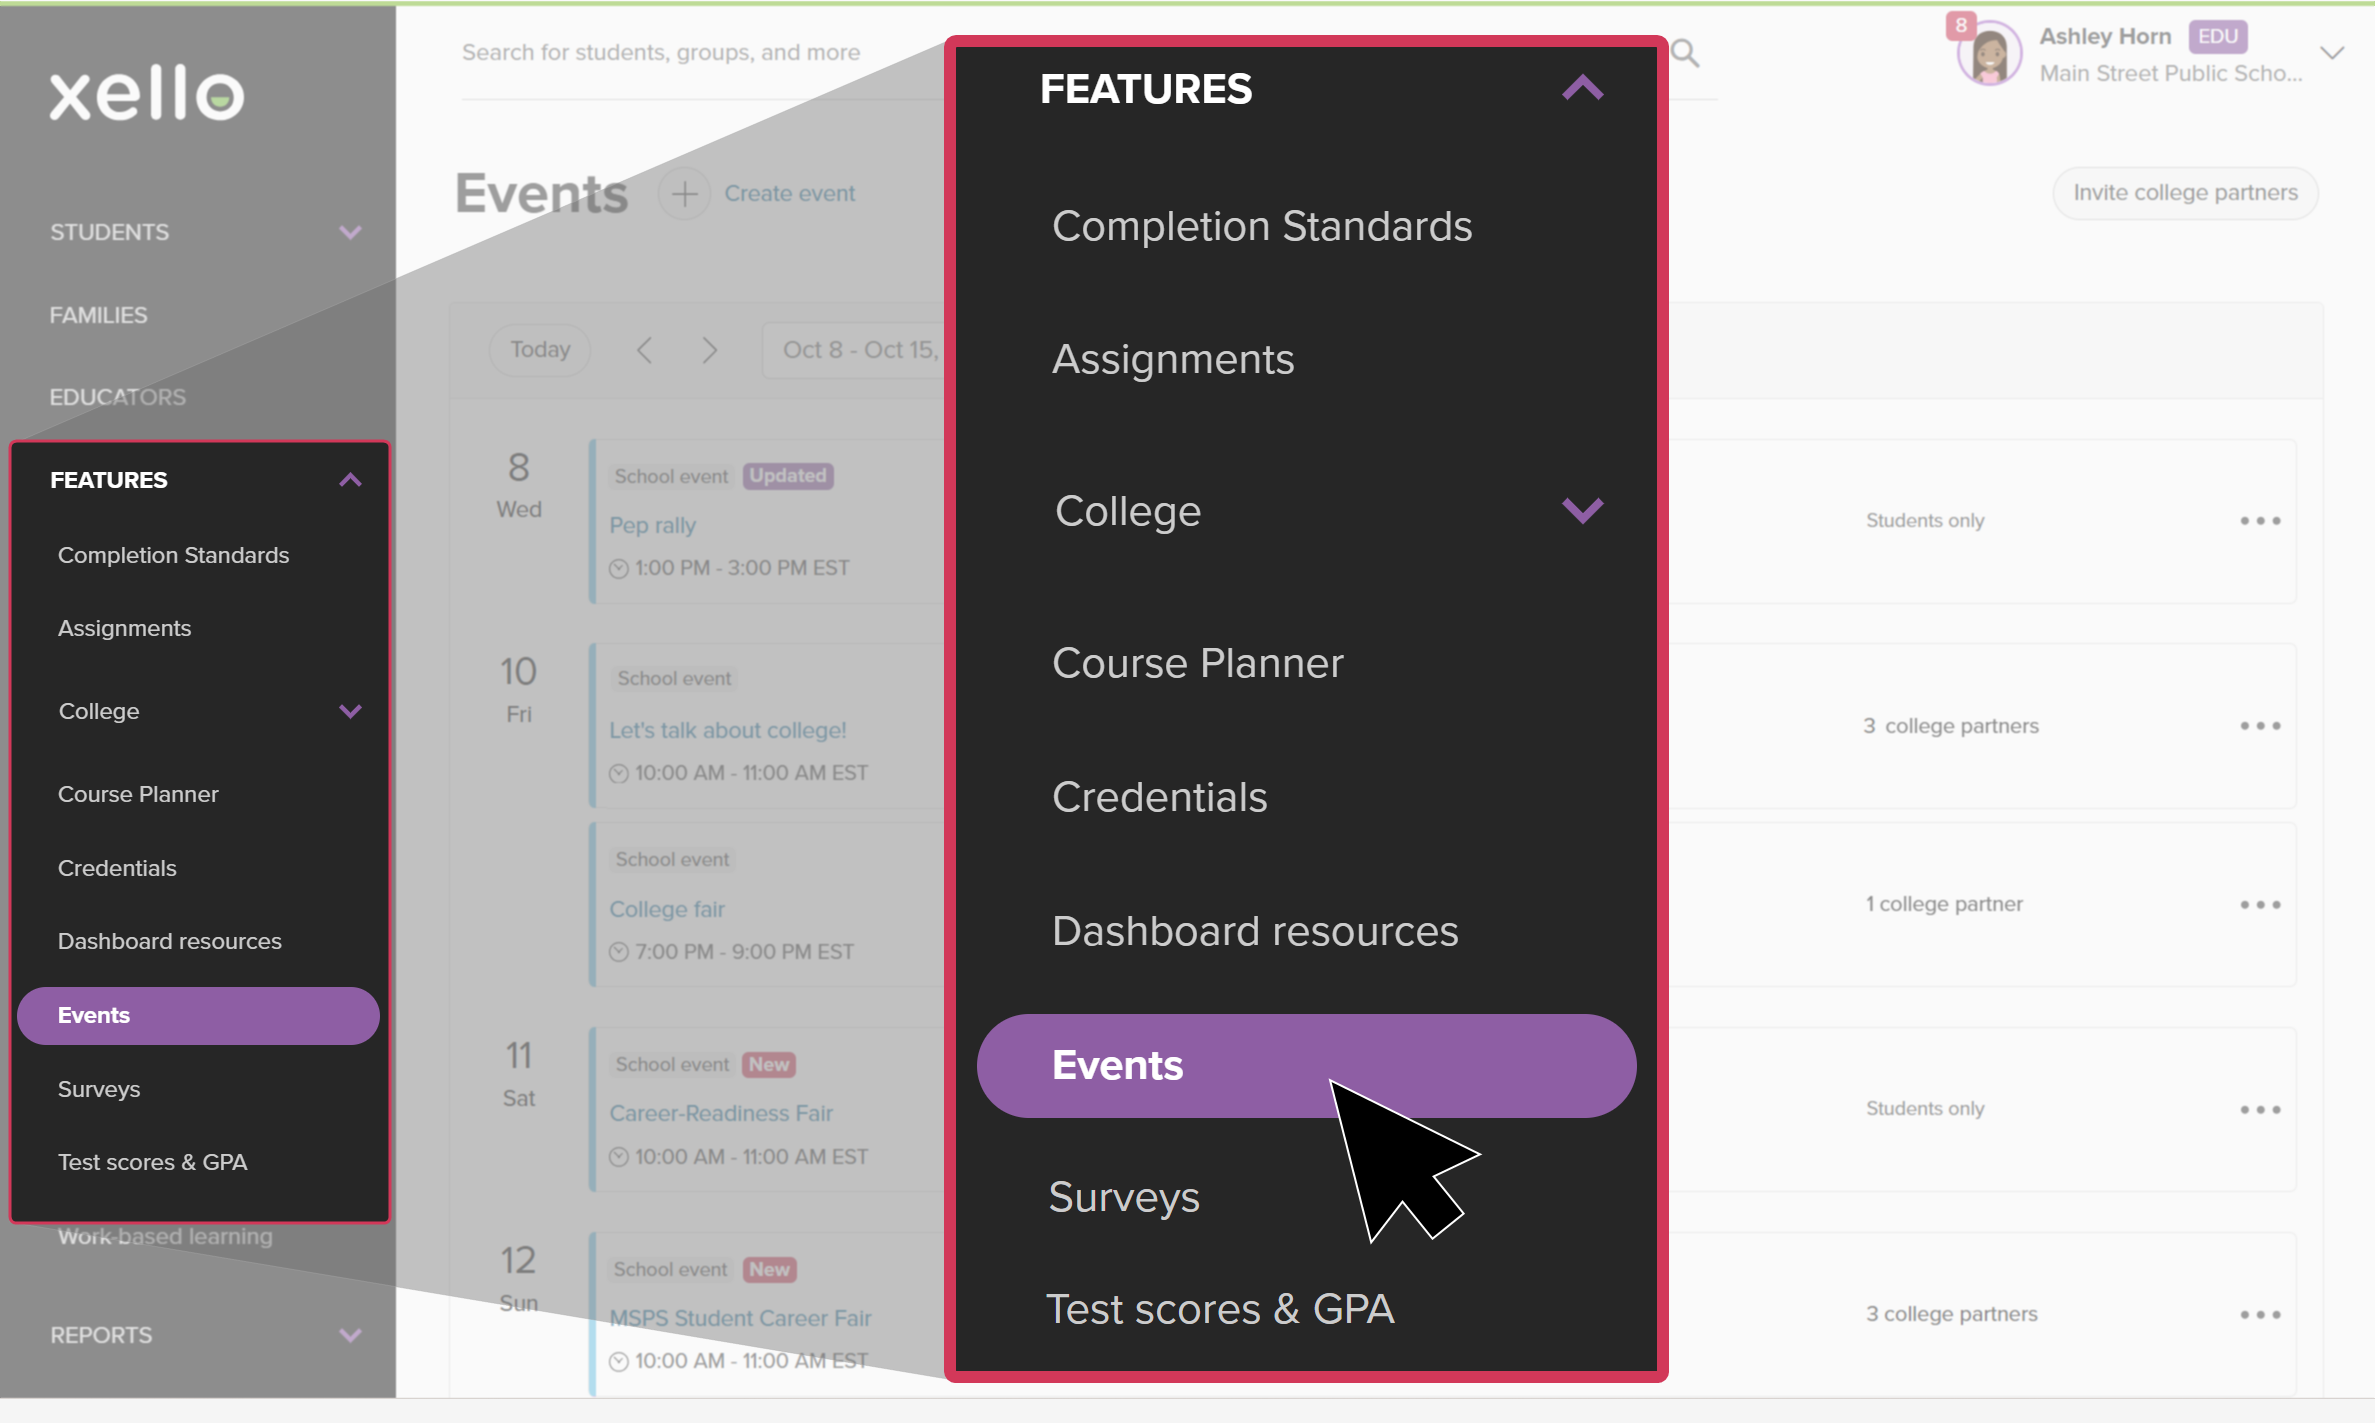 Click to enlarge
- Click Create event.
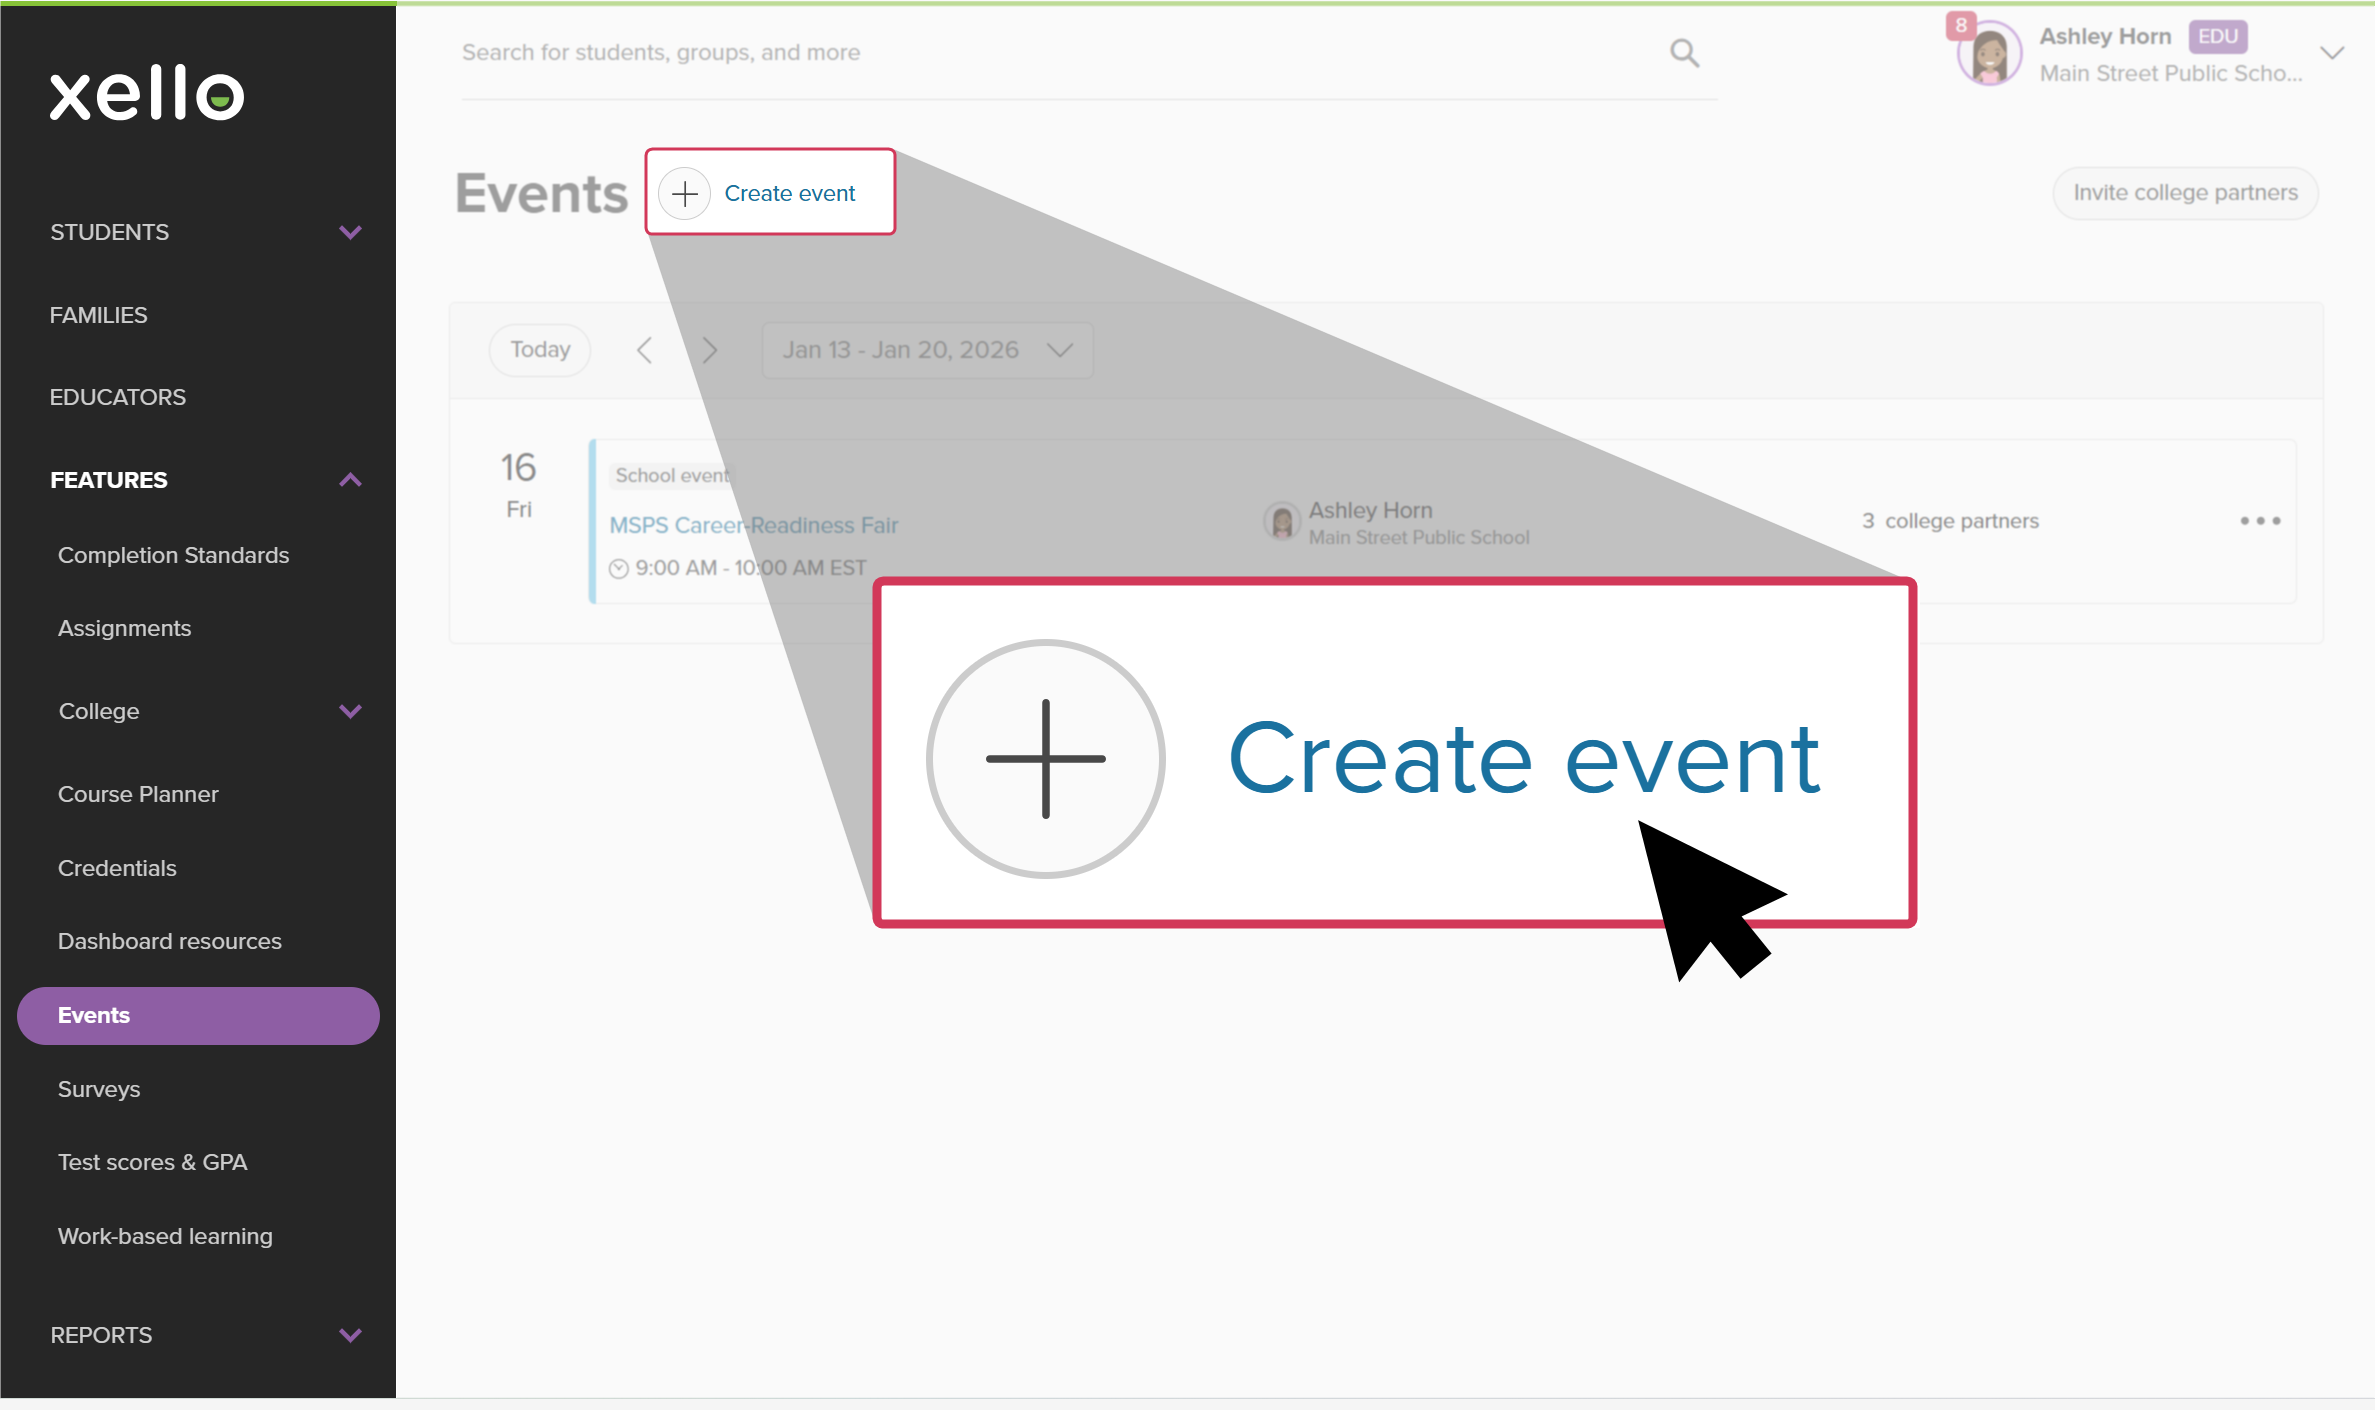 Click to enlarge
- Fill out the form. Fields include:
- Title
- Description (optional)
- Who can attend the event (just students, or both students and colleges)
- Whether the event is private or public. This option will only show if you make the event available to both students and colleges. If the event is private, you must invite the college. If the event is public, colleges will be able to find your event in their own Xello account.
- Which grades can view the event
- Date, start, and finish time
- Location and address
- Student resources (optional) - you can upload files to give additional information
 Click to enlarge
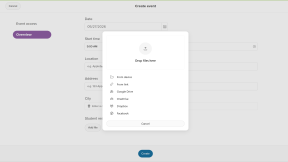
- Click Create.
- A green banner will indicate success.
- The event will be visible to students once a college has been confirmed.
Edit an event
You might need to edit an event after it’s been created. Once students have signed up for the event, you cannot change the Who can attend this event? option. Otherwise, all information for the event can be changed.
If you’ve already confirmed a college partner for an event, you can edit the event to make it private, thus keeping other colleges from requesting the spot already filled.
Those with Administrator access can edit all events, regardless of whether they created them. Those with User access can edit the events they created.
To edit an event:
- Click Features and select Events.
Click to enlarge
- Use the search, or the date dropdown and calendar to find the event.
 Click to enlarge
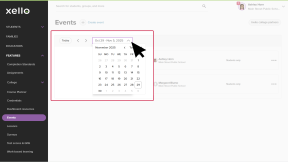
- You can also use Filters to show only events you've created, or to narrow the events by location or grades.
- Next to the event, click its three-dot menu, then select Edit event.
 Click to enlarge
- Make your changes and click Save.