Once a student has been set up with, completed, or an opportunity, update their request status to easily keep track of, and report on, their progress.
Review a student's added opportunity
If a student finds an opportunity on their own, outside of Xello, they can add it and submit the opportunity for review and approval.
How to review a student's added opportunity:
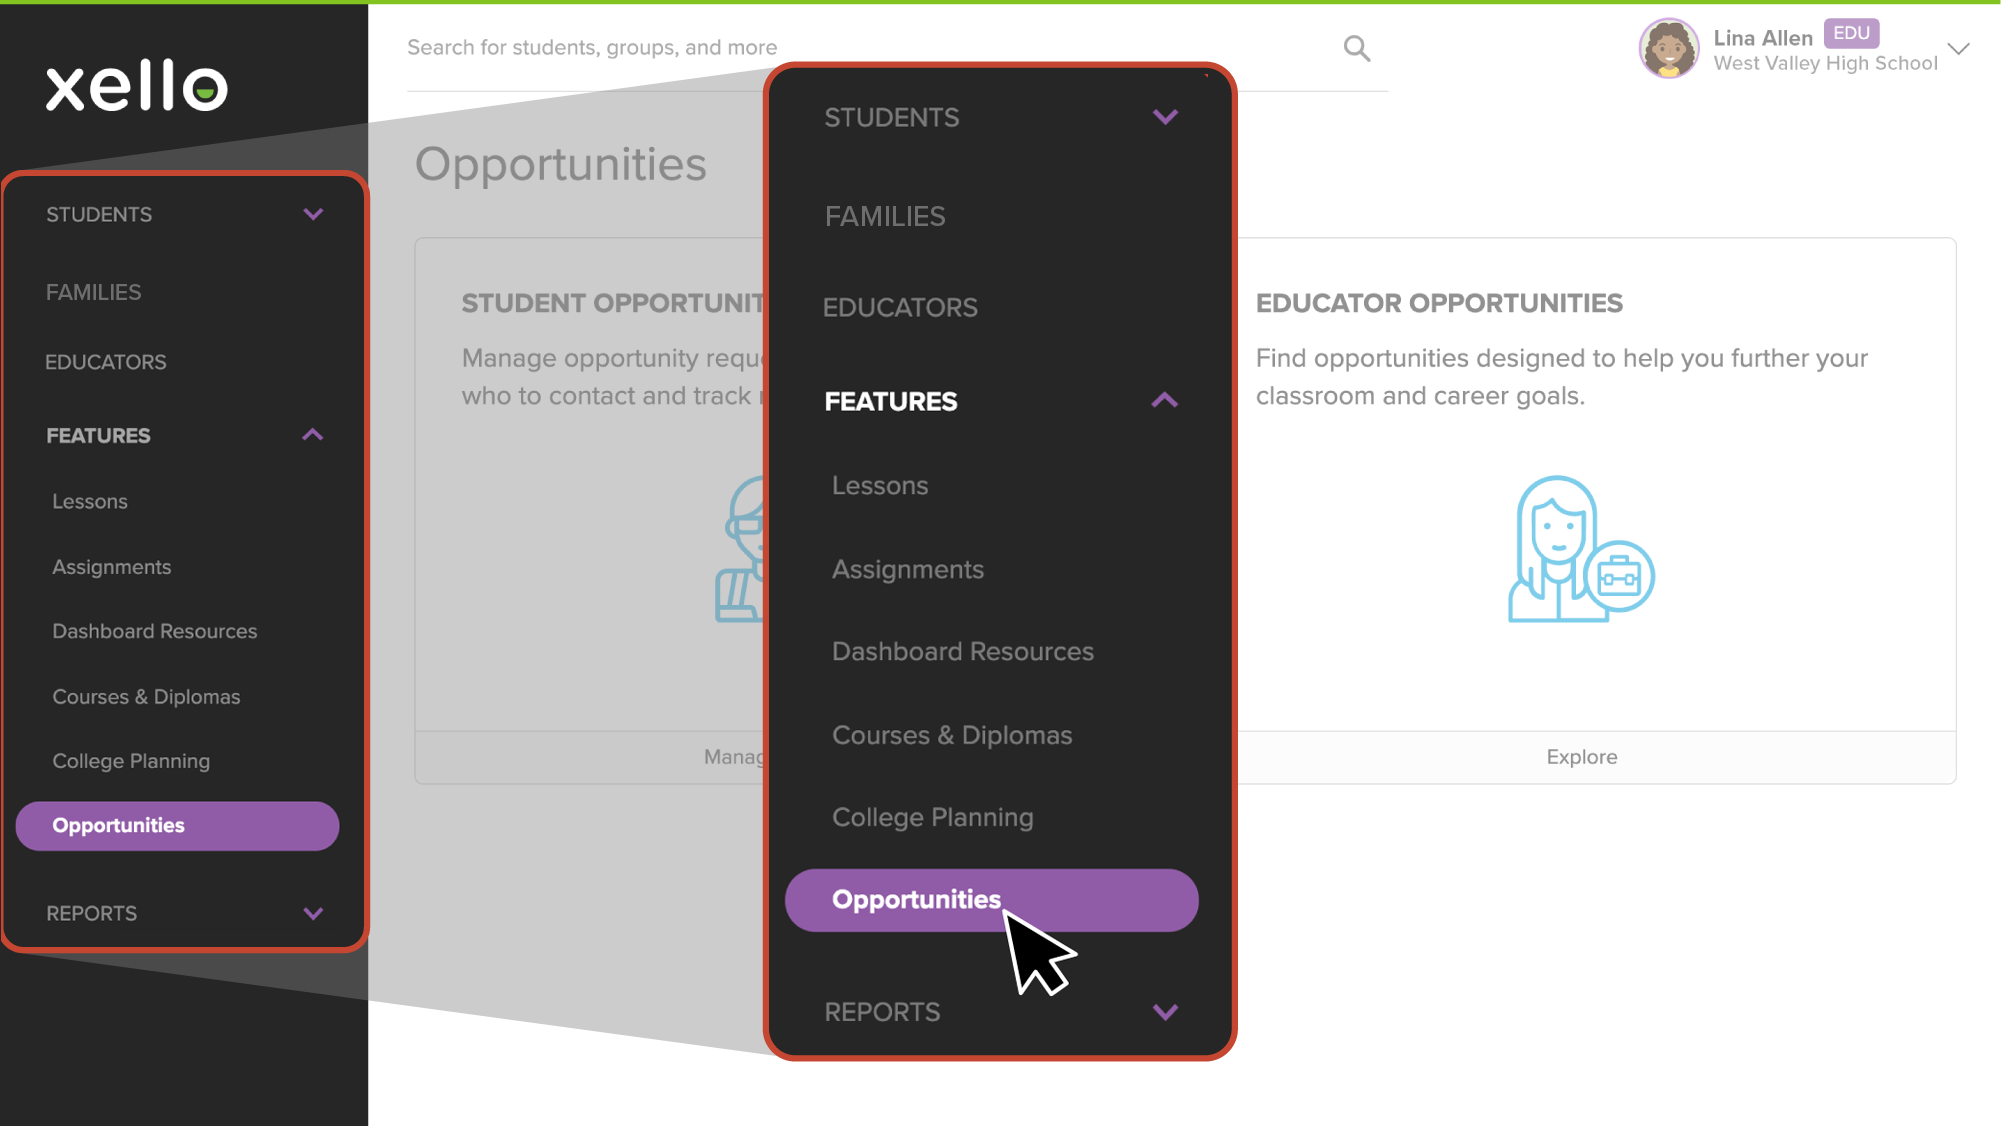
- From your educator account, click Features and select .
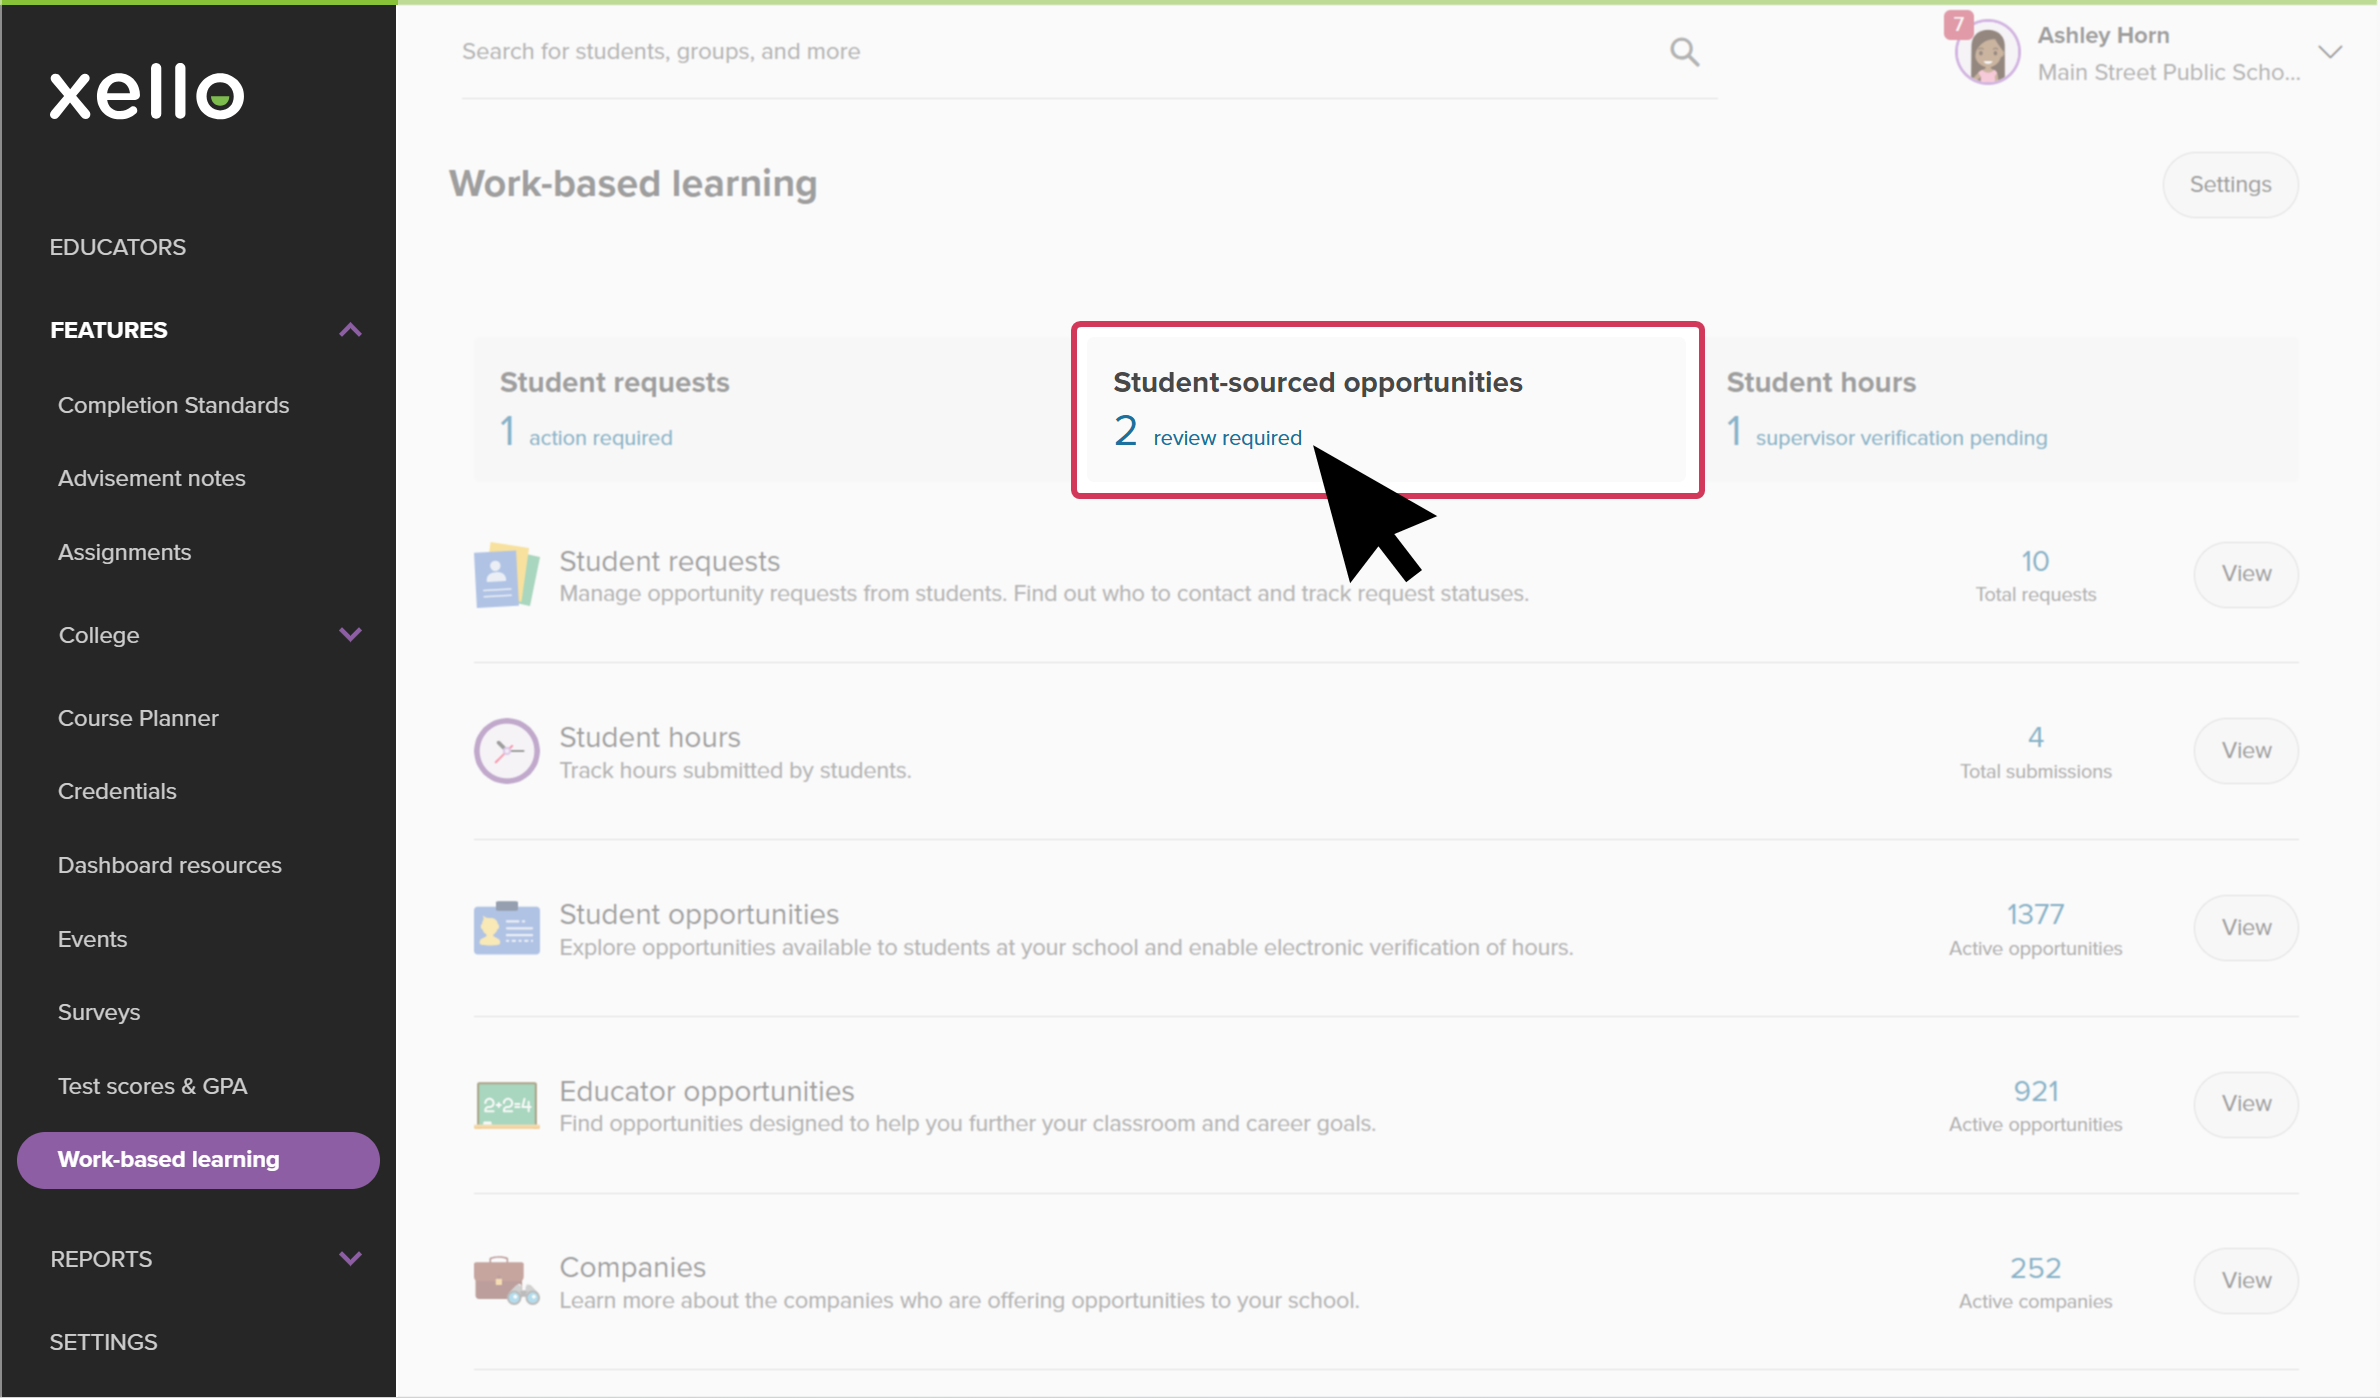
- In the card called Student-sourced opportunities, click the number of reviews required. This opens the filtered list of opportunities students have found themselves and which require educator approval.
- Alternatively, next to Student opportunities,click View. You can then filter and find the opportunity from the full list of requests.
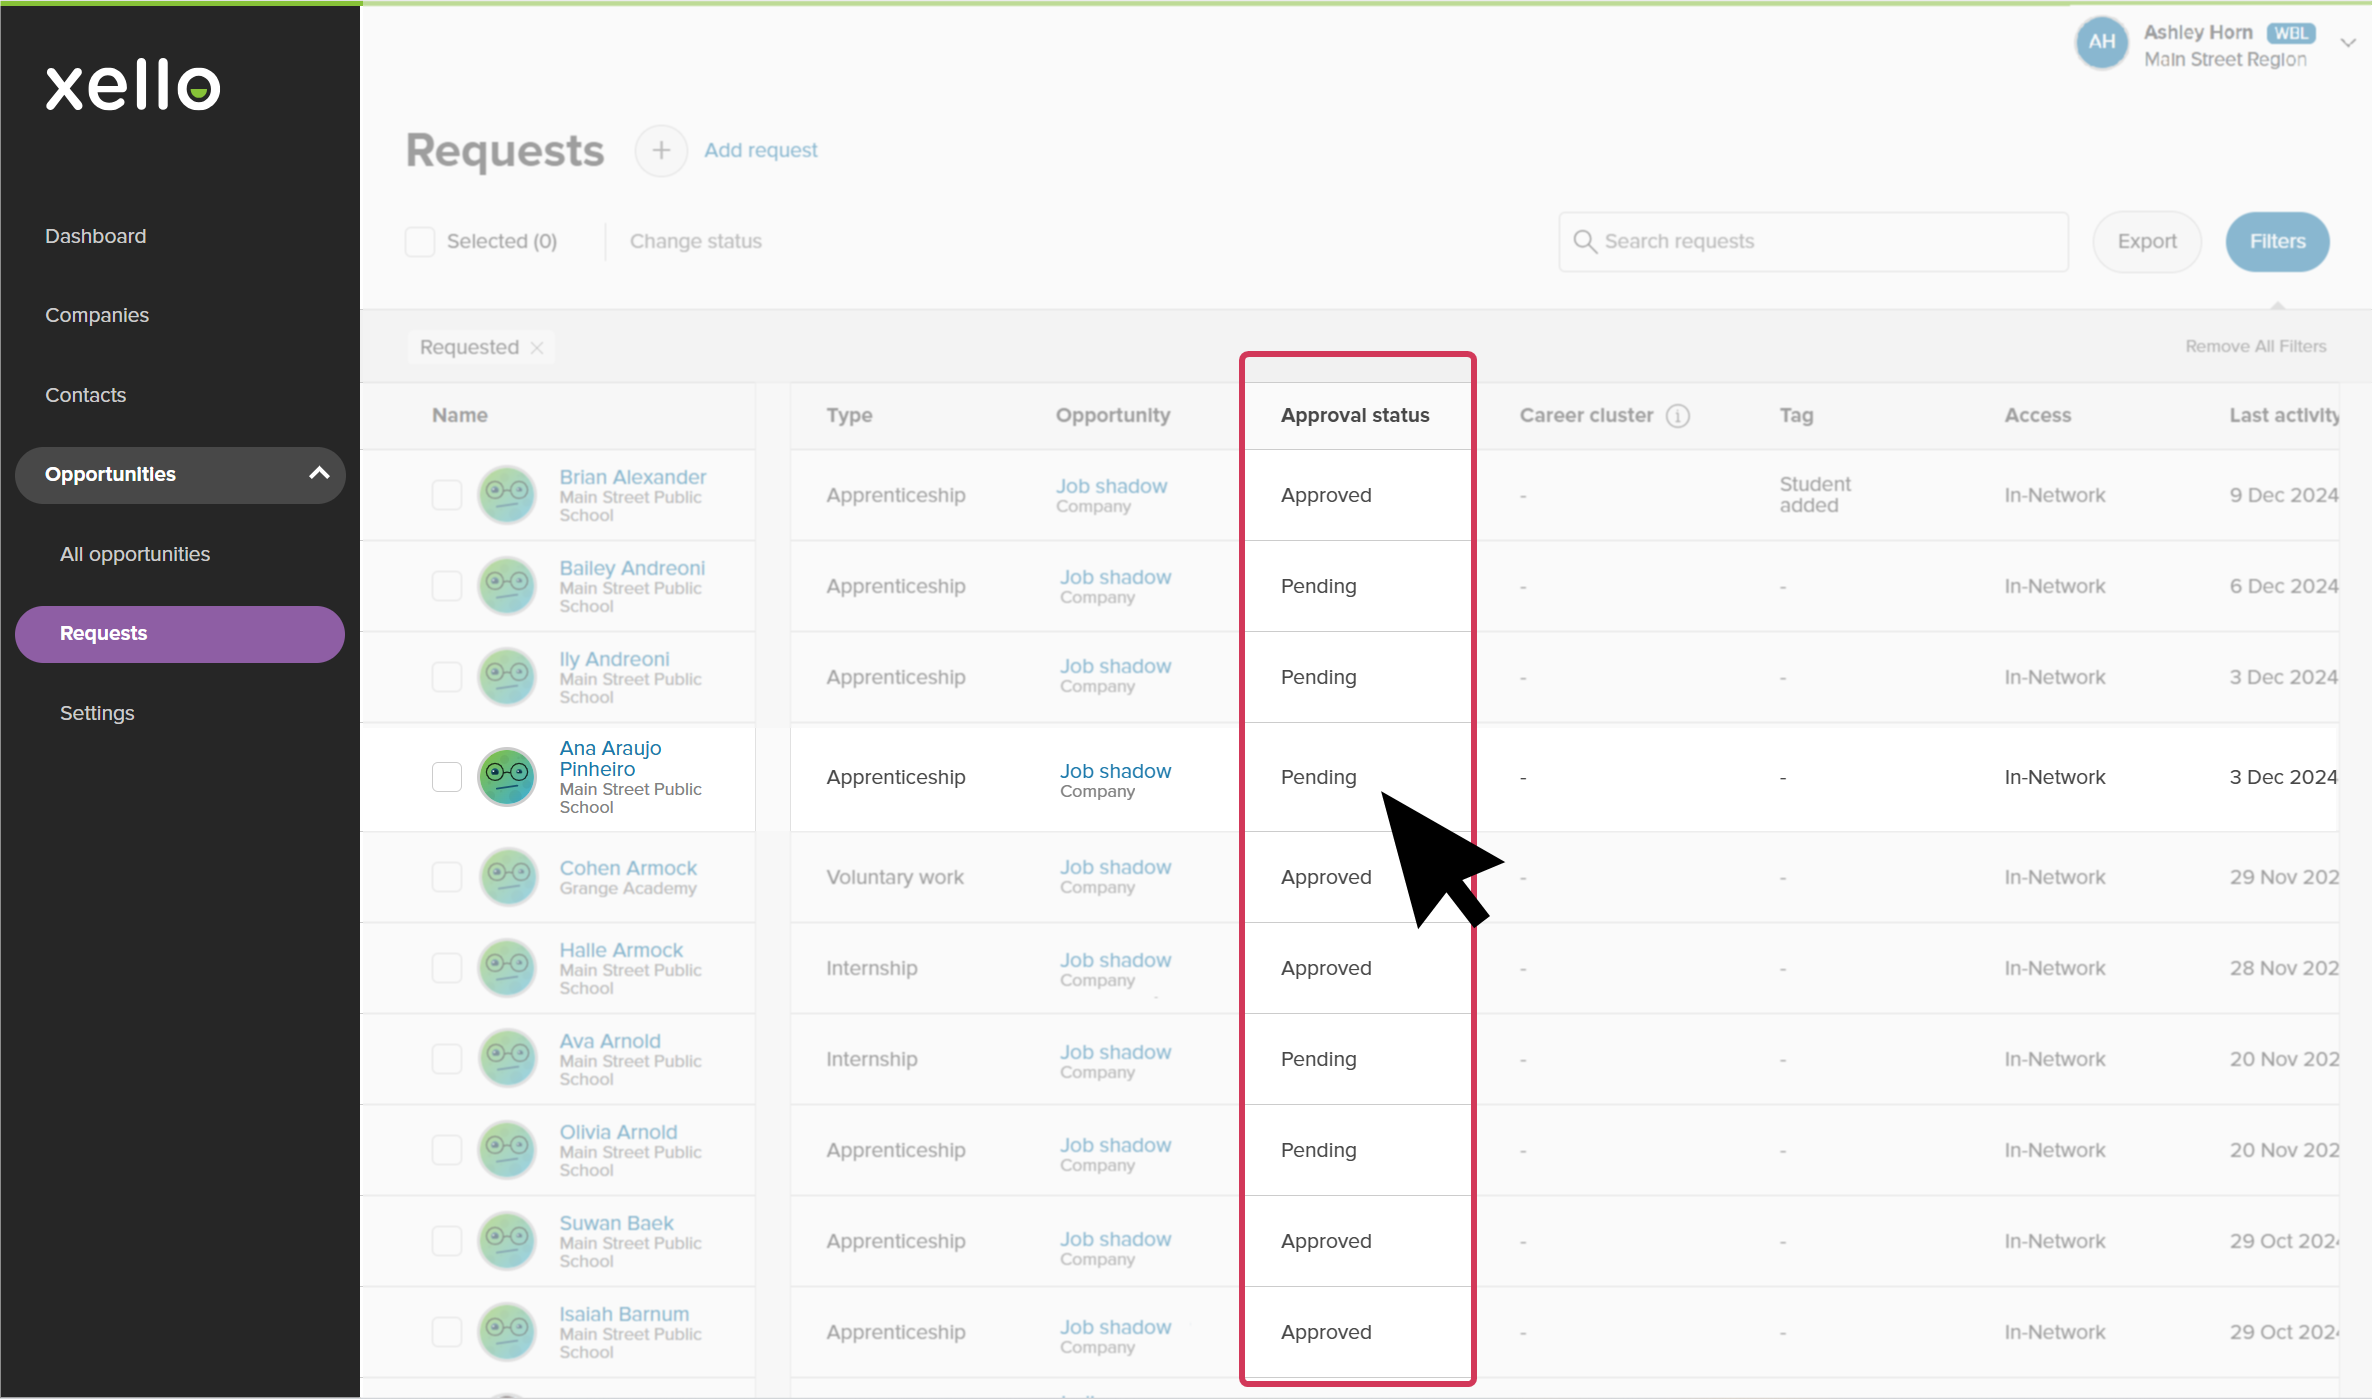
- Opportunities awaiting approval will have the Approval status of Pending. Locate the student's opportunity and click on their name.
- Review the opportunity they submitted to make sure it has the necessary information. If everything is as it should be, click Approve. If anything is missing or incorrect, click Decline.
- If you're declining, a modal will open with space for you to enter what changes are needed for the opportunity to be approved.
Update a student's request status
There are a couple ways you can update a student's request status: directly from the Student requests page, or if you want more information about the opportunity before changing the status, you can open the opportunity request and change it there.
These are the following statuses:
- Requested
- Setup underway
- Application submitted
- Scheduled
- Hired/Selected
- Completed
In either case, to update an individual student's request status, begin by accessing the Student requests page:
- From your educator account, click Features and select .
- Next to Student requests, click View.
To update the status directly from the Student requests page:
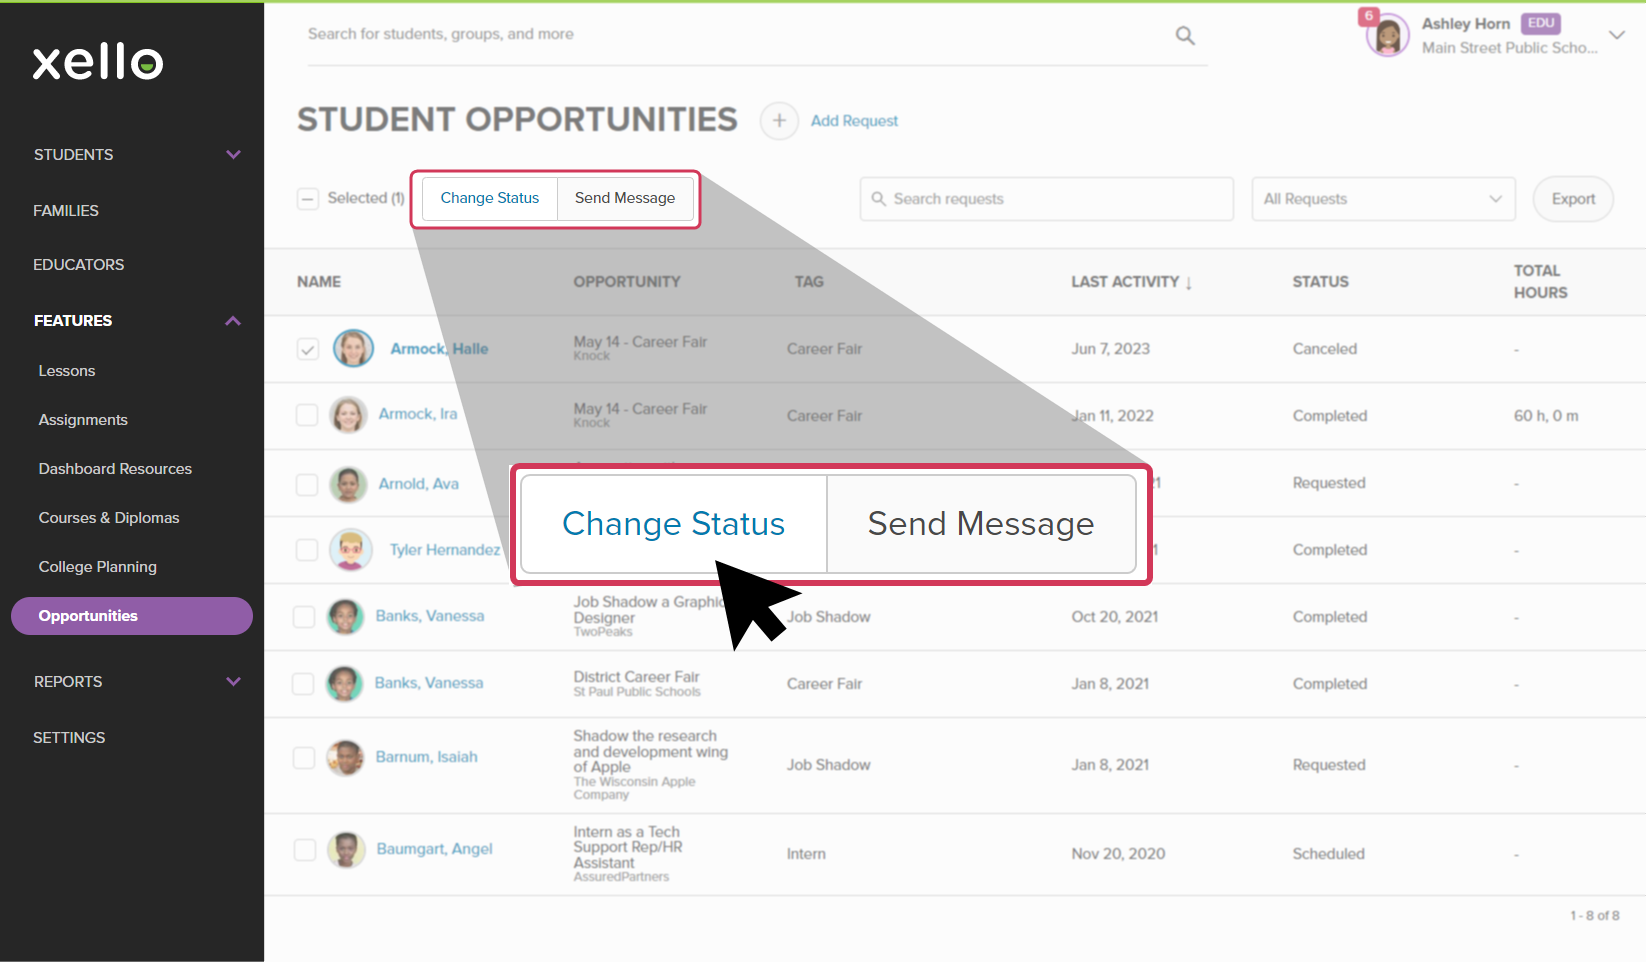
- Check the box next to the name of the student whose status you'd like to update.
- Click Change status.
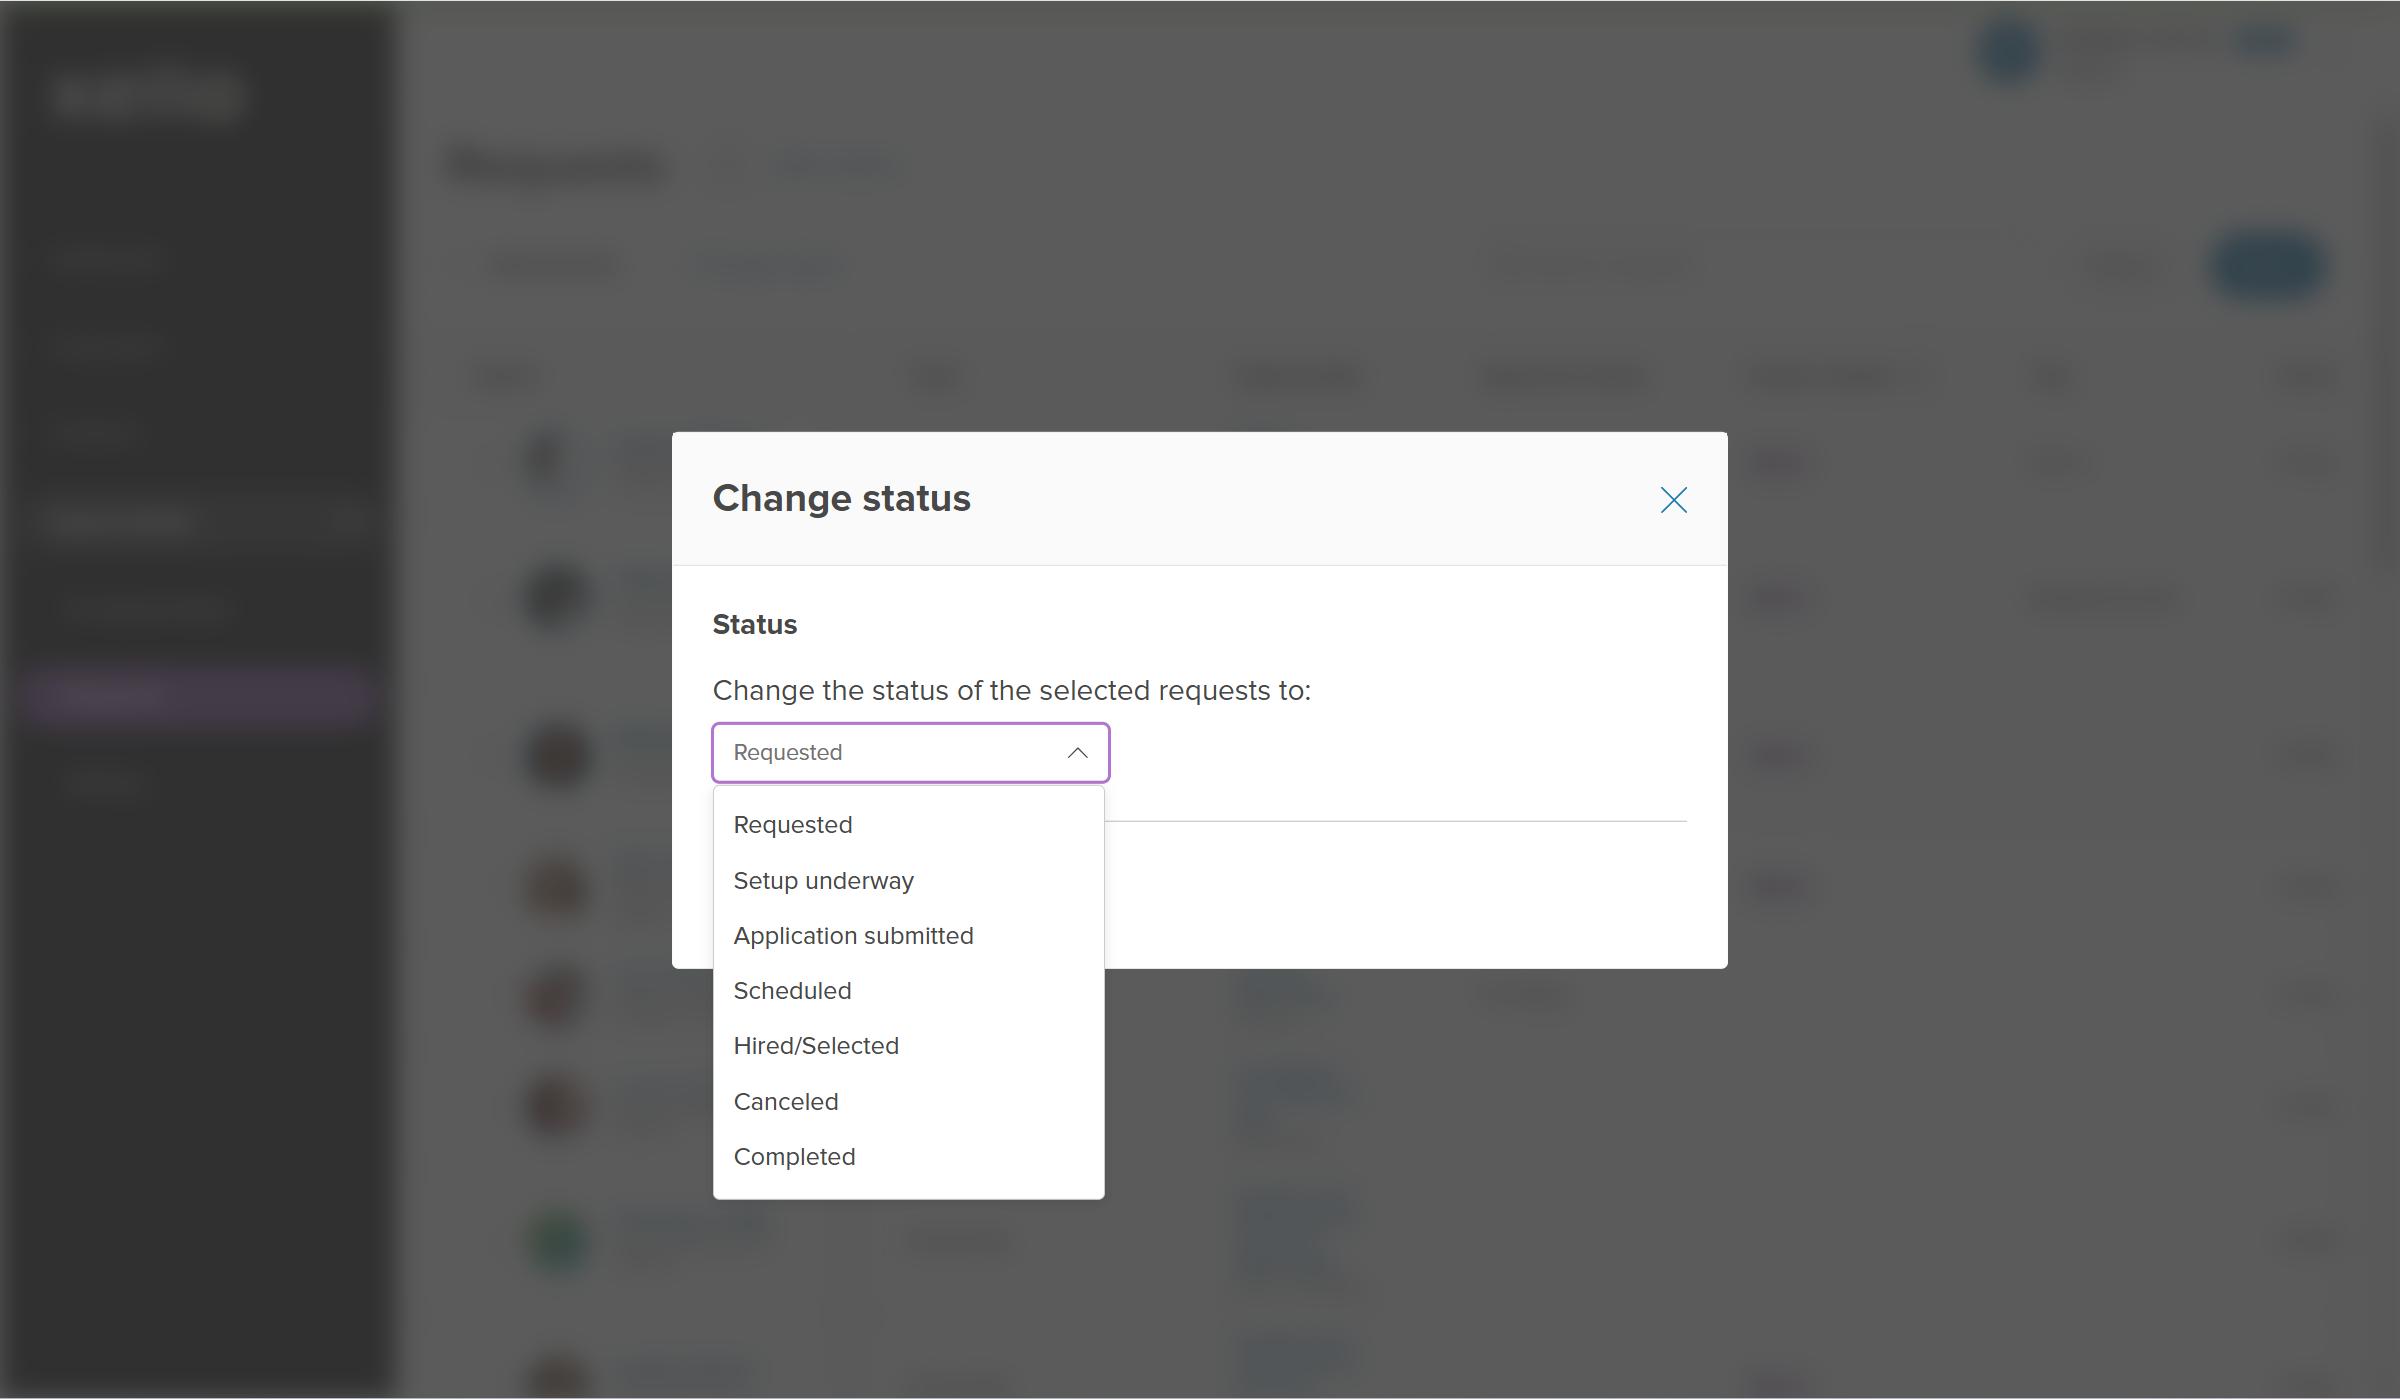
- Select the new status and confirm in the modal.
- Click Apply.
- The status will immediately change for the student in their Xello account.
To change the status from the student's opportunity request:
- Click the student's name to open their request.
- Review the contacts, any hours, if they've been submitted, files, and more about the opportunity.
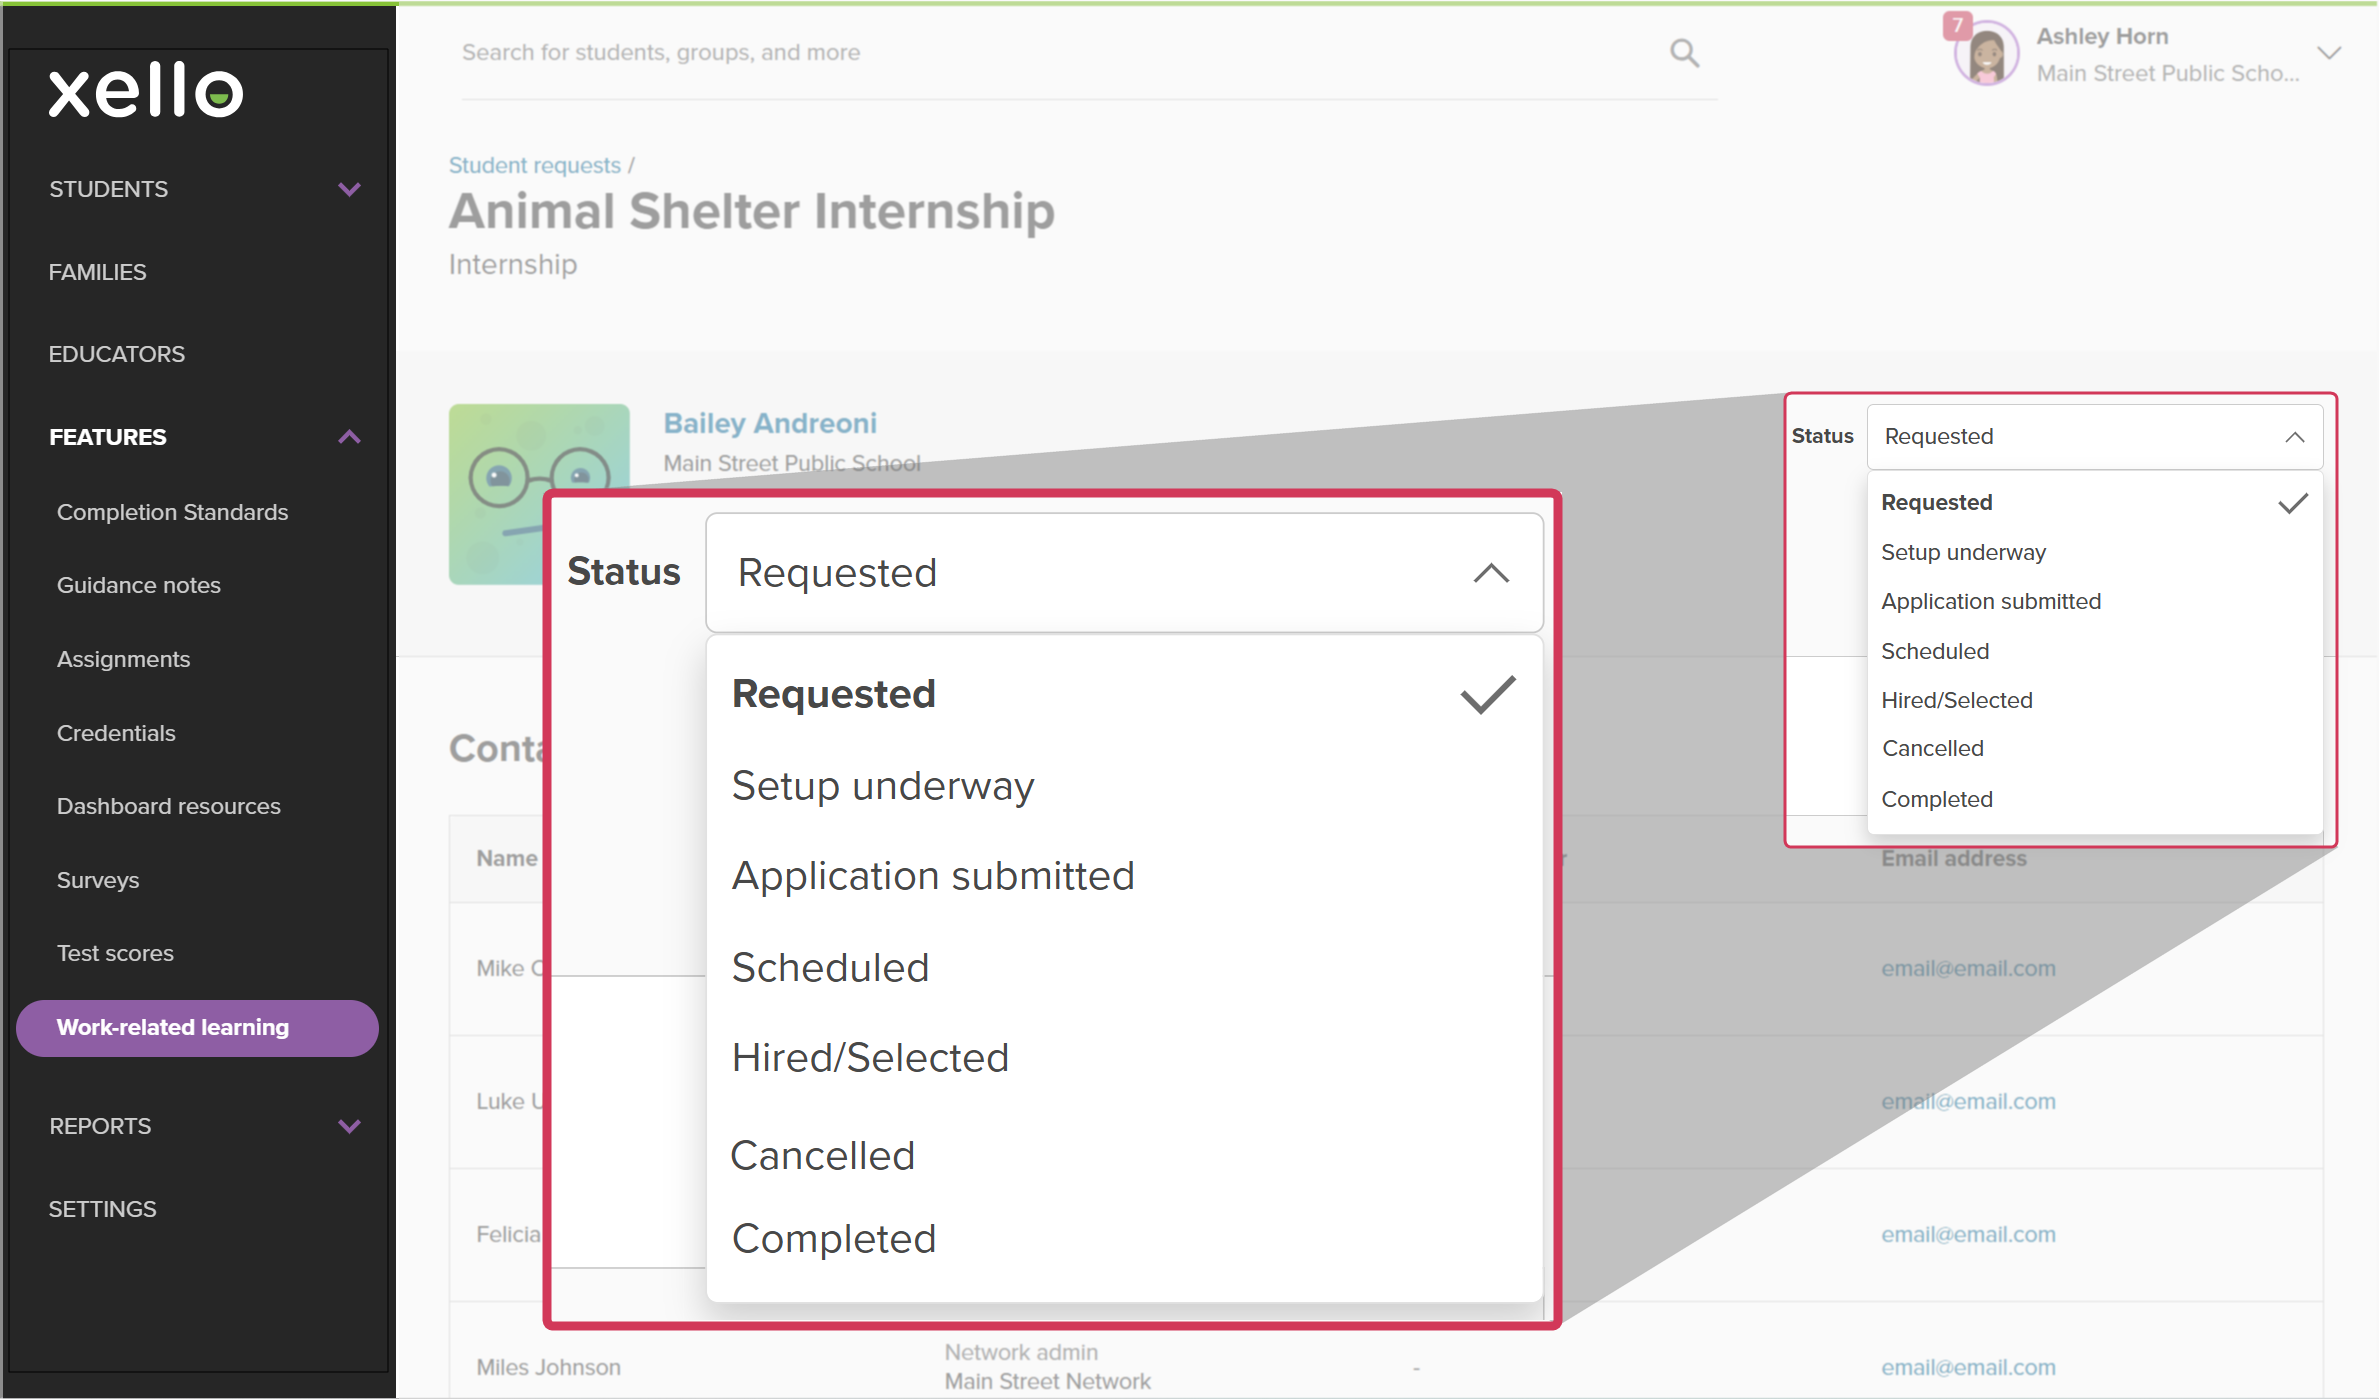
- To update the status, click the Status dropdown.
- Select the new status and confirm in the modal.
- Click Apply.
- The status will immediately change for the student in their Xello account.
Update multiple student requests
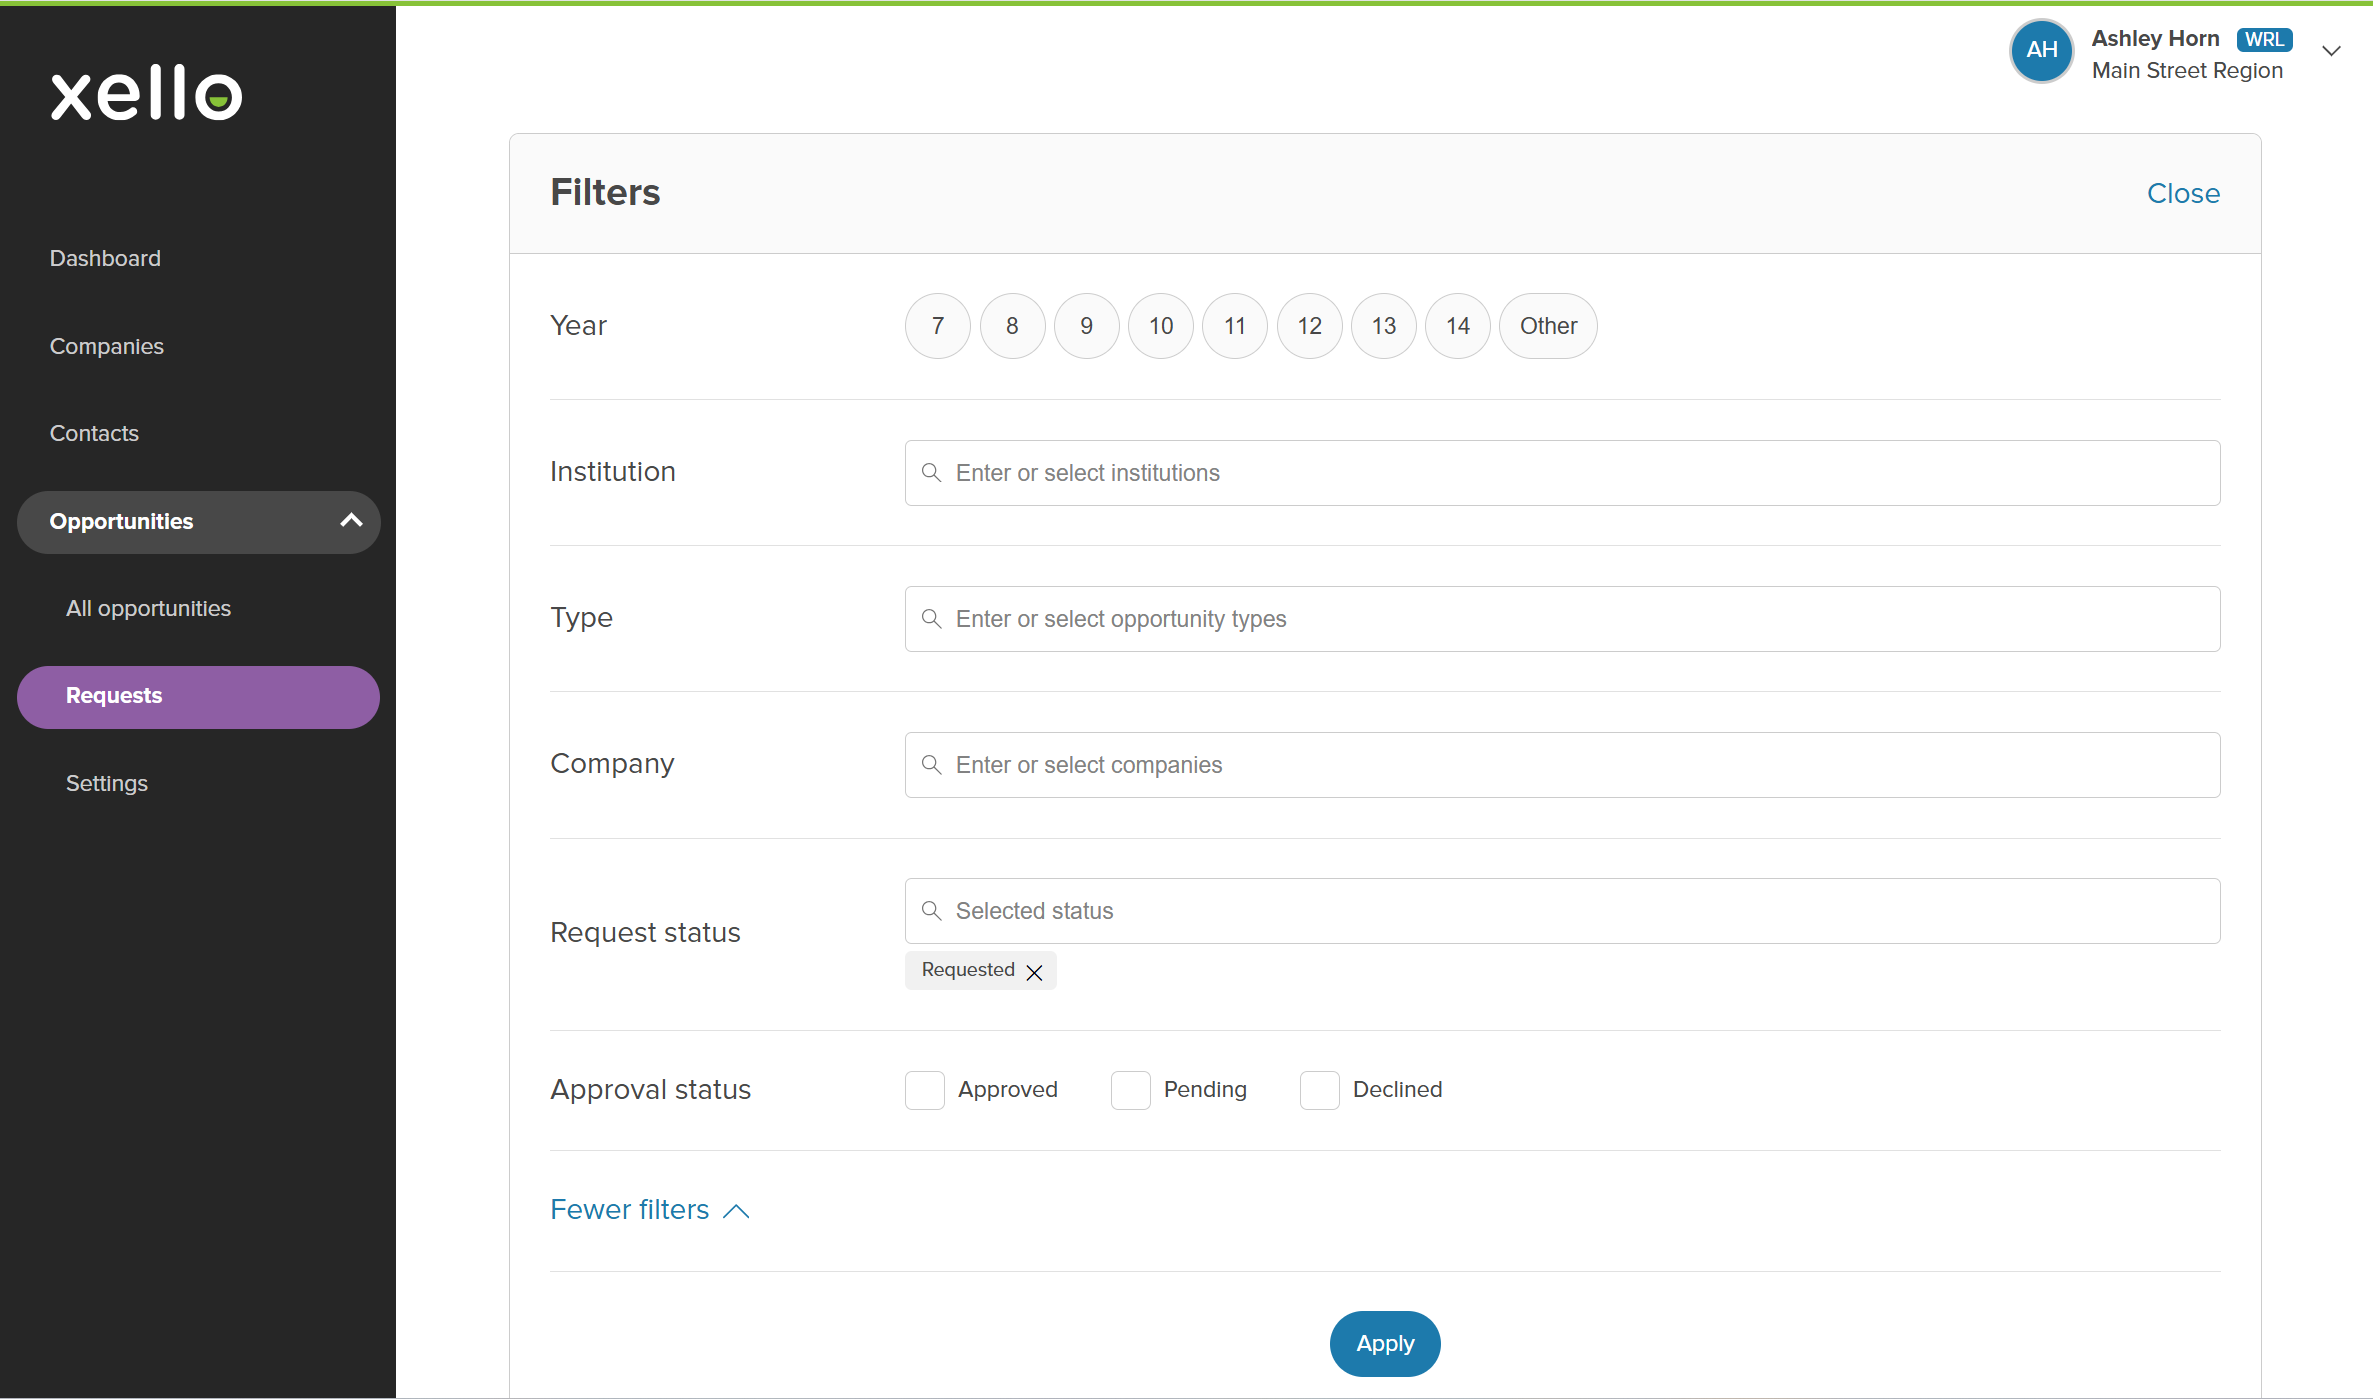
Pro tip: use the filters to narrow the list of student requests so you can bulk update student request statuses. Filter the student requests by variety of options, such as , type, company, or request status.
To update the request status of multiple students at once:
- From your educator account, click Features and select .
- Next to Student requests, click View.
- Click Filters and narrow the list by request status.
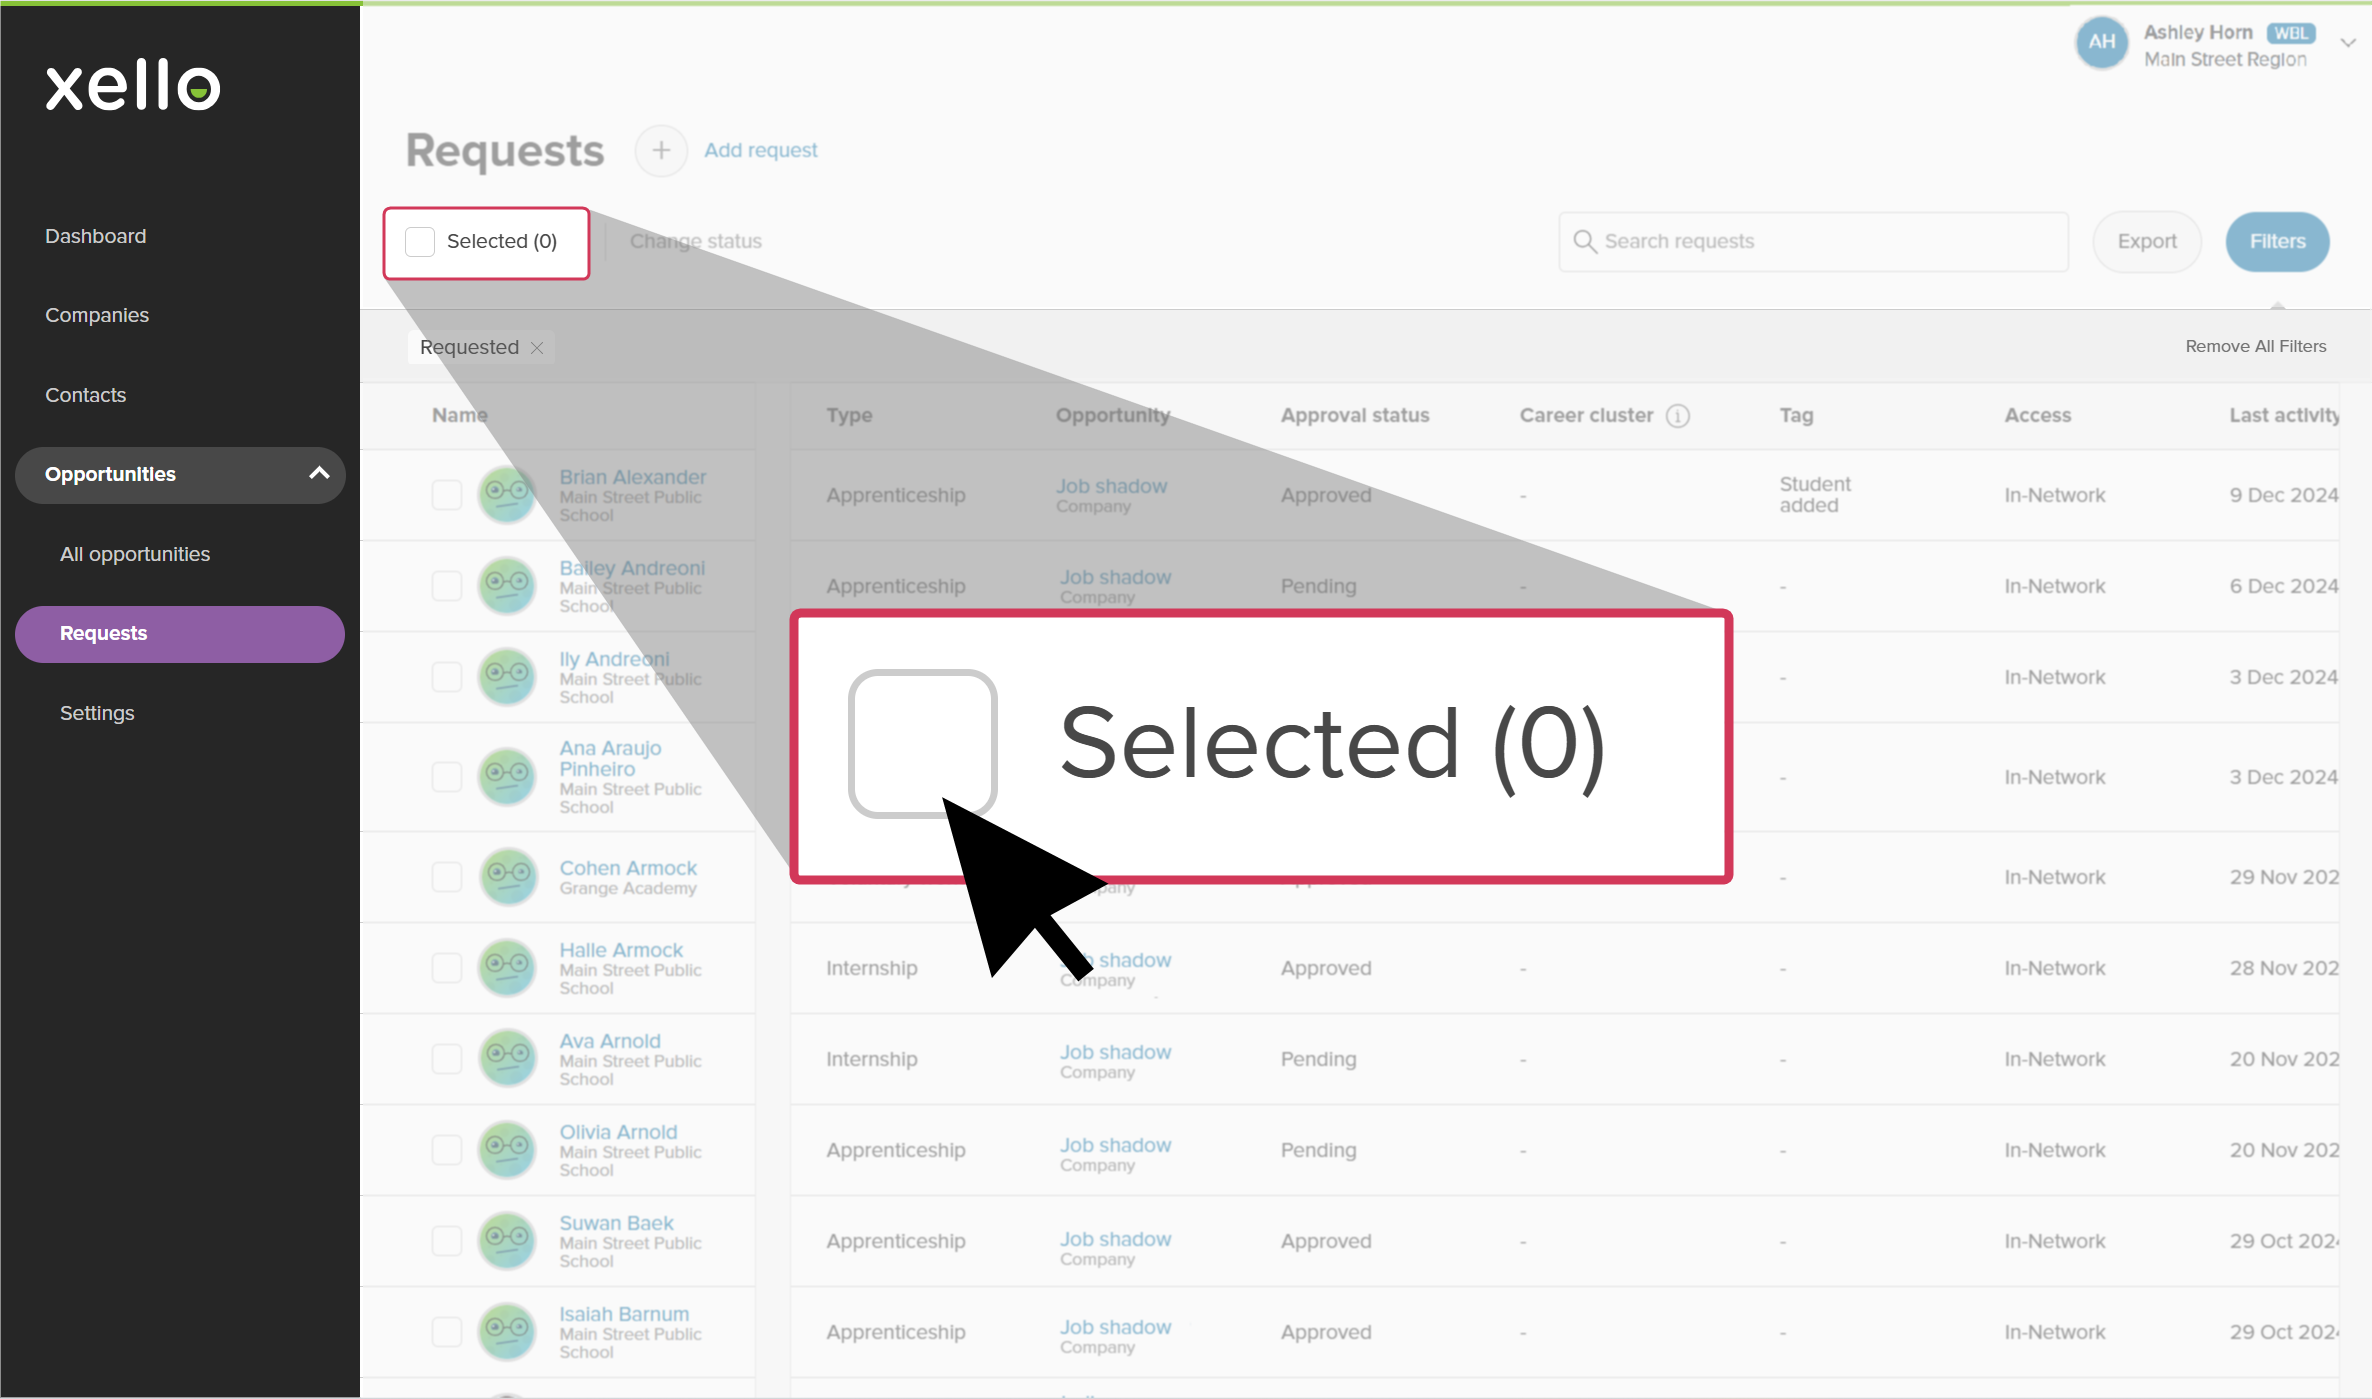
- Click the Selected (0) box to select every student in the narrowed list. Alternatively, manually select each student whose status you want to change.
- From the top of the list, click Change status.
- Select the new status. Your options are:
- Requested
- Setup underway
- Application submitted
- Scheduled
- Hired/Selected
- Completed
- Click Apply.
- The status will immediately show for the students in their Xello account.
Add requests on behalf of students
When necessary, you can add a request for an opportunity on a behalf of a student.
To make a request for an opportunity on behalf of a student:
- From your educator account, click Features and select .
- Next to Student opportunities, click View.
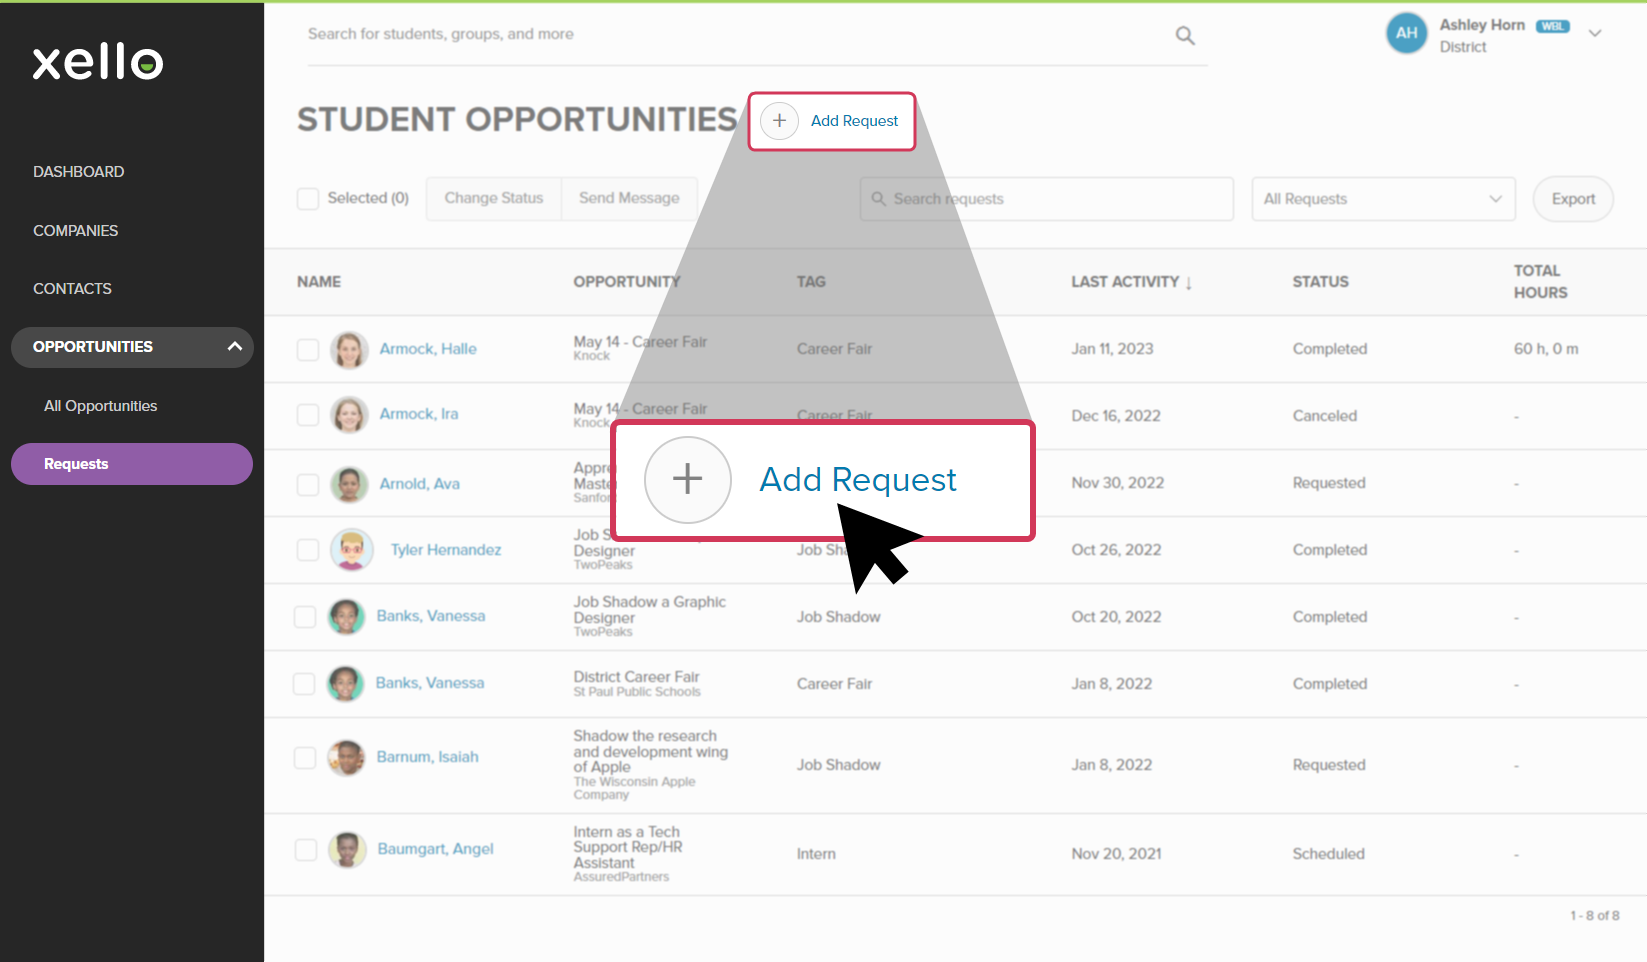
- Click the Add request link.
- Enter the name of the student. Auto-fill will suggest students as you type.
- Multiple students can be added by typing and selecting the students.
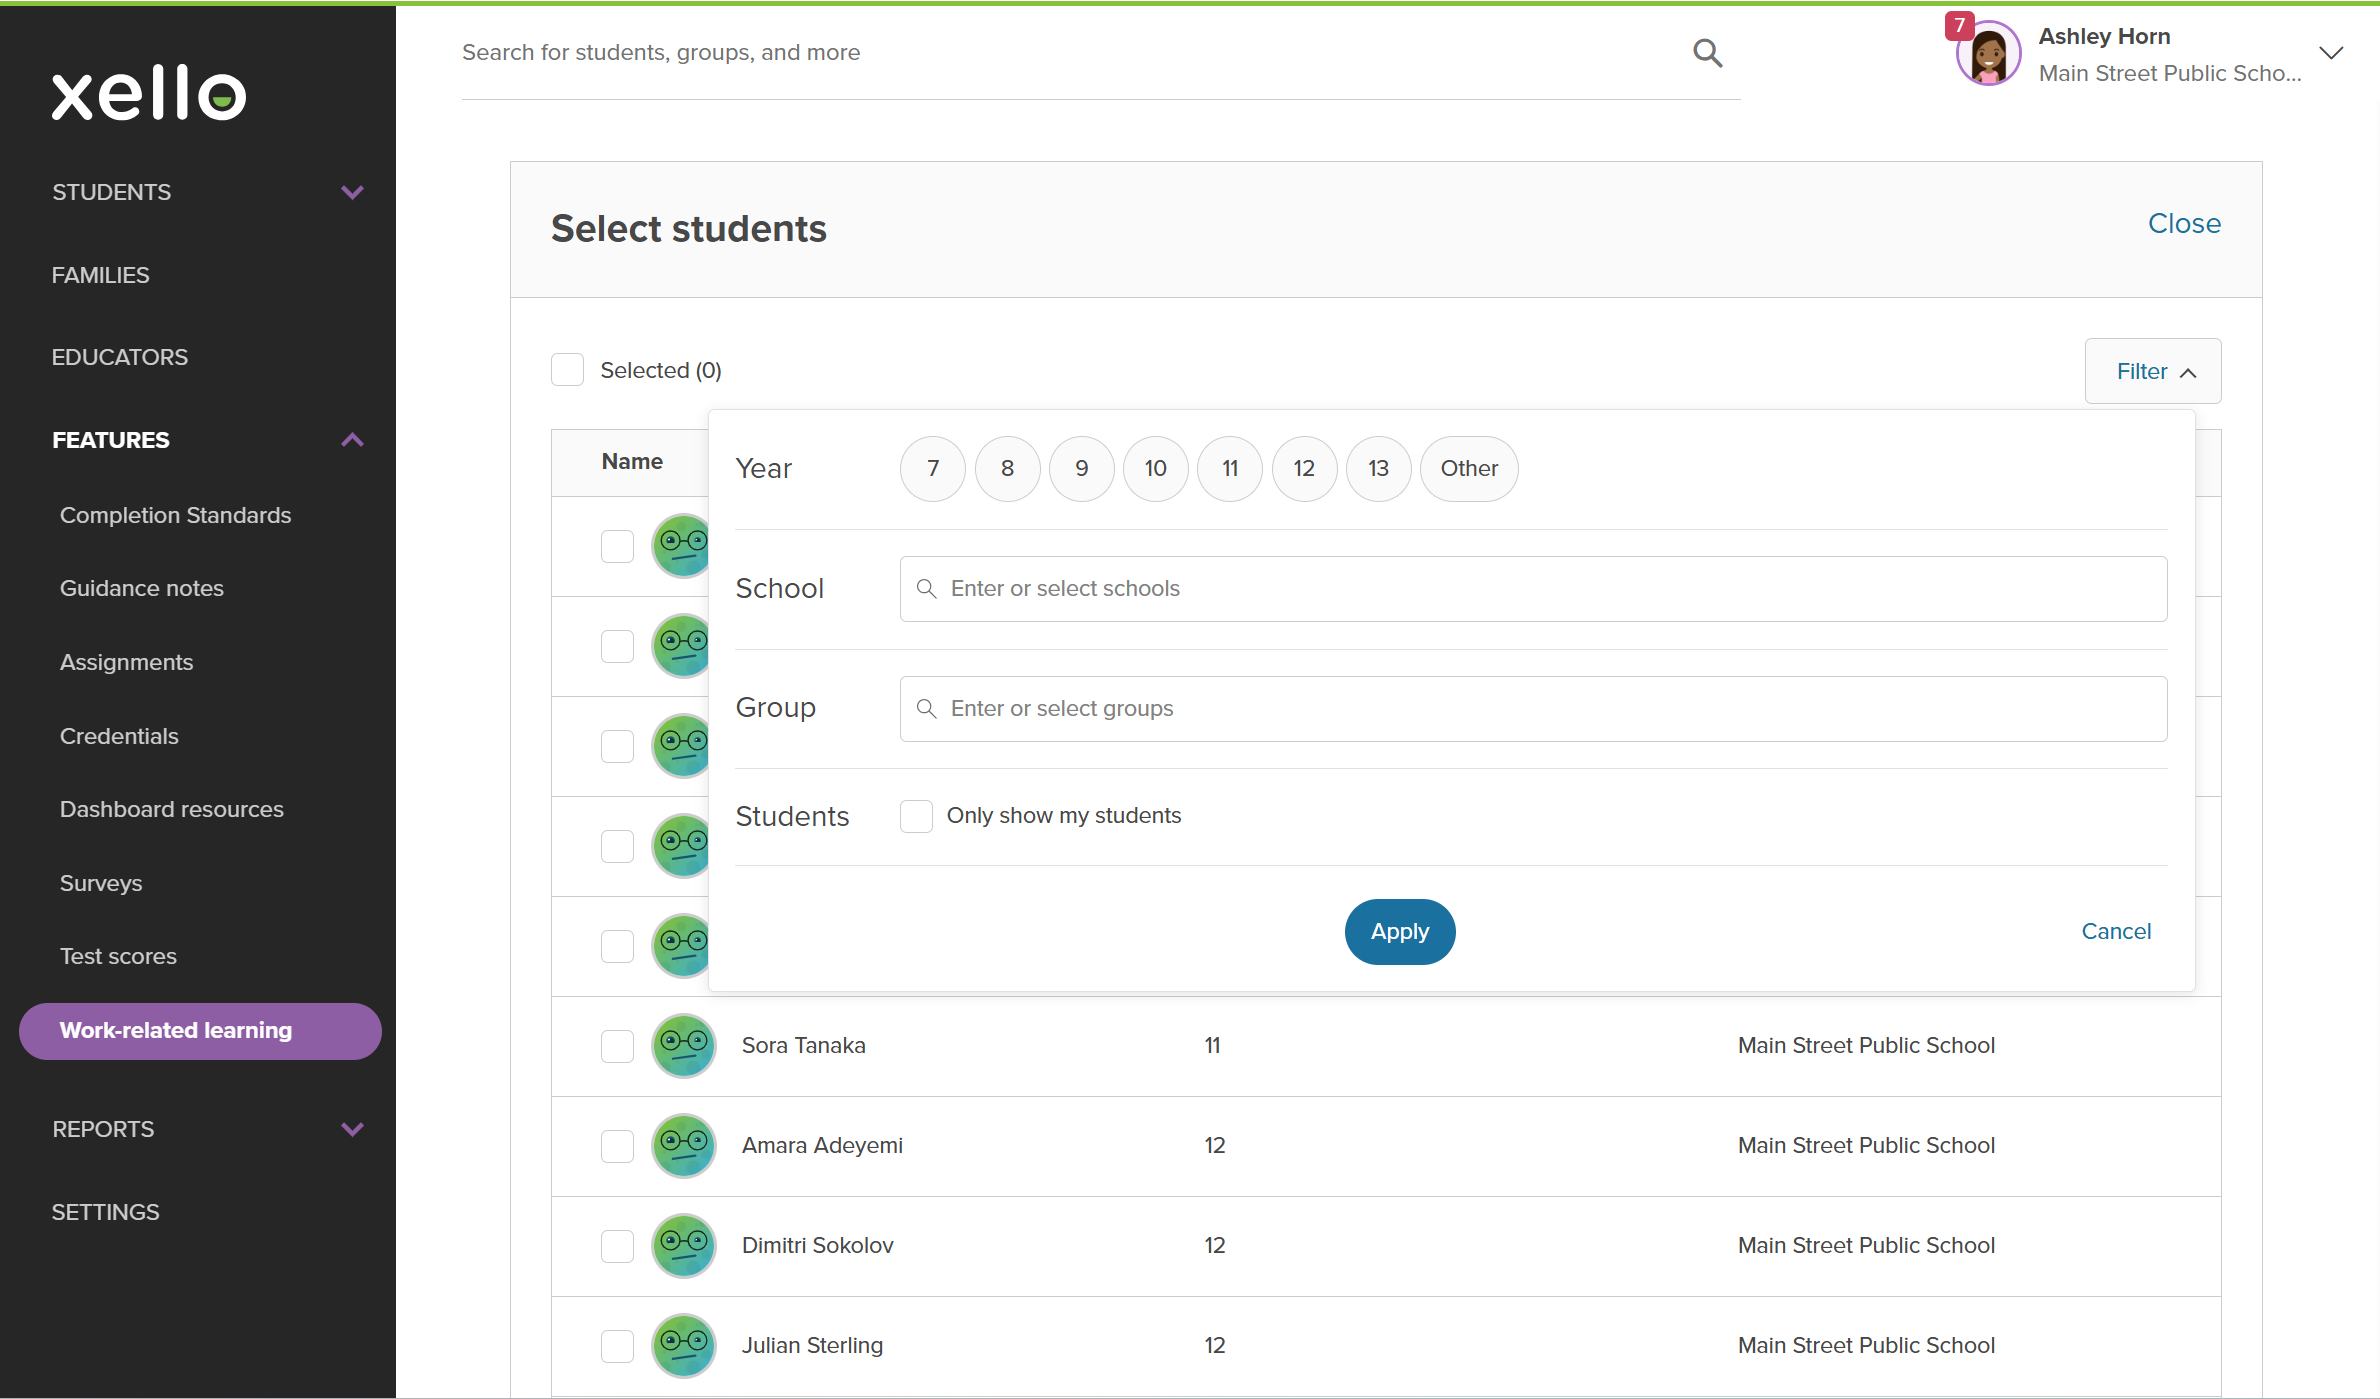
- Or click Select students to pull up the student list. From here you can click Filter and quickly narrow the list further.
- Enter the Opportunity name. Auto-fill will suggest existing opportunities as you type.
- Select a Status.
- Add Total hours if necessary.
- Click Save.
Additional resources
-
PDF
PDF -
Xello Resource
Xello Resource
