You can view student
Access WRL in Xello
To access
- From your educator account, click Features and select
 Click to enlarge
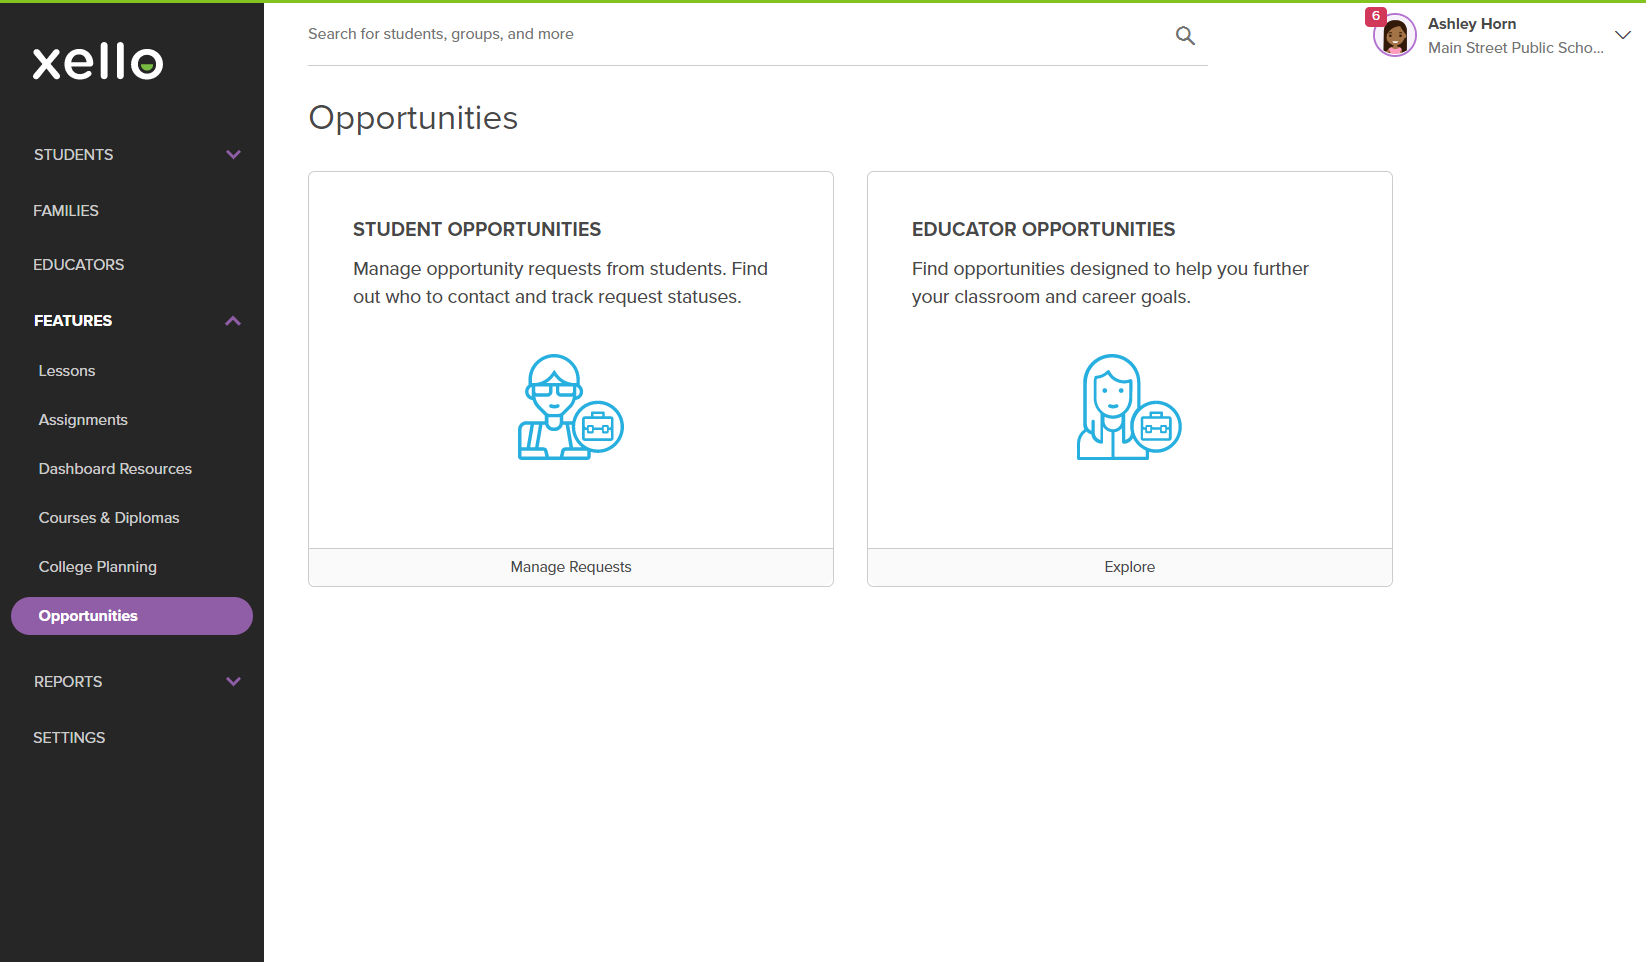
 - From this landing page, use the shortcuts to quick access pending student requests, student-sourced opportunities, and student hours that require attention. You can also explore Student opportunities, Educator opportunities, or available Companies.
 Click to enlarge
Add a student opportunity
Whether it’s an internship,
Tips when creating an opportunity:
- Fill out as many fields as possible - give students all the information you have available.
- If you want to ensure the time students complete is verified by supervisors, mark E-verification of hours as required.
- Set a schedule for when students are required to submit their hours. The default option is Flexible, but you can set the cadence to Weekly, Bi-weekly, or Monthly. To learn about the student experience, check out how students Track their hours for an opportunity.
- Add an Opportunity tag with a keyword to identify and track the opportunity in reports later.
- Restrict the opportunity to students in certain
- No need to immediately make it Active. You can add opportunities well in advance, toggle them as Inactive, and later return to make it active for students when the timing is right.
To add an opportunity:
- From the
 Click to enlarge
 - Click Add opportunity.
 Click to enlarge
 - Fill out the required information.
A few tips:- Add a tag to the opportunity so you can easily identify, sort, and filter the data by tags in an opportunity report.
- Make sure to add relevant career clusters to the opportunity. This will ensure students are matched to opportunities based on their interests. Students will also be able to filter opportunities by career clusters to find those that are most relevant to them.
- If the opportunity requires students to apply directly to the company, be sure to toggle Taking direct applications only to Yes. Once you switch the toggle, you'll be required to enter the application link.
- Once you’re done, click Preview to see how the opportunity will look for students.
- Once you're happy with how it looks, click Save.
Manage student-sourced opportunity permissions
You can turn on or off the ability for students to create their own opportunities in Xello. You’ll be able to filter the list of students so you can change permissions for select
If this feature has been disabled, when students navigate to their My opportunities page, they’ll see a banner indicating the Add opportunities feature has been turned off by their school.

To manage student-created opportunity permissions:
- From your educator account, click Features and select Click to enlarge
- Click Settings.
 Click to enlarge
 - Next to Student-created opportunities, click Manage to open the student list.
 Click to enlarge
 - To narrow the list, click Filters and choose from Year, Group, or Opportunity creation status. Click Apply.
 Click to enlarge
 - Select the students you want to apply the change to.
- Click the Selected (0) box to select all the students on the list.
- Click the Opportunity creation dropdown.
 Click to enlarge
 - Select Enable or Disable.
- Confirm your change and click Ok.
 Click to enlarge
Review a student-sourced opportunity
If a student finds an opportunity on their own, outside of Xello, they can add it and submit the opportunity for review and approval.
How to review a student's added opportunity:
- From your educator account, click Features and select Click to enlarge
- In the card called Student-sourced opportunities, click the number of reviews required. This opens the filtered list of opportunities students have found themselves and which require educator approval.
 Click to enlarge
- Alternatively, next to Student opportunities,click View.
You can then filter and find the opportunity from the full list of requests.
 Click to enlarge
- Alternatively, next to Student opportunities,click View.
You can then filter and find the opportunity from the full list of requests.
- Opportunities awaiting approval will have the Approval status of Pending. Locate the student's opportunity and click on their name.
 Click to enlarge
 - Review the opportunity they submitted to make sure it has the necessary information. If everything is as it should be, click Approve. If anything is missing or incorrect, click Decline.
- If you're declining, a modal will open with space for you to enter what changes are needed for the opportunity to be approved.
 Click to enlarge
- If you're declining, a modal will open with space for you to enter what changes are needed for the opportunity to be approved.
Additional resources
-
 PDF
PDFIntroduction to WRL in Xello
PDF
PDFIntroduction to WRL in XelloGet a brief introduction to Work-based learning in Xello.
-
PDF
PDFTrack Gatsby Benchmarks 5 and 6 with Bulk Status Updates in WRL
-
 Short Video
Help students thrive with Work-related learning
Short Video
Short VideoHelp students thrive with Work-related learningUse this short overview video to get an introduction to Xello's Work-related learning module. Learn how this integrated platform opens up a world of discovery for students and educators to better prepare them for an ever-changing world.
-
 Xello Resource
Get Started for WRL Administrators
Xello Resource
Xello ResourceGet Started for WRL AdministratorsIf you're a WBL admin, use the resources on this page to learn more, and to find shareable resources to help you get started.